Mar 18, 2026
Version 2
Syringe Assembly for Potato Starch Suspension ex vivo MRI V.2
- 1Fred Hutchinson Cancer Center


Protocol Citation: Elena Carlson 2026. Syringe Assembly for Potato Starch Suspension ex vivo MRI . protocols.io https://dx.doi.org/10.17504/protocols.io.j8nlkzyodl5r/v2Version created by Elena Carlson
License: This is an open access protocol distributed under the terms of the Creative Commons Attribution License, which permits unrestricted use, distribution, and reproduction in any medium, provided the original author and source are credited
Protocol status: Working
We use this protocol and it's working
Created: March 18, 2026
Last Modified: March 18, 2026
Protocol Integer ID: 313576
Keywords: MRI, proton free, ex vivo MRI, preclinical imaging, preclinical MRI, mouse, sustainable science, potato starch suspension ex vivo mri, vivo mri imaging with potato starch1, insertion into the potato starch suspension, syringe assembly, vivo horizontal bore mri workflows2, horizontal bore mri workflows2, potato starch suspension, syringe plunger, syringe, vivo mri imaging, ex vivo organ, assembly phase from the imaging, addition of potato starch suspension, syringe barrel, filled syringe barrel, mri, potato starch, imaging, potato starch1, vivo
Funders Acknowledgements:
Preclinical Imaging Shared Resource (RRID:SCR_022616) of the Fred Hutch/University of Washington/Seattle Children’s Cancer Consortium
Grant ID: P30 CA015704
Abstract
This sub-protocol details how to attach a wooden stick securely to a syringe plunger. This ensures that when an ex vivo organ is later mounted to the stick (for ex vivo MRI imaging with potato starch1), the sample will remain stable during rotation and insertion into the potato starch suspension-filled syringe barrel.
By separating the assembly phase from the imaging and packing steps,1 this workflow allows users to complete all preparatory work well in advance, increasing efficiency and enabling large batches to be processed simultaneously.
The broader method adapts principles from existing syringe‑based ex vivo horizontal bore MRI workflows2-4, but is modified for situations in which the sample must remain fixed to a rigid support to prevent shifting during the addition of potato starch suspension - the benefits and details of which are described in a separate protocol and publications.5-7
For the broader workflow, see this protocol:
Protocol
CREATED BY
Elena Carlson
Materials
Reagents and Consumables
- Superglue or cyanoacrylate adhesive (e.g., Gorilla Super Glue Gel; any laboratory‑safe cyanoacrylate is acceptable)
- Hot glue sticks Compatible with standard mini or full‑size hot glue guns
- Coffee stir sticks (We used Origin sustainables 7 in long wooden stirrers)
- Paper towels
- Reusable 10 mL glass syringes - Amazon.com: 5 Pack Reusable Glass Syringes, 10ml Glass Syringe Standard Diameter Caliber Injector Laboratory Sampler : Industrial & Scientific ASIN : B09XTR4K31
Disposable 10 mL syringes
Plastic syringes (single‑use; Luer‑lock or slip‑tip acceptable)
We used BD 10 mL syringes with luer lock tips - reference number 302995
Equipment
- Hot glue gun
- Bookend or right‑angle positioning support Used as a 90‑degree rigid surface to keep syringe assemblies upright during glue curing (e.g., metal or acrylic L‑shaped bookend)
Basic Bookend by Terry | Download free STL model | Printables.com OR Basic Bookends by Chad Margetts | Download free STL model | Printables.com OR anything you have laying around that meets the above criteria.
- Disposable scalpel or X‑Acto knife
- Scissors
Estimate Appropriate Stir-Stick Length
Before proceeding, estimate the appropriate length of the stir stick so that you can trim it to a size that is functional but not excessive. A shorter stick, so long as it remains long enough to support the tissue and adhere securely to the syringe, will more easily allow for the removal of bubbles and reduce the complexity of downstream sample preparation.
You do not need your actual samples in hand for this step. However, having a general sense of the approximate sample size is helpful when determining the required stick length.
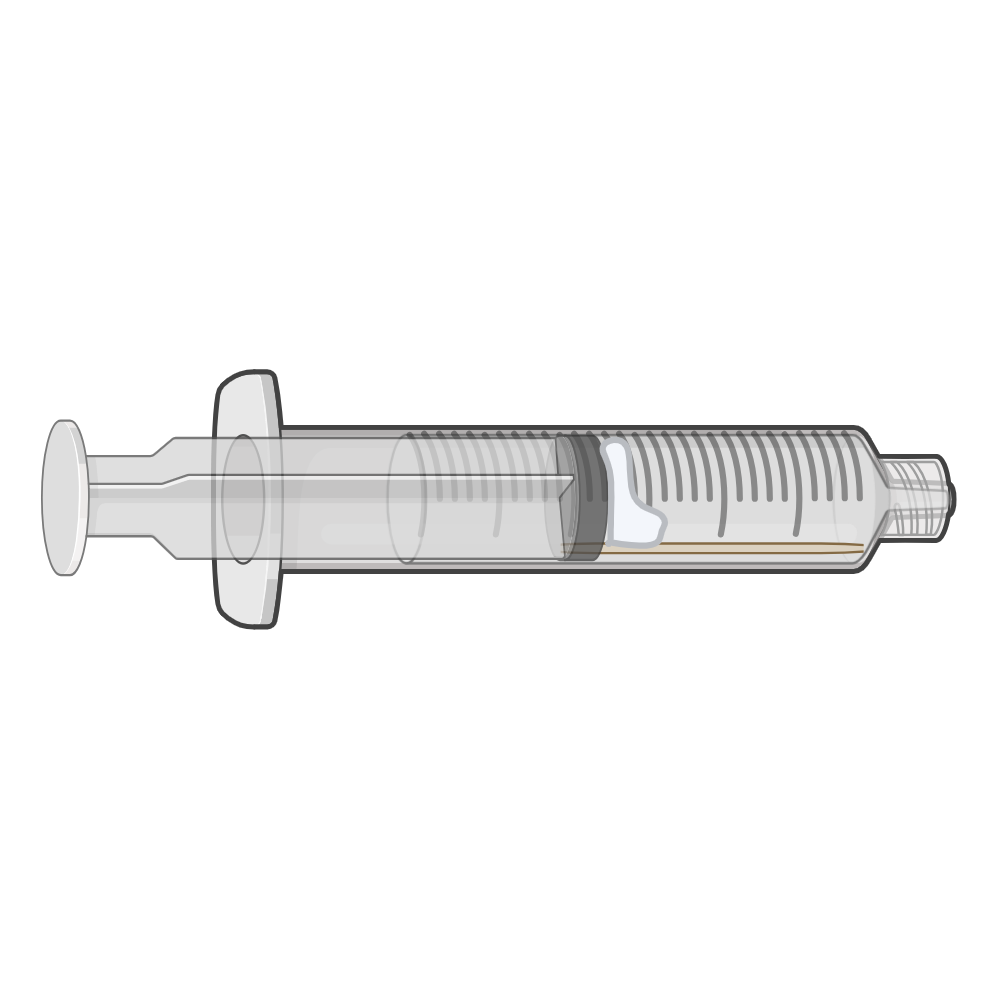
For reference, see the below diagram. The stick length should equal the length of the sample plus a small extension to allow secure attachment to the syringe with the space taken up by the hot glue and super glue.
Diagram (for illustration purposes only). Image made using Biorender and Microsoft Copilot.
| A | Length (mm, approximate) | |
| p10 mouse brain | ~8–10 mm | |
| Adult mouse brain, B6 strain | ~14 mm | |
| Adult mouse abdomen, B6 strain | 900-1300 mm |
Reference values for rostral-caudal length of some example ex vivo samples
Note
Note on Applicability to Larger Samples (larger than a mouse brain)
Although this protocol uses 10 mL syringes for mounting and stabilizing ex vivo mouse brains, the underlying assembly approach is readily adaptable to larger samples. For example, mouse abdomens or similarly sized tissues could be accommodated by using a container with a wider internal diameter, such as a 60 mL plastic syringe or a 50–60 mL conical‑tube–equivalent cylindrical holder, provided that the barrel geometry allows adequate clearance around the mounted sample.
Cut your coffee stir stick or undyed popsicle stick to the desired length.
Ensure that the stir stick is not excessively wide. This is one of the reasons we recommend using coffee stir sticks rather than standard popsicle sticks, since coffee stir sticks are typically much narrower.
A standard popsicle stick is approximately seven‑eighths of a centimeter in width.
If the stick is too wide, it will sit closer to the central axis of the syringe barrel. Depending on the thickness of your sample, this may prevent the sample from fitting properly into the tube, because a wider stick will not rest along the lower interior wall of the syringe barrel (when viewed in axial orientation).
If you are working with a thicker stick, trim it lengthwise so that it becomes narrow enough to allow the sample to fit into the tube without deforming it.
Place the wooden stick into the reassembled plunger. By eye, determine the correct position where the popsicle stick should be glued to the rubber portion of the plunger.
Mark the syringe plunger or the plunger seal to indicate the exact location where the stick should be attached.
A sharpie mark atop of a glass syringe plunger where the stick should later be glued to.
Prepare Workspace
Disassemble syringes and hot glue the base of each plunger so that each is roughly in line and parallel to the book end.
Syringe gluing bookend station.
If you are using a plastic 10 mL syringe, first disassemble the plunger to expose the inside of the rubber stopper. Apply a substantial amount of superglue or hot glue inside the stopper, then reassemble the plunger.
This ensures that during scanning, when you rotate the plunger, the mounted sample will rotate reliably rather than slipping inside the plunger seal and not turning at all.
Remove black plunger seal
Add glue INSIDE the black plunger seal
Use waste pieces from the parafilm or from the syringe packaging as a protective barrier behind each hot glue–secured syringe barrel (or you could use paper towels). This ensures that when you later apply superglue or additional hot glue, the syringe assembly will not accidentally adhere to the bookend.
Protection behind glue area to prevent accidental glueing to the bookend
Adhere stick to plunger
Note
Overall, we have found it is easier to use glass syringes rather than the plastic ones for this protocol - due to this step specifically.
For a glass syringe: Hold the stick in place with one hand while using the other hand to apply a generous amount of hot glue around the base of the stick. Allow the hot glue to dry while the stick remains upright.
For a plastic syringe: apply a generous amount of superglue onto the spot on the rubber portion of the plunger where you previously determined that the stick should be attached . Then add hot glue around the stick to keep the stick upright.
If you are using a plastic syringe that has a rubber plunger seal, be aware that the superglue alone will not support the stick in an upright position. At the same time, hot glue will not adhere reliably to the rubber surface. For this reason, both adhesives must be used together to secure the stick effectively.
As needed, apply more hot glue OR super glue to the edges to adhere the stick.
After glue has set, carefully shave off the excess glue that has dripped down the side of the plunger with an exacto knife or scalpel. Check fit in the barrel and repeat as needed.
Now confirm that:
a) the plunger with the glued stick can move in and out of the syringe barrel easily (if not, re-shave more until the plunger can move smoothly).
b) the stick is not at an odd angle or in the incorrect location so that your sample cannot fit inside the tube after it has been glued onto the stick.
Assembly with stick at slight angle. This may or may not be a problem depending on what you are trying to scan and how you plan to scan it.
If the wood stick is at slight angle, this will tip up the sample in the barrel. This is a more common issue with the plastic syringes.
If this has occurred, consider adding layers of hot glue to create a flatter planar surface.
Note
Once the sample and potato starch suspension are packed, you will not be able to see the position of the plunger or the sample at all. While the assembly is still visible, mark the expected plunger position on the outside of the syringe barrel when the plunger is fully depressed. This will allow you to identify the sample’s location later during positioning for scanning.
These syringe / stick assemblies can be stored for later use. When the time is right, you can use them for sample placement in potato starch suspension for MRI imaging as is described in this protocol:
Protocol
CREATED BY
Elena Carlson
Protocol references
1. Carlson E, Wrightson B. Whole organ sample embedding in potato starch suspension for ex vivo high field preclinical MRI. protocols.io. 2026; doi:10.17504/protocols.io.14egn5r3mg5d/v2
2. Plessier A, Le Dret L, Varlet P, Beccaria K, Lacombe J, Mériaux S, Geffroy F, Fiette L, Flamant P, Chrétien F, Blauwblomme T, Puget S, Grill J, Debily M‑A, Castel D. New in vivo avatars of diffuse intrinsic pontine gliomas (DIPG) from stereotactic biopsies performed at diagnosis. Oncotarget. 2017;8:52543‑52559. doi:10.18632/oncotarget.15002.
3. Stowe N, Singh A, Nitz J, Cruz E, Mercord A, Al‑Sakhbouri M, et al. High throughput quantitative ex vivo murine brain MRI capsule. Madison, WI: University of Wisconsin–Madison, Department of Biomedical Engineering; 2023. Available from: https://bmedesign.engr.wisc.edu/projects/s23/mouse_MRI/file/view/cabc9ebd-cf1e-48d3-bb1e-507cfd222ad6/FinalReport_BME301_MurineBrainTeam_3-1.pdf
4. Petiet A, Delatour B, Dhenain M. Models of neurodegenerative disease: Alzheimer's anatomical and amyloid plaque imaging. Methods Mol Biol. 2011;771:293‑308. doi:10.1007/978-1-61779-219-9_16.
5. Wrightson B, Carlson E, Espinoza R; Preparation of Ex‑Vivo Samples in Potato Starch Suspension for a Horizontal Bore MRI Scanner. protocols.io. Version 3. 2025. doi:10.17504/protocols.io.q26g7n473lwz/v3.
6. Tsurugizawa T, Kumamoto T, Yoshioka Y. Utilization of potato starch suspension for MR‑microimaging in ex vivo mouse embryos. iScience. 2022;25(12):105694. doi:10.1016/j.isci.2022.105694.
7. Tsurugizawa T, Kumamoto T, Yoshioka Y. Micro‑magnetic resonance imaging of ex vivo mouse embryos with potato starch suspension. STAR Protoc. 2023;4(3):102483. doi:10.1016/j.xpro.2023.102483.
Reference for terminology used in this protocol:
Acknowledgements
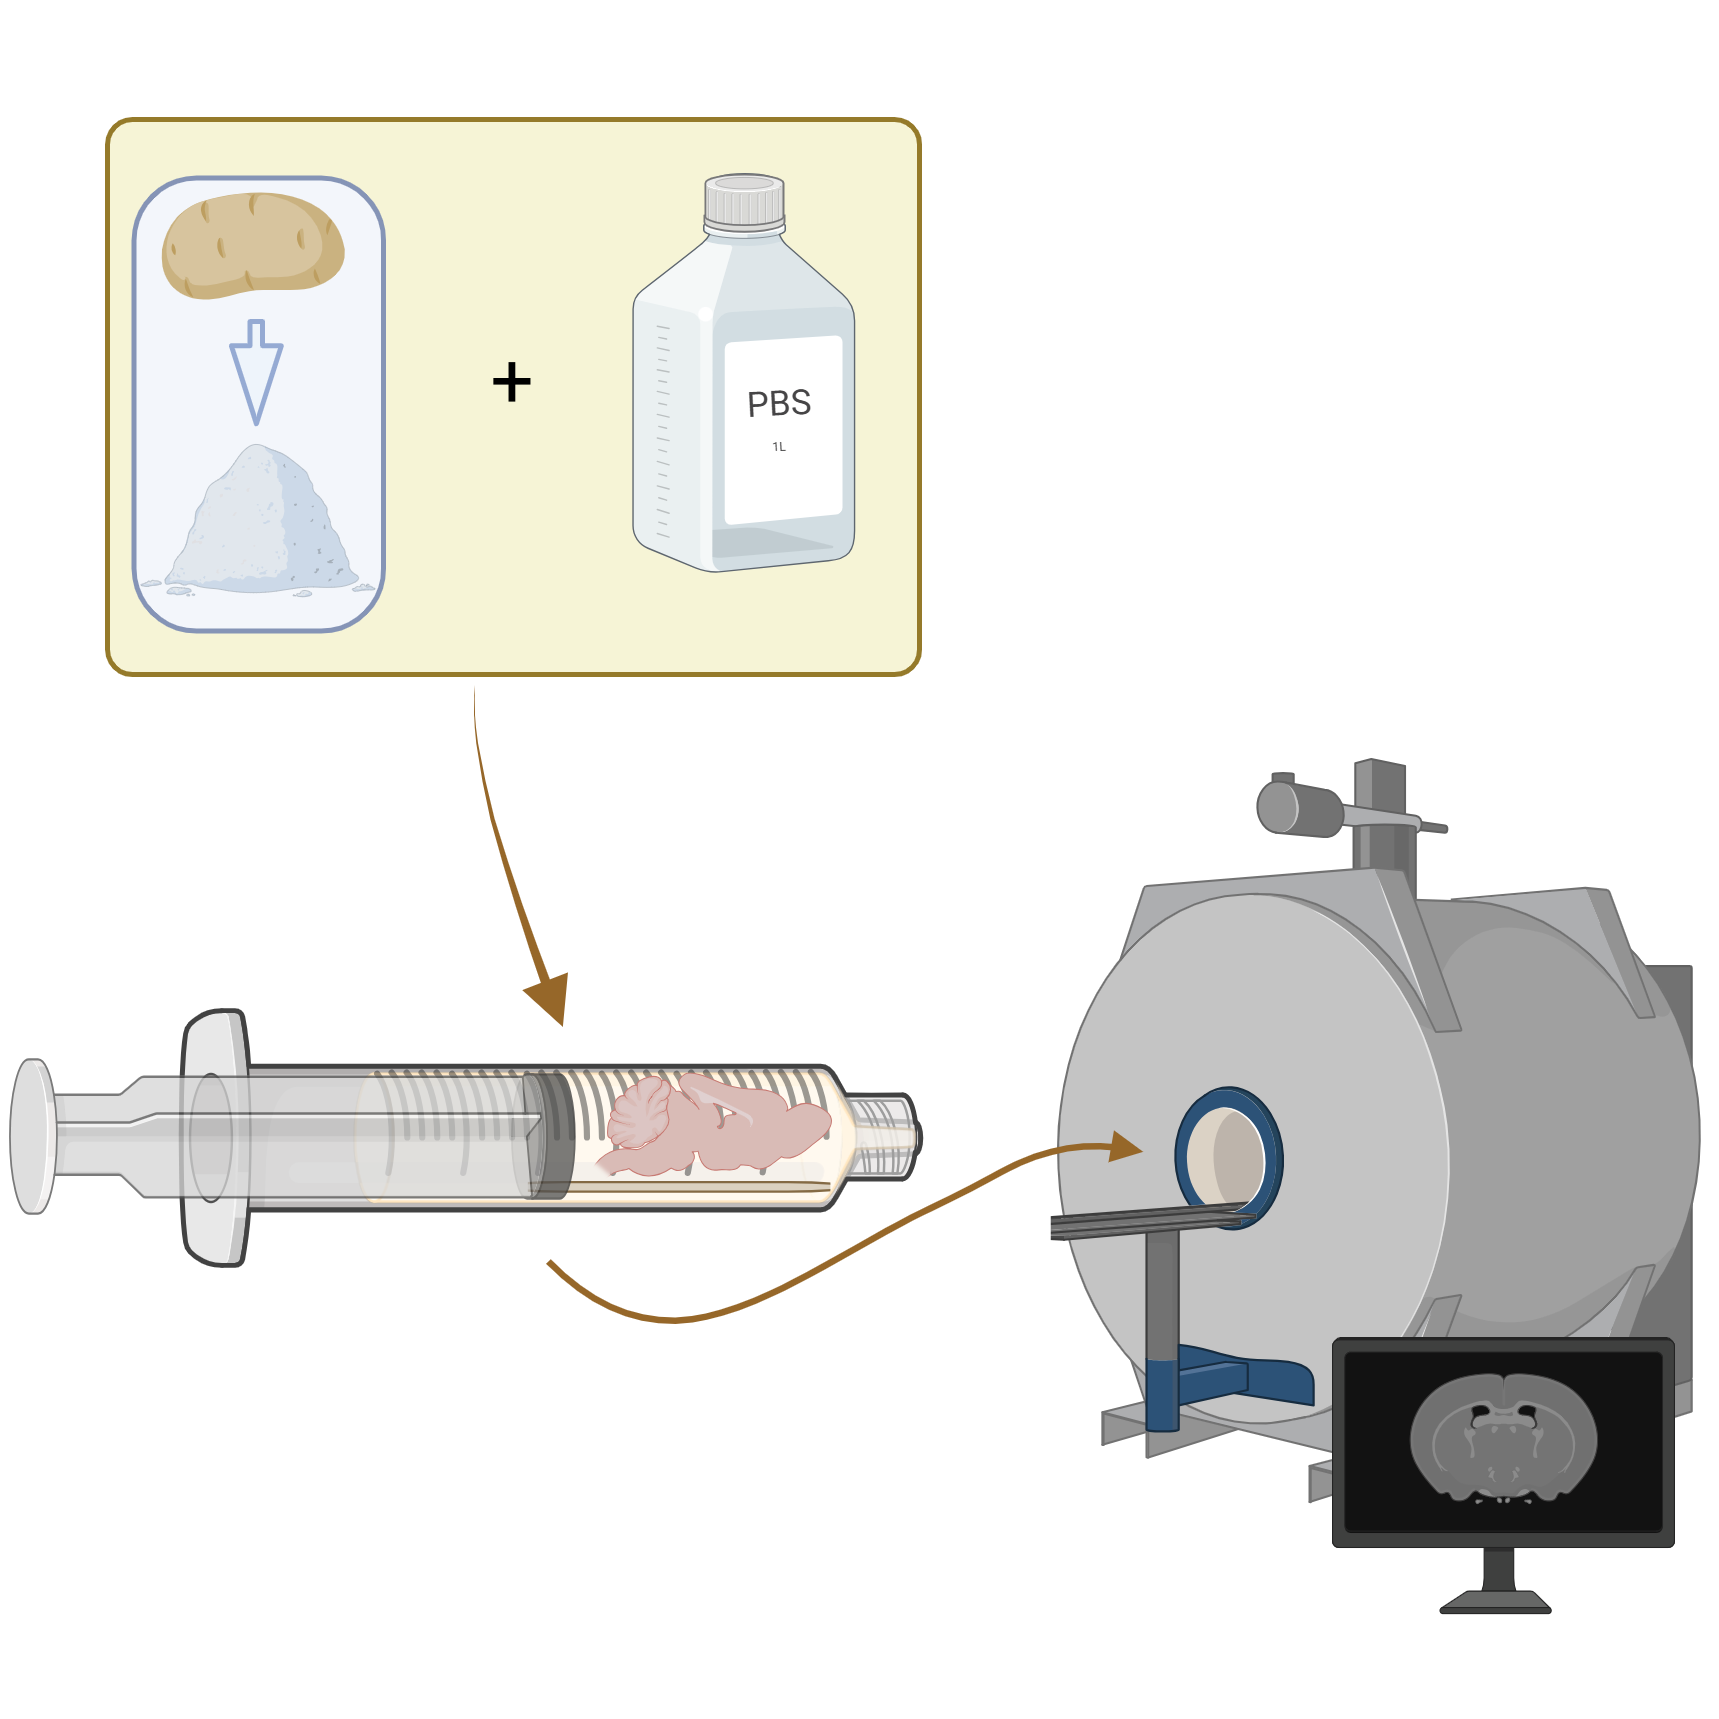
Graphical abstract made via Biorender. “graphical abstract” created in BioRender. Carlson, E. (https://BioRender.com/p2p4j62) is licensed under CC BY 4.0.
Protocol image in step 1 made with BioRender and with assistance of Microsoft Copilot - Created in BioRender. Carlson, E. (2026) https://BioRender.com/undefined