May 05, 2026
Streamlined DNA metabarcoding of soil and wood rot invertebrate communities
- Will Dawson1,2,
- Ben Hawthorne1,
- Thomas Welsh1,
- James Kitson2,
- Jordan Cuff1
- 1Newcastle University;
- 2Fera Science Ltd.
- Foraging Ecology Research Group


Protocol Citation: Will Dawson, Ben Hawthorne, Thomas Welsh, James Kitson, Jordan Cuff 2026. Streamlined DNA metabarcoding of soil and wood rot invertebrate communities . protocols.io https://dx.doi.org/10.17504/protocols.io.6qpvry7e2gmk/v1
License: This is an open access protocol distributed under the terms of the Creative Commons Attribution License, which permits unrestricted use, distribution, and reproduction in any medium, provided the original author and source are credited
Protocol status: Working
We use this protocol and it's working
Created: February 03, 2026
Last Modified: May 05, 2026
Protocol Integer ID: 242534
Keywords: metabarcoding, biomonitoring, entomology, high-throughput sequencing, community ecology, extracting dna, dna, molecular analysis, phylogenetic structuring, taxonomic resolution, dna metabarcoding, cryptic taxa, using molecular data, molecular data, dna extraction, dna library prep, streamlined dna metabarcoding of soil, molecular analyses like dna metabarcoding, methods like dna metabarcoding, using dna metabarcoding, dna metabarcoding, soil invertebrate community, streamlined dna metabarcoding, taxonomic resolution, taxonomic resolution of molecular method, important component of the soil ecologist, invertebrate community, soil ecologist, dna extraction, sample processing through dna extraction, study of phylogenetic relationship, throughput method for molecular analysis, analysing soil, phylogenetic relationship, analysis of ecological community, ecological community, cryptic taxa, soil, molecular analysis, understanding ecosystem health, organism, ecosystem health, generated community data, using molecular approach, comm
Funders Acknowledgements:
Newcastle University and Fera Science Ltd.
Grant ID: Institute for Agri-Food Research and Innovation (IAFRI) studentship
Abstract
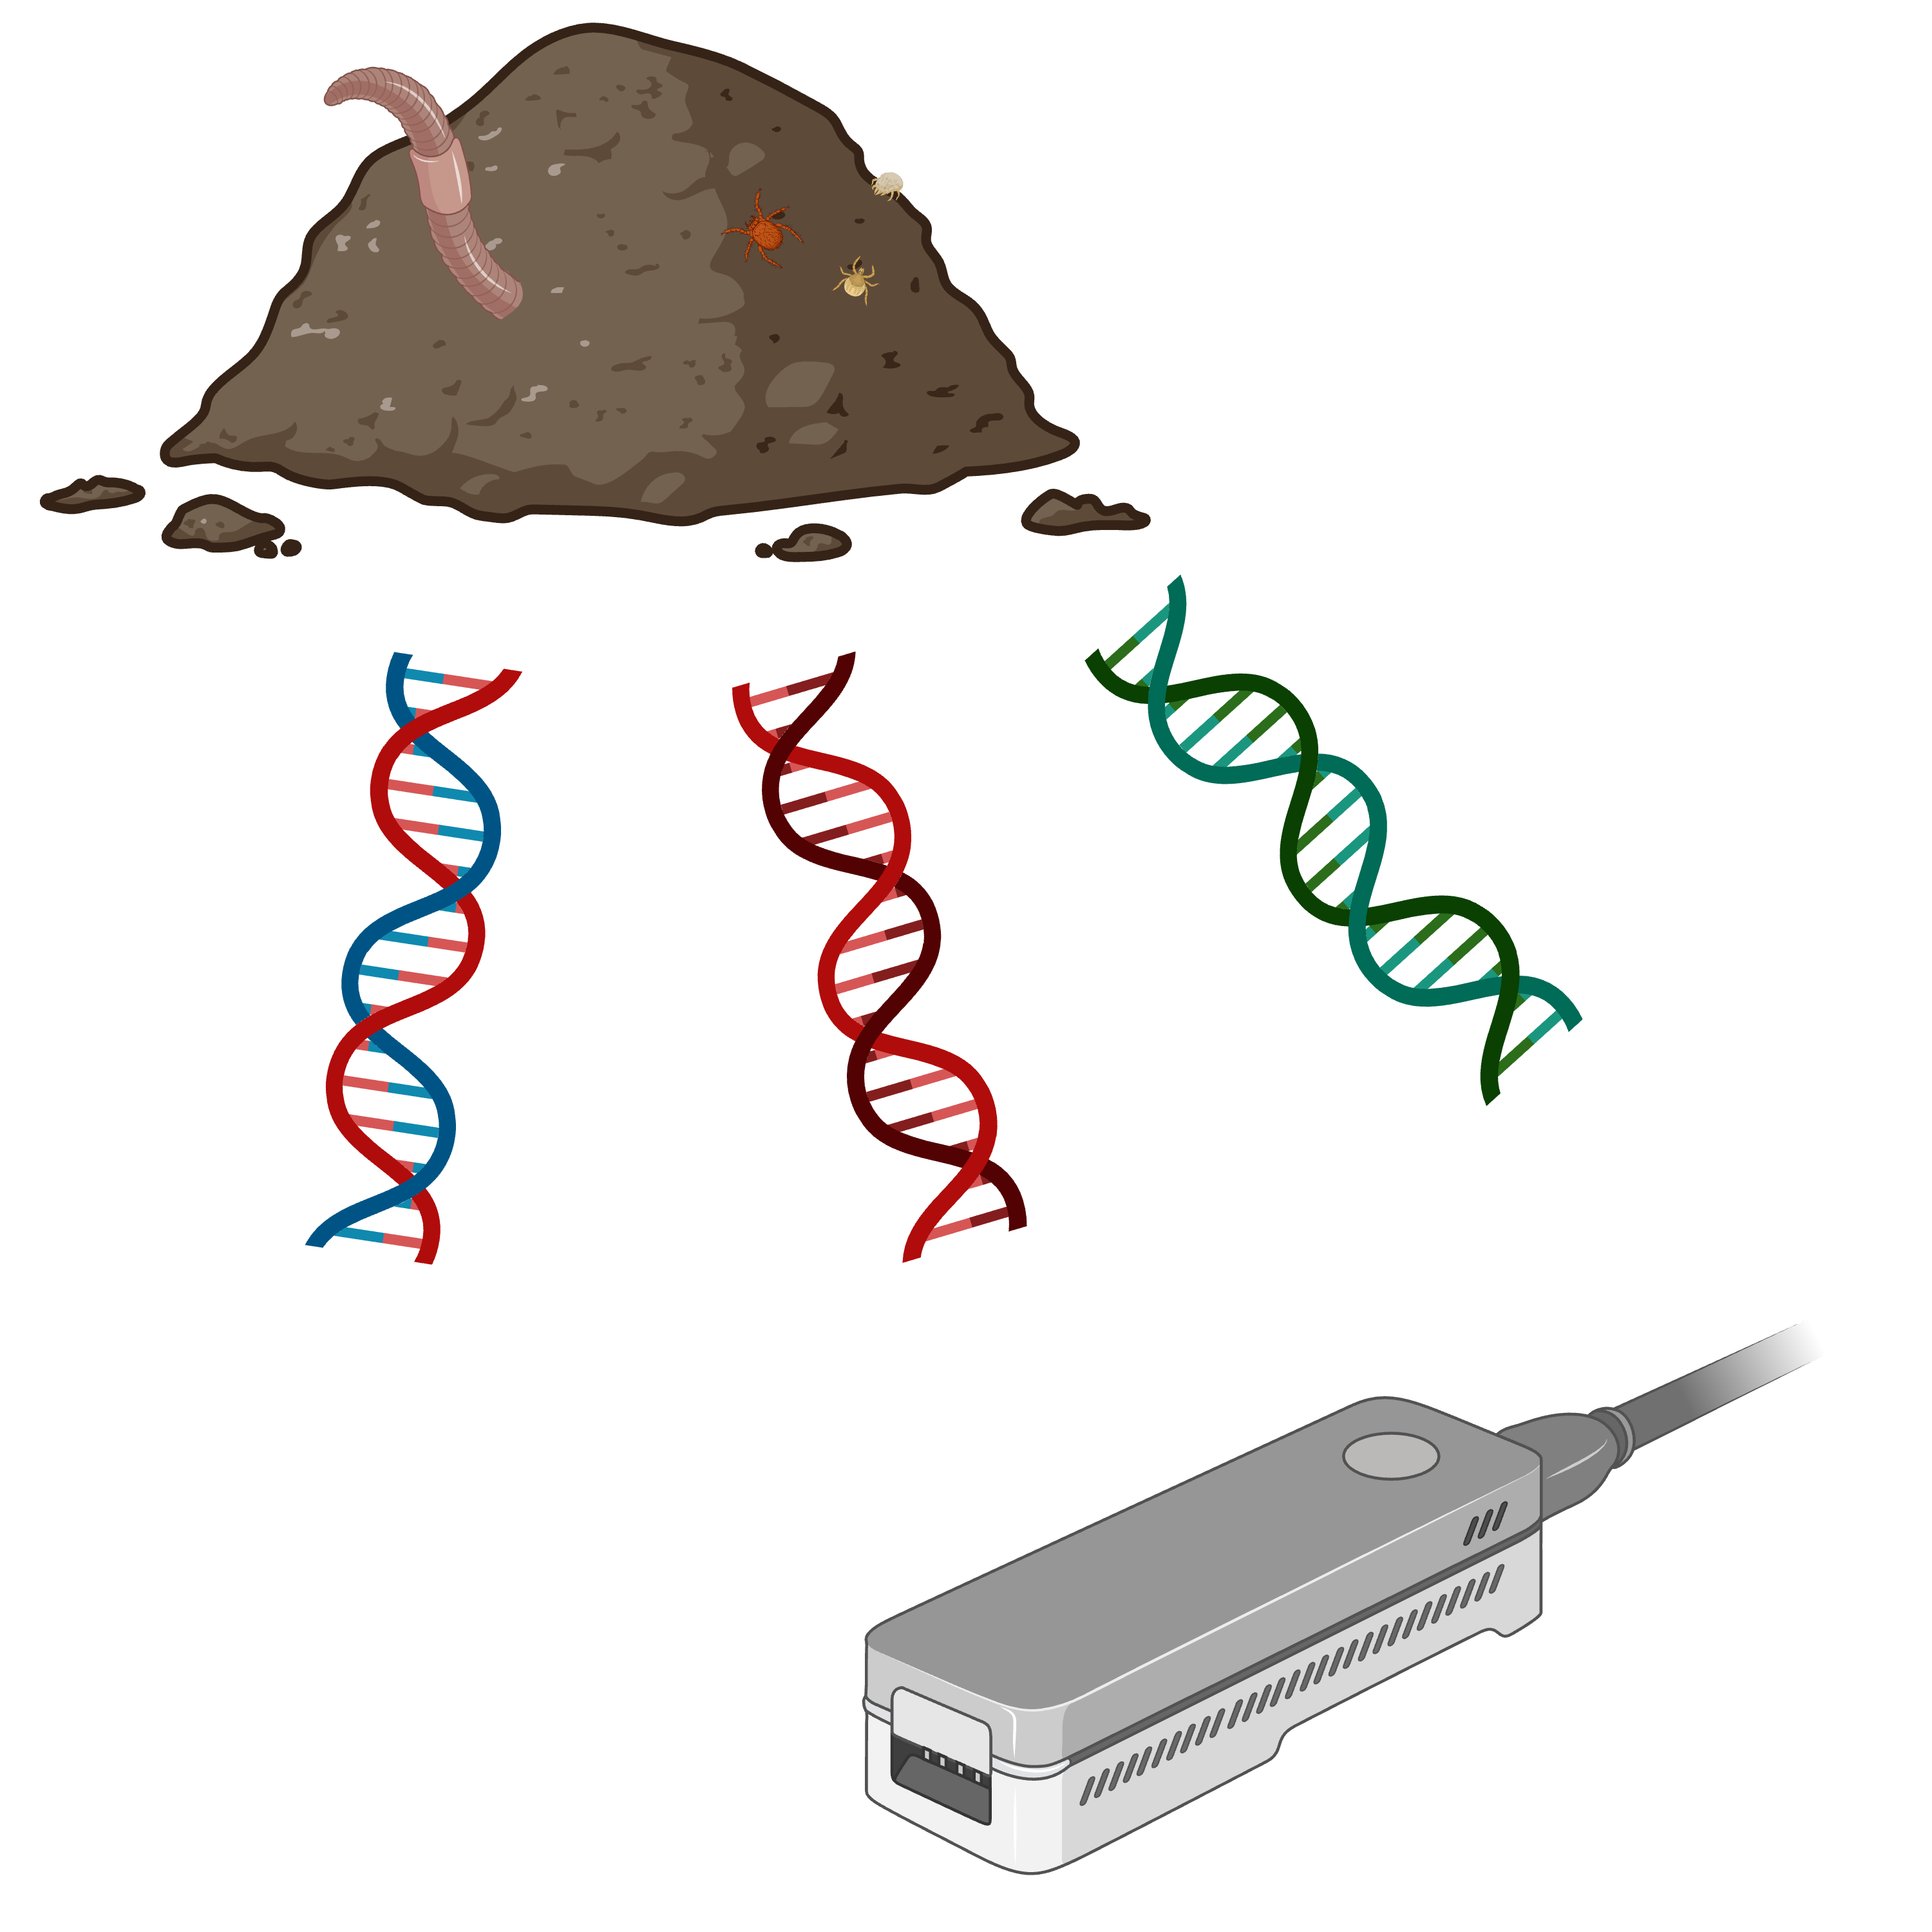
Understanding how soil invertebrate communities dynamically change over space and time, and how they are structured, is vital for understanding ecosystem health. This has, however, traditionally involved laborious surveys and datasets that are poorly taxonomically resolved, biased to charismatic organisms or otherwise poorly suited to their purpose. The analysis of ecological communities using molecular approaches has become increasingly commonplace over the last decade. Molecular analyses like DNA metabarcoding have generated community data including ecologically cryptic taxa and organisms that are otherwise difficult, if not impossible, to observe. The taxonomic resolution of molecular methods unlocks not only the potential for inclusion of morphologically cryptic taxa in monitoring datasets, but also the study of phylogenetic relationships between those taxa. Methods like DNA metabarcoding are therefore an increasingly important component of the soil ecologist’s toolbox.
This protocol covers the process of analysing soil using DNA metabarcoding with high-throughput robotics, with an emphasis on reducing processing time and complexity. From sample processing through DNA extraction to PCR and equalisation, this protocol covers most of the process involved in generating high quality sequences.
The protocol uses high-throughput robotics equipment hosted at the Newcastle University Molecular Diagnostics Facility to expedite various steps, but the equivalent manual processes are described in a separate step case. The main methods presented offer a cost effective and high-throughput method for molecular analyses of soil using this specialised lab equipment, but the standard alternatives signposted throughout are accessible using standard molecular lab equipment.
Image Attribution
Created in BioRender. Cuff, J. (2025) https://BioRender.com/yjynd1m
Materials
For initial storage and sterilisation:
- Tubes for storage of samples
- 100 % ethanol for cleaning
- Chemgene/diluted bleach for sterilisation of equipment
For DNA extraction:
- Processing tools (e.g., spatula and Petri dishes)
- Hardened carbon steel ball bearings (2-3 mm)
- 2.2 mL deep well plates for initial lysis
- Deep-well and standard Kingfisher 96-well plates
- Plate seals for long-term storage
For DNA amplification and subsequent steps:
- Tagged PCR primers
- 2X hot-start Taq polymerase mastermix
- Molecular grade water
- 96-well PCR plates
- Mineral oil
- 1X SPRI beads
- Nanopore sequencing library prep kit
- Nanopore sequencing flow cell
Buffers and reagents:
- Sodium chloride
- Tris-HCl
- EDTA
- GITC
- Nuclease-free water
- SDS
- PEG
- Tris-HCl
- 100 % ethanol
- Papain
Equipment:
- -20 °C freezer
- Geno/Grinder or similar bead beater for homogenisation
- Thermocycler
- Magnetic stand (for plates and tubes)
- Centrifuge
- Microcentrifuge
- Vortex
- Pipettes (preferably including multichannel, ideally including 96-well)
- Ideally, Kingfisher Apex or similar
- Ideally, Qiagen Qiaxcel or similar
- Nanopore sequencer
Safety warnings
Check safety guidelines for individual reagents before commencing work. Some reagents will be toxic, corrosive or otherwise present health and safety risks. Appropriate personal protective equipment should be used at all times, not only for personal safety but also reduction of contamination risk.
Ethics statement
Check national and institutional policies for research involving your sample type. Follow best practice guidelines and stay up to date with the latest developments in policy. Only disturb as many organisms as is necessary, and always do so as humanely as possible with any necessary permits in place and valid throughout the study.
Preparation, homogenisation and lysis of samples
3d 2h 30m
This protocol largely follows the BOMB-Bio protocol for total nucleic acid analysis, with some adjustments for larger soil samples and for integration with the Kingfisher Apex (for the 'robotic' step-case - an alternative manual protocol is available).
Citation
LINK
Note
This protocol is focused on streamlining analysis and increasing throughput. It is recommended to look at other DNA extraction protocols which may add reagents that reduce the prevalence or effect of PCR inhibitors (e.g., addition of flocculant solution following lysis). These steps could be integrated with this protocol and may increase PCR success.
Consider what the experimental aims are and decide sampling methods accordingly. The following steps of the protocol are based on a small (<2 g ) sample of soil, which could be collected using a sterilised corer, collection tube or gloved hand.
Note
The protocol will likely work for other similar sample types, including faeces and biofilms, but, as above, it's worth checking other viable protocols and seeing whether additional steps to remove inhibitors are necessary.
Add 25 mL TNES lysis buffer to a suitable sterile container (e.g., 50 mL Falcon tube).
Note
For the TNES buffer, follow the recipe provided by BOMB-Bio (100 millimolar (mM) Tris-HCl, 52 millimolar (mM) NaCl, 10 millimolar (mM) EDTA, 10 Mass / % volume SDS).
5m
Add up to 2 g of soil to the TNES buffer.
Note
Between each sample, thoroughly decontaminate any tools and any surfaces used (e.g., Petri dish) with Chemgene (or a similar disinfectant), rinsing with molecular biology-grade water and 100 % ethanol, and wiping dry with sterile tissue.
Add three 2-3 mm steel beads to the TNES buffer and soil.
Note
If using ball bearings designed for machinery, the beads are usually shipped coated in manufacturing oil (especially the carbon steel beads). To remove this, place beads in a borosilicate glass beaker or Duran bottle with plastic pouring lip and lid removed then bake for at least 12 hours at 250 °C.
Add 2.5 mL 20 mg/mL papain to each container.
Note
This can be added post-grinding instead, but can increase processing times disproportionally.
2m
Homogenise the sample at 1750 rpm, 00:04:00 in a grinder/lyser (e.g., GenoGrinder).
4m
Incubate overnight (~16:00:00 ) at 37 °C or 02:00:00 at 56 °C .
2h
Centrifuge the sample 2000 x g, 00:02:00 to separate solid particulate matter from the lysate.
2m
Transfer 60 µL to a 96-well filter plate with a 96-well plate suitable for the Kingfisher Apex (if using downstream) positioned below to catch and retain the flow-through. Consider the distribution of experimental controls ahead of subsequent steps to streamline downstream liquid handling.
Our recommended PCR plate layout, which could be adopted here, during DNA extraction, for streamlining further into the protocol (i.e., to avoid having to redistribute samples across plates). Created in BioRender. Cuff, J. (2025) https://BioRender.com/yjynd1m
Note
This is not referring to silica membrane spin columns, which are commonly used in spin column-based DNA extractions. Instead, these plates filter out physical material and let liquid through.
You can transfer more to the filter plate, but take note of the filter and capture plate maximum volumes and do not exceed them. If filtering more, you will need to transfer 60 µL into a separate plate for the next steps.
If less than 100 µL can be collected, so long as 60 µL is available for the next step, that's okay. If that is not possible (e.g., due to physical plant material), add more TNES to dilute the lysate and take that forward.
15m
Centrifuge at 2000 x g, 00:02:00 to separate the supernatant from the physical material and discard the filter plate.
Note
At this stage, you can store samples at -20 °C until ready to proceed.
2m
Based on the equipment available, decide whether to follow the robotics-based or standard protocol using the step-case options below.
Robotics-based protocol1 step
This step-case option used several key robotics instruments to increase throughput and efficiency. These include the ThermoFisher Kingfisher Apex and the Qiagen Qiaxcel, but alternative instruments can be used instead. The alternative step-case option uses conventional molecular lab equipment (a magnetic plate and gel electrophoresis setup).
Prepare Kingfisher Apex reagent plates as below.
Note
The Kingfisher Apex is ideal for automated high-throughput extraction of DNA, but will not always be available. Alternative equipment can achieve similar results, including just using magnetic racks. In that case, rather than transferring beads between plates, remove the supernatant and replace it with the next reagent, as described for normalisation below.
For the sample plate, to each well of a 96-well deep-well plate, add 60 µL of the lysate from STEP 11, 120 µL of 1.5X GITC buffer, 120 µL of 1 mg/mL SeraMag Speed Beads in TE (10 millimolar (mM) Tris and 1 millimolar (mM) EDTA) and 240 µL isopropanol.
Note
For the 1.5X GITC buffer, follow the recipe provided by BOMB-Bio (6 Molarity (M) GITC, 75 millimolar (mM) Tris-HCl, 3 % volume sarkosyl, 30 millimolar (mM) EDTA, 0.15 % volume antifoam).
5m
For the two ethanol plates, to each well of two 96-well deep-well plates, add 400 µL 80 % ethanol.
2m
For the isopropanol plate, to each well of a 96-well deep-well plate, add 400 µL isopropanol.
1m
For the elution plate, to each well of a 96-well standard plate, add 100 µL molecular biology grade water.
1m
Insert plates into the Kingfisher Apex and run a preset programme with the below steps.
30m
Pick up the 96 deep-well tip comb from a 96-well standard plate.
30s
Bind DNA to the beads by mixing at medium speed for 00:05:00 with a slow post-mix for 00:05:00 .
10m
Collect the beads in three 00:00:01 collections.
10s
Release the beads into the isopropanol plate and mix for 00:01:00 at medium speed, and collect the beads in three 00:00:01 collections.
1m 30s
Release the beads into one of the 80 % ethanol plates and mix for 00:01:00 at medium speed, and collect the beads in three 00:00:01 collections.
Note
This sub-step is repeated three times in separate plates of 80 % ethanol.
1m 30s
Release the beads into one of the 80 % ethanol plates and mix for 00:01:00 at medium speed, and collect the beads in three 00:00:01 collections.
1m 30s
Release the beads into one of the 80 % ethanol plates and mix for 00:01:00 at medium speed, and collect the beads in three 00:00:01 collections.
Dry the beads above the well for 00:02:00 .
2m
Release the beads into the elution plate and mix for 00:02:00 at fast speed with a slow post-mix for 00:03:00 , and collect the beads in four 00:00:20 collections.
6m
Leave the tip comb in an empty 96-well standard plate.
30s
Store the eluted DNA at -20 °C until ready for subsequent steps.
PCR
3h 22m
Decide how samples will be distributed across plates (but don't distribute the DNA yet). Consider including a negative control in each row and column to detect any contaminants in each tagged forward and reverse primer. Among these wells, include any DNA extraction negative controls. Include positive controls (ideally mixed samples of species not found in the same study system), perhaps one adjacent to negative controls and the other adjacent only to samples (but both on separate rows and columns). Include blank controls (ideally wells into which no reagents or at least no primers are added), perhaps one adjacent to negative controls and the other adjacent only to samples (but both on separate rows and columns).
If using multiple PCR primer pairs, familiarise yourself with the annealing temperatures for each and prepare separate PCR plates for each. For optimal accuracy, consider running replicates of each reaction (e.g., triplicates).
Our recommended PCR plate layout, which could be adopted here for streamlining downstream. Created in BioRender. Cuff, J. (2025) https://BioRender.com/yjynd1m
10m
Prepare enough PCR mastermix for each sample.
For a full plate, the below values will usually suffice (with some overage to account for pipetting error), but check your specific Taq polymerase mix for any differences:
| A | B | |
| Reagent | Volume (μL) | |
| Molecular grade water (DNase free) | 1131.6 | |
| 2X hot-start PCR mastermix | 1380 |
Note
These values are for 25 µL reaction volumes, which have been demonstrated to be effective for community metabarcoding. Consider running them in triplicate for more accurate results.
2m
Using tagged primers, unique identifiers can be established for a full plate with 8 uniquely tagged forward primers and 12 uniquely tagged reverse primers. For ease, if able to use a 96-well pipette, consider creating a "primer plate" containing both PCR primers for each well at 5 micromolar (µM) concentration; this is especially effective when using multiple plates. For 25 µL reaction volumes, this will subsequently involve adding 22.75 µL hot-start Taq polymerase and water master mix (described in the step above) to each well, followed by 1.25 µL of each primer mix to its corresponding well. It is possible to do this with a multichannel pipette.
Distribution of tagged PCR primers across the 96-well plate. Created in BioRender. Cuff, J. (2025) https://BioRender.com/yjynd1m
15m
Add 1 µL DNA to each corresponding sample or positive control well, and 1 µL molecular grade water to each negative control other than extraction negative control(s).
10m
Distribute one drop of mineral oil into each well of the PCR plate(s) (~20 µL ).
Note
This can be achieved by taking a large volume of mineral oil into the pipette tip and then gently depressing the plunger so that a drop forms and falls from the tip into each well.
Mineral oil improves sealing of reactions by preventing evaporation and condensation. By reducing evaporation and thus loss of product, this also reduces potential cross-contamination.
2m
Briefly centrifuge the plate to ensure that the oil is above the PCR mix and everything is at the bottom of each well without air bubbles.
1m
Load the PCR plate into a thermocycler. Ensure that the temperature regime matches the enzyme used (including any heat activation for hot-start Taq) and that the annealing temperature matches the PCR primers used.
Note
Given differences between labs and samples, and inaccuracies in temperature calibration, considering running a temperature gradient PCR with known samples to check the specificity of your PCR primers.
2m
Run your PCR programme.
2h
The samples should now be checked for successful amplification, contamination in negatives and any secondary banding. Gel electrophoresis will achieve this, but digital systems like the Qiagen Qiaxcel will do this and facilitate equalisation by generating amplicon-specific DNA concentations.
40m
Equalisation
3h 24m
Note
Equalisation is more effective than normalisation, but requires amplicon concentration data. Both can be time and labour intensive though, so can be skipped if time restricted for large-scale projects, although at the expense of data recovery and evenness. This protocol presents equalisation, but see the protocol from which this is forked for a step-by-step description of normalisation.
If the PCRs were replicated (i.e., each sample run multiple times for each PCR primer pair used), these can be merged together into one plate at this point, or carried forward separately. Keeping the replicates separate increases the number of libraries to prepare and sequence later, but better facilitates identification of inconsistencies between samples that may arise from contamination or error. To merge triplicates, assuming use of 25 µL reaction volumes, pipette 22 µL from each well of two of the three plates into the corresponding well of the third. Briefly centrifuge the merged plate to move the oil to the top of the product again.
Note
To avoid pipetting oil from the oil-sealed PCR products, plunge the pipette to the first stop and fully insert the pipette tip into the bottom of the well, then release sharply. The PCR product will be taken up quickly, whereas the relatively viscous oil will be taken up slowly, thus being outcompeted by the PCR product.
5m
Analyse the PCR products via digital electrophoresis (e.g., Qiagen Qiaxcel). This provides data on the concentration of specific amplicons (i.e., the target amplicon of the PCR primers used), which will be used in the next two steps.
Note
If digital electrophoresis (or an equivalent platform that facilitates quantification of concentration by band size) isn't available, you could proceed through the steps from STEP 31 in this section and quantify concentration using a fluorescence-based assay (e.g., Qubit dsDNA assay) and pool (as in STEPS 29-30) based on those values. It is important that primer dimers and other small fragments are removed (e.g., via magnetic bead-based purification) prior to these fluorescence-based assays as they can otherwise inflate and distort concentration values.
30m
Based on the concentration of the target amplicon in each sample, calculate how much to pool from each sample in order to achieve equimolarity (i.e., equal representation of samples). This can be achieved by dividing the maximum concentration within the plate by the concentration of each individual sample.
Note
The negatives, blanks and low concentration samples (for which the amount to pool exceeds the total volume available) should be pooled differently. This is summarised in STEP 26.
10m
Pool the value calculated for each sample in the previous step as a volume in microlitres. Positive controls can be treated as samples. For negative controls, pool the average volume pooled across the samples (i.e., calculate the amount to be pooled from each sample to achieve equimolarity, calculate the mean of all of these values for each plate, and then use this value as the amount to pool from each negative control). For blanks, do not pool anything. If the volume to be pooled exceeds the total volume available, pool the total volume available. For samples with low or no concentration, the PCRs for these samples could be repeated, the samples could be excluded, or these can be pooled in the same manner as negative controls (although be wary in any interpretation of the data given increased potential for inaccuracy).
Note
If most of the volumes are similar and small, you can double (or otherwise multiply) the values.
If there is a large variation in the volumes to be pooled, the values can be halved to facilitate pooling more dilute samples proportionally.
1h
To purify these pools ahead of library preparation, prepare a 1X solid phase reversible immobilisation (SPRI) bead solution and bring it to room temperature. The below steps detail how to make this solution, but it is also commercially available.
25m
If using beads such as Sera-Mag Magnetic SpeedBeads (carboxylated, 1 µm, 3 EDAC/PA5), take 1 mL of well-mixed bead solution and wash the beads twice with TE+Tween buffer (10 millimolar (mM) Tris base, 1 millimolar (mM) EDTA, 0.05 % volume Tween 20, pH 8.0) by magnetising the beads, removing the supernatant, adding the TE+Tween, remagnetising the beads and removing the supernatant, and repeating the addition and removal of TE+Tween once more.
10m
To the beads, add the following mix:
| A | B | |
| Reagent | Volume | |
| 5 M NaCl | 25 mL | |
| Molecular grade water | 3.582 mL | |
| 1 N HCl | 0.168 mL | |
| 1 M Tris base | 0.5 mL | |
| 0.1 M disodium EDTA | 0.5 mL |
10m
Add 20 mL of 50 % volume PEG to the tube to reach a 1X bead solution.
5m
If ≥20 µL of PCR product is available for each pool, pipette 20 µL of 1X SPRI bead solution into each corresponding well of a 96-well plate or individual tubes. If less DNA is available, add a volume of SPRI bead solution equivalent to the full available volume of PCR product to the each corresponding well of the new 96-well plate or individual tubes.
Note
When working with magnetic bead solutions, ensure they are at room temperature and fully mixed, with no residue at the bottom of the container.
This is a good opportunity for size selection as well, especially if the PCR product contains any secondary bands. If using SPRI beads, adjust the volume added to select different fragment sizes. Refer to manufacturer details for more information on size selection.
Larger volumes can be used, so long as the corresponding volume of beads is used. For volumes greater than 100 µL , consider doubling the ethanol and water volumes in the remaining steps of this section.
5m
Add 20 µL of PCR product (or whatever volume of beads was used in the last step) to each corresponding well of 1X bead solution, avoiding oil, and mix by vortexing (1500 rpm, Room temperature , 00:01:00 ).
Note
To avoid pipetting oil from the oil-sealed PCR products, plunge the pipette to the first stop and fully insert the pipette tip into the bottom of the well, then release sharply. The PCR product will be taken up quickly, whereas the relatively viscous oil will be taken up slowly, thus being outcompeted by the PCR product.
10m
Incubate at Room temperature for 00:05:00 .
5m
Place on a magnetic stand for 00:05:00 .
5m
Remove all but 5 µL of the mixture from each well via pipette without disturbing the beads, which should be settled on the magnet.
Note
We recommend leaving 5 µL behind simply to avoid pipetting the beads themselves, but this can be avoided with care and experience.
2m
Add 200 µL 80 % volume ethanol to each well.
2m
Remove the ethanol and add a further 200 µL 80 % volume ethanol to each well.
2m
Remove the ethanol as completely as possible by pipetting and allow the beads to air-dry until the aggregation of magnetic beads transitions from 'glossy' (shiny reflection of light) to 'matte' (dull dark brown mass), but not so long that it dries completely (i.e., begins to turn a rusty red and shows cracks).
5m
Add 11 µL molecular grade water to each well, shake at 1500 rpm, Room temperature , 00:01:00 and incubate at Room temperature for 00:05:00 .
7m
Place on a magnetic stand for 00:05:00 .
5m
Remove 10 µL of the supernatant and place it into a new tube. This will be the library used in any subsequent library preparation.
1m
Library preparation and sequencing
3h
Quantify the concentration of the library from the previous step (e.g., using Qubit dsDNA assay) and take this forward for library preparation. For Oxford Nanopore Technologies sequencing, follow the manufacturer protocols (or adaptations of them on here). For Illumina sequencing, consider protocols such as the one this is forked from if your primers include a Nextera overhang; otherwise, consider ligation-based library preparation methods. Check with your sequencing provider how many fmol they will need in how many µL. This will be based on the sequencer, sequencing cartridge and any QC processes they follow.
3h
Protocol references
Citation
LINK
Citations
Oberacker P, Stepper P, Bond DM, Höhn S, Focken J, Meyer V, Schelle L, Sugrue VJ, Jeunen GJ, Moser T, Hore SR, von Meyenn F, Hipp K, Hore TA, Jurkowski TP. Bio-On-Magnetic-Beads (BOMB): Open platform for high-throughput nucleic acid extraction and manipulation.
https://doi.org/10.1371/journal.pbio.3000107Step 1
Oberacker P, Stepper P, Bond DM, Höhn S, Focken J, Meyer V, Schelle L, Sugrue VJ, Jeunen GJ, Moser T, Hore SR, von Meyenn F, Hipp K, Hore TA, Jurkowski TP. Bio-On-Magnetic-Beads (BOMB): Open platform for high-throughput nucleic acid extraction and manipulation.
https://doi.org/10.1371/journal.pbio.3000107