Feb 18, 2022
SOP for snap-freezing tissues
- Jolet Y Mimpen1,
- Claudia Paul1,
- Lorenzo Ramos-Mucci1,
- Tendon Seed Network2,
- Mathew Baldwin1,
- Adam Cribbs1,
- Sarah Snelling1
- 1University of Oxford;
- 2Chan Zuckerberg Initiative
- Tendon Seed Network


Protocol Citation: Jolet Y Mimpen, Claudia Paul, Lorenzo Ramos-Mucci, Tendon Seed Network, Mathew Baldwin, Adam Cribbs, Sarah Snelling 2022. SOP for snap-freezing tissues. protocols.io https://dx.doi.org/10.17504/protocols.io.b2tqqemw
License: This is an open access protocol distributed under the terms of the Creative Commons Attribution License, which permits unrestricted use, distribution, and reproduction in any medium, provided the original author and source are credited
Protocol status: Working
We use this protocol and it’s working
Created: December 13, 2021
Last Modified: February 18, 2022
Protocol Integer ID: 55888
Keywords: freezing tissue, frozen tissue, consistent tissue collection, collected tissue, tissues the collection, human tissue, single nucleus rna, tissue, critical that the tissue, rna, tissue quality, biomedical research, protocol for the collection
Funders Acknowledgements:
Chan Zuckerberg Initiative
Grant ID: CZIF2019-002426
Abstract
The collection of (human) tissue is essential for many aspects of biomedical research. In order to maintain tissue quality and achieve reproducible and representative results, it is critical that the tissue is collected in a consistent manner, especially when tissue is collected by different people, at different locations, and/or over a long period of time. This is particularly important for snap-frozen tissue, which can be stored for long periods of time before use in a range of experiments including bulk and single nucleus RNA sequencing and imaging. Therefore, this protocol for the collection of snap-frozen tissue provides a set of reproducible steps, including recommendations for pictures to be taken and specific details to be noted down, to ensure that consistent tissue collection, such that the collected tissue can be optimally used in the future.
Materials
Materials
- 30 mL universal tube (Greiner Bio-One, cat#G201152) or other appropriate sterilised tube or pot
- Petri dishes
- Micro-dissecting forceps, straight or curved (Sigma cat #F4142 or #F4017)
- Scalpel (Swan Morton disposable scalpel (i.e. no.10))
- Cryotube (Nunc 1.8mL CryoTubes, Sigma #V7634) and/or cryosette (CryoSette, SLS, cat# CRY2070)
- Fine-tip waterproof marker pen
Reagents
- Appropriate media (for example: DMEM-F12 media, Gibco, ThermoFisher cat# 31330-038)
- Foetal Bovine Serum
- Pen/Strep (Gibco, ThermoFisher cat# 15140-122)
- D-PBS (Sigma cat #D8537)
- Liquid nitrogen
Safety warnings
Scalpel
- Do not reuse or resterilize. Discard after one procedure. Structural integrity and/or function may be impaired through reuse or resterilization.
- Do not use device that has been damaged in any way. Damaged device may cause complications.
- Device blade is sharp. Handle with care. Do not touch cutting edge.
- Scalepls must be disposed of in a yellow sharps box.
Liquid nitrogen
- Liquid nitrogen should only be used after the appropriate training has been completed.
- Only use and store in well-ventilated areas
- Always wear appropriate personal protective equipment, including eye and skin protection
- Use only approved impact resistant containers.
- Handle the liquid slowly to minimize boiling and splashing.
- Use tongs to withdraw objects immersed in a cryogenic liquid
Before collection of specimen(s)
Prepare the following items to bring to theatre for tissue collection:
- 50 mL Falcon tube with media (supplemented with 10% FBS and 1% P/S) [or other appropriate media mixture]; keep the media at 4°C for as long as possible.
- For each specimen to be collected, get one sterile 30mL universal tube (or other appropriate sterilised pot/tube).
Advice: If the media has to be kept in theatres for prolonged amount of time, we suggest to bring the media over with an icepack to ensure the media stays cool.
Before arrival of specimen(s)
Prepare a hood with the following equipment/tools:
- D-PBS
- Petri dishes (1 for D-PBS and 1 for each specimen)
- Forceps (ideally two pairs)
- Scalpel(s)
- Fine-tip waterproof marker pen
Advice: If the tissue needs to be flat when frozen (for example for future use for imaging), we recommend using the CryoSette system.
Collect liquid nitrogen in an appropriately-sized and fit-for-purpose dewar to snap-freeze the specimens
When specimen(s) arrive
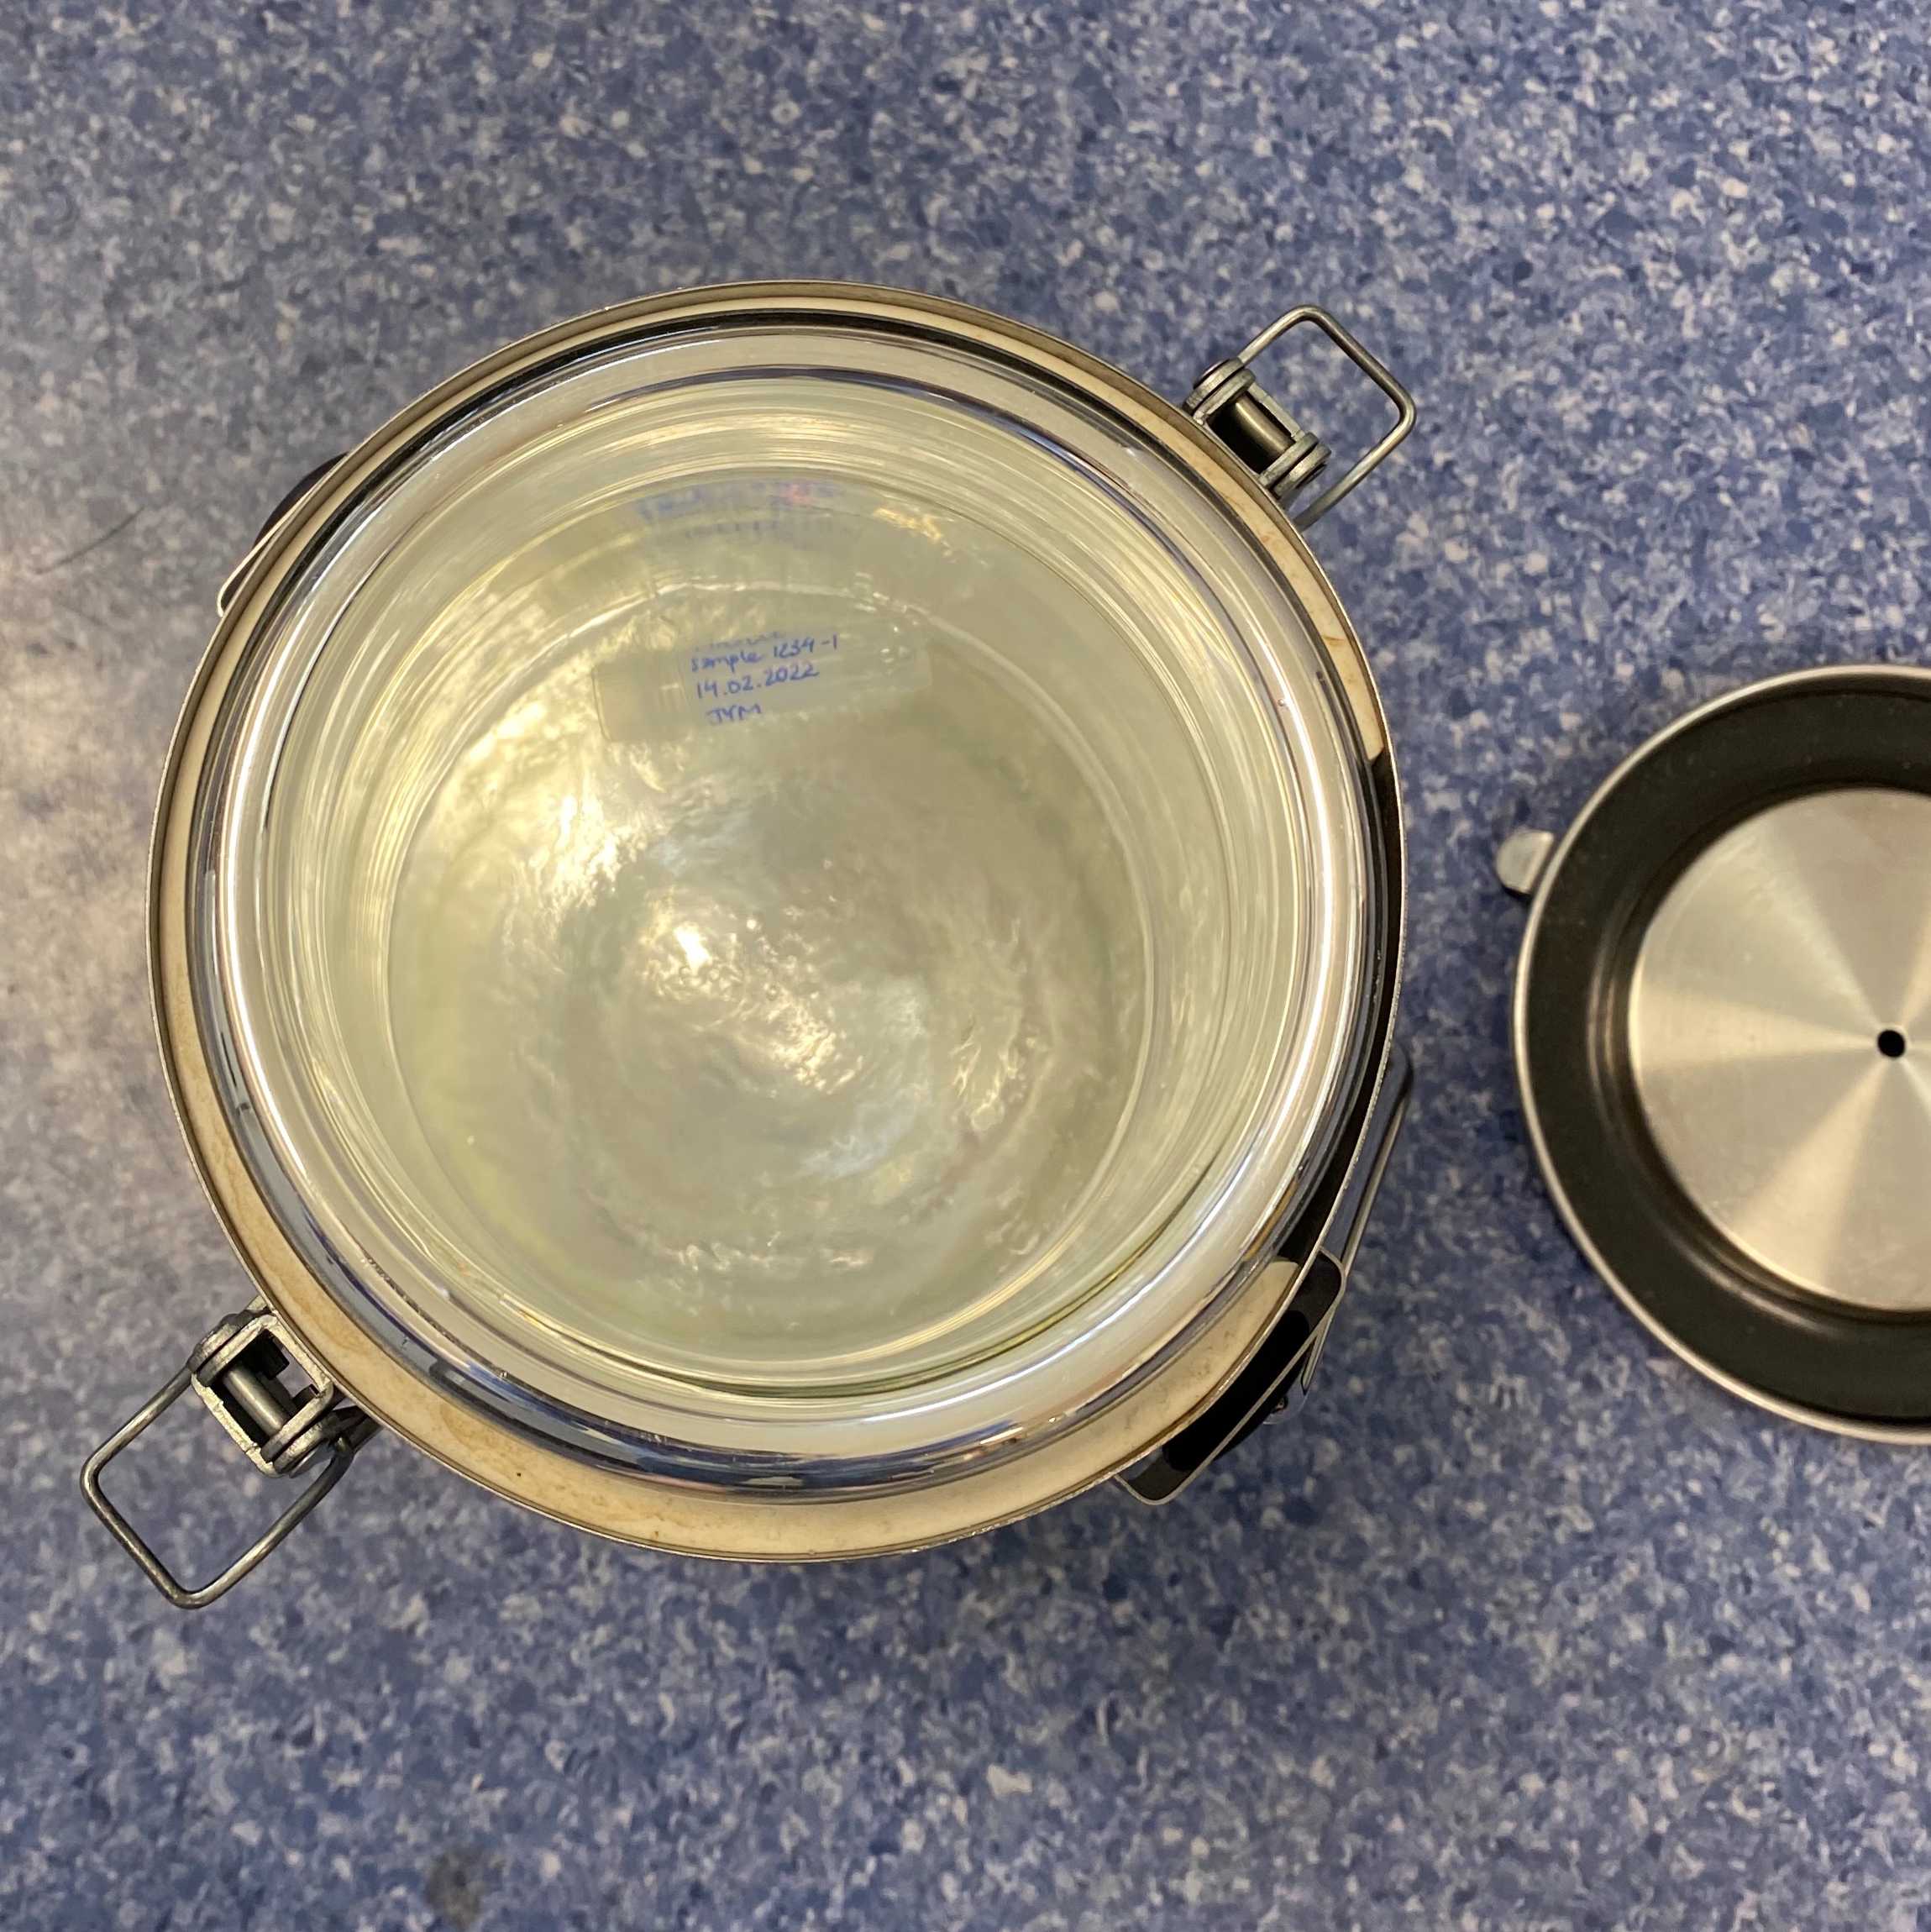
Empty the universal tube (or other tube/pot with the specimen and media) into a petri dish. Place the lid of a petri dish with the flat side down.
Use forceps to get specimen out of the media and put into the lid of a petri dish; take a scalpel (with a scale on the side) and put this next to the specimen on the petri dish. Take a photo of the specimen for reference. If the front and the back are different, take a photo of each side.
Advice on traceability: take a photo of the tissue with the original universal tube and the tissue reference number in the background, so that photo can be traced back to the correct tissue.
Advice on orientation: to help orient specimens we recommend tagging or marking relevant anatomical landmarks, for example for tendon, you could mark the enthesis and myotendinous junction. Ideally this should be done at the time of tissue collection (e.g. intra-operatively) or alternatively during cataloguing if relevant anatomical landmarks are discernible
Wash specimen in separate Petri dish containing D-PBS. If tissue is heavily stained with blood, wash thoroughly and take new photos if needed.
Plan on how to cut the tissue; prepare the correct number of cryotubes
Advice: Write the following details on the cryotube:
- Recommended: patient ID, type of tissue, part of tissue (if applicable; example: enthesis/midbody/myotendinous junction for tendon samples), and date
- Additional options: original sample ID with additional numbering, researchers initials
Optional
If the tissue needs to be dissected before freezing, try to handle tissue as quickly but gently as possible. Cut off any parts that need to be discarded. Then take new photo of tissue.
Cut the specimen in the planned number of pieces, take a photo, then add each piece to its pre-labelled cryotube or cryosette, and drop cryotube/cryosette in the pre-filled (LN2) dewar.
Advice: try to always number the tissue from left to right, so that it is clear which sample is which when looking back at the photos.
Optional (for larger samples):
When freezing larger pieces of tissue, we recommend to either:
1) Carefully drop the tissue directly into the LN2 (for example for larger bone samples). Wait until the bubbling stops before transferring the sample; or
2) Fold a piece of aluminium foil around the sample; if possible write the important information (see step 7) on the foil. Drop the aluminium foil package into the LN2 and wait until the bubbling stops before transferring the sample.
When all samples are snap-frozen, store the samples at -80°C until use.