Feb 07, 2026
Sample prep and resin embedding for adherent cell monolayers in tissue culture plate for Transmission Electron Microscopy (TEM)
- Jillann Madren1,
- Kristen White1,
- Victoria Madden1
- 1UNC Chapel Hill Dept of Pathology and Laboratory Medicine Microscopy Services Laboratory
- Kristen White: corresponding author: [email protected]


Protocol Citation: Jillann Madren, Kristen White, Victoria Madden 2026. Sample prep and resin embedding for adherent cell monolayers in tissue culture plate for Transmission Electron Microscopy (TEM). protocols.io https://dx.doi.org/10.17504/protocols.io.ewov11x32vr2/v1
License: This is an open access protocol distributed under the terms of the Creative Commons Attribution License, which permits unrestricted use, distribution, and reproduction in any medium, provided the original author and source are credited
Protocol status: Working
We use this protocol and it's working
Created: October 10, 2025
Last Modified: February 07, 2026
Protocol Integer ID: 229521
Keywords: transmission electron microscopy, TEM, resin embedding, sample prep, ultramicrotomy, cell culture, cell monolayer, adherent cell monolayers in tissue culture plate, cell culture monolayer, adherent cell monolayer, plastic tissue culture plate, tissue culture plate, epoxy resin, resin, tem, sample preparation
Abstract
This protocol describes sample preparation and epoxy resin embedding of a cell culture monolayer on a plastic tissue culture plate for transmission electron microscopy (TEM).
Materials
- 75-90% confluent adherent cell culture monolayer in 6-, 12-, or 24-well plate (6-well recommended)
- EM grade fixative (We use 2% paraformaldehyde, 2.5% glutaraldehyde in 0.15 M sodium phosphate buffer.)
- wash buffer (We use 0.15 M sodium phosphate buffer.)
- 1% buffered osmium tetroxide -or- 1% osmium tetroxide, 1.25% potassium ferrocyanide buffered osmium (Buffer typically matches wash buffer.)
- DI water
- Ethanol solutions: 30%, 50%, 75%, 90%, 100% (Recommended to use a fresh, unopened, pint-size bottle of ethanol for each prep)
- Epoxy resin (We use Polybed 812 catalyzed with DMP-30 in the 1A:2B hard formulation. Polysciences, Inc.)
- BEEM capsules
- razor blade(s)
- flat-nosed pliers
- disposable transfer pipets
- small beakers for mixing reagents
Fix cell culture
Grow adherent cell culture to 75-90% confluent in a plastic tissue culture plate. We most commonly use 6-well plates, but 12- or 24-well plates can also be used. 96-well plates are too small. If using 12- or especially 24-well plates, it is advisable to plate your cells in duplicate or triplicate wells to ensure enough usable material is encapsulated in the final TEM blocks.
Allow EM grade fixative to come to room temperature or use a water bath, incubator, etc. to temperature match your cell culture (typically 37oC).
We most commonly use 2% paraformaldehyde, 2.5% glutaraldehyde in 0.15 M Karlsson and Schultz sodium phosphate buffer for our fixative (Schultz, 1965).
Any fixatives containing sodium cacodylate must be collected for EHS (Environmental Health and Safety or your institute's equivalent) disposal due to presence of arsenic. Do not dispose of any sodium cacodylate down the drain.
Remove media. Add enough fixative to each well to completely cover cell layer (1-2 mL per well in a 6-well plate). Let sit at room temperature for 1 hour, then proceed with TEM processing or store at 4oC until ready to proceed. If storing at 4oC or if transferring to an EM processing facility, you can add DI (deionized) water to the spaces between wells and wrap plate in parafilm to maintain a hydrated environment.
The most gentle way to do liquid exchanges on a cell culture plate is to angle the plate so that all the liquid pools at the south side of each well and to do all addition and removal of reagents at that spot to minimize disruption of the monolayer. All liquid exchanges can be performed with disposable pipets or vacuum aspiration for nonhazardous materials. Add new reagents by gently pipetting towards the wall of the well in the same designated spot. Be mindful not to let the cell layer dry.
TEM processing
Allow reagents to come to room temperature.
Necessary reagents: samples in fixative, wash buffer, osmium tetroxide, DI water, ethanol gradient solutions (30%, 50%, 75%, 90%, 100%), catalyzed epoxy resin
Remove fixative. Add preferred buffer to each well to cover cells. Let sit 5-10 min. Do 1-3 buffer washes.
We use 0.15 M Karlsson and Schultz sodium phosphate buffer, but many buffers that are appropriate for biological materials can be used as well.
Incubate cells with 1% buffered osmium tetroxide for 30 minutes-1 hour. Osmium reduced with potassium ferrocyanide can also be used if desired.
Remove and collect osmium waste. Osmium waste must be disposed of through EHS. Perform 3 DI water washes, 5-10 minutes each. Collect the water from the first wash and dispose with the osmium waste.
Dehydrate cell culture with an increasing ethanol gradient: 30%, 50%, 75%, 90%, 100%, 100%, 100% for ten minutes each. Propylene oxide and acetone are not compatible with cell culture plates. You can extend incubation times, do a more gradual gradient, or add additional 100% ethanol steps if desired.
Remove ethanol. Add enough catalyzed resin to each well to cover the cells with a thin layer. You may need to do resin exchanges one well at a time and tip the plate between each well to ensure coverage of the cells with the resin to prevent drying. Once cells are covered with a thin layer of resin, place plate on rotator at low to moderate speed if available. Allow cells to incubate with resin for several hours. More information regarding resin selection can be found in Authors' notes.
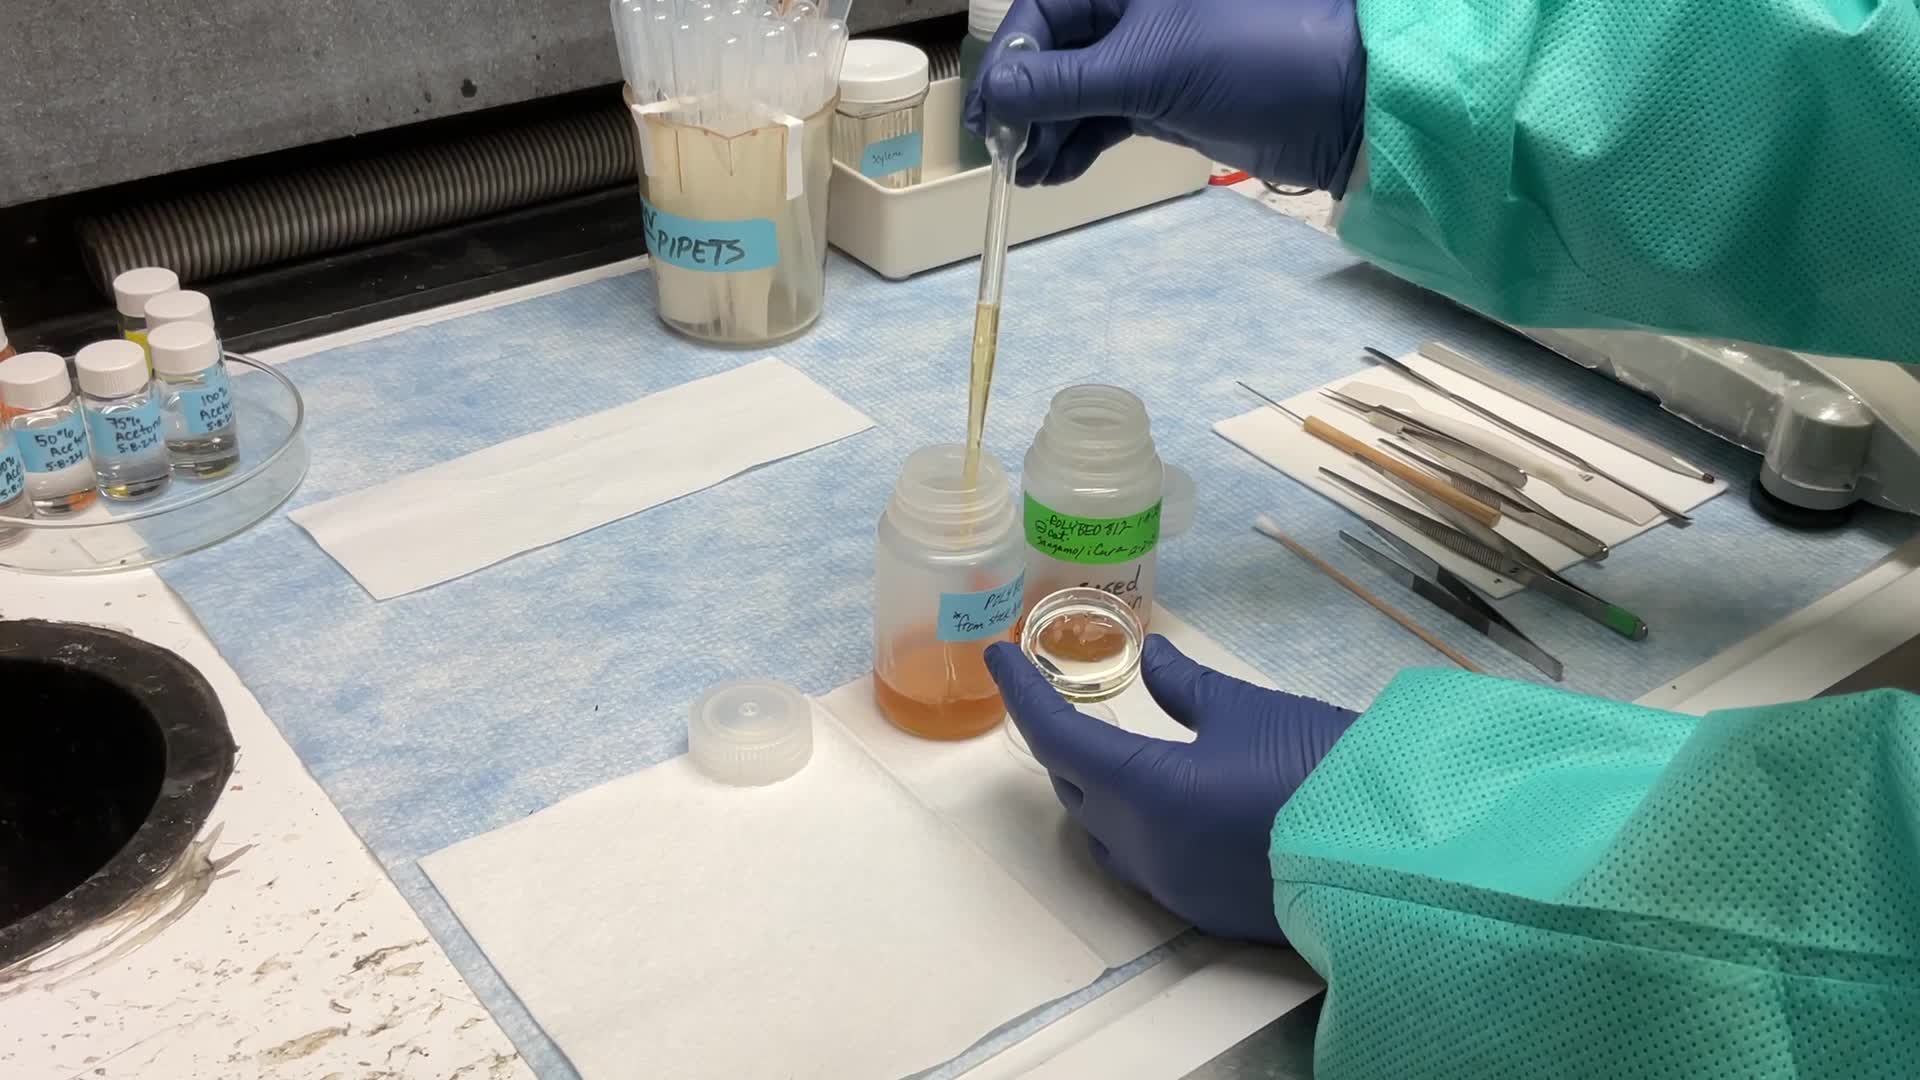
Exchange resin with fresh resin. Incubate overnight at room temperature.
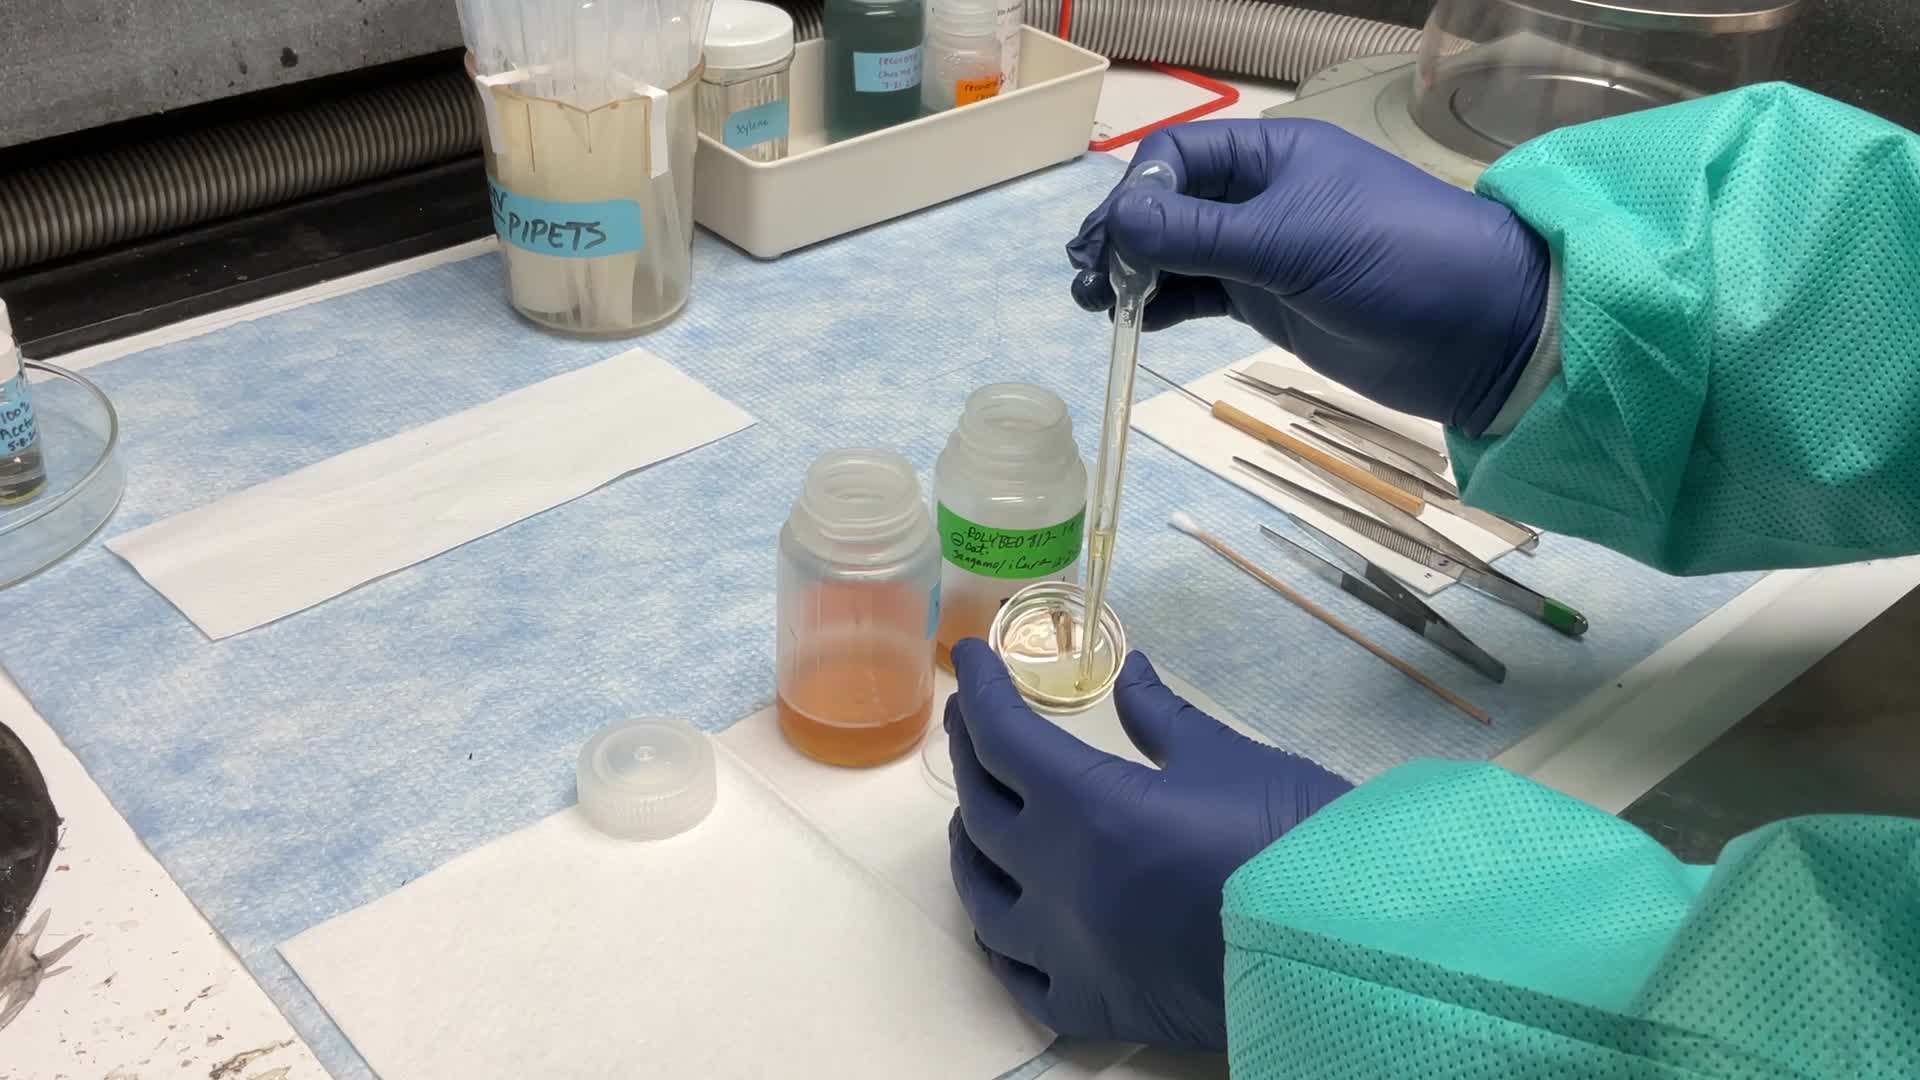
Exchange resin. Only add enough resin to just cover the cells in a thin layer (~1 mm deep). Adding too much resin at this step will make removal of the BEEM capsules more difficult.
Resin embedding
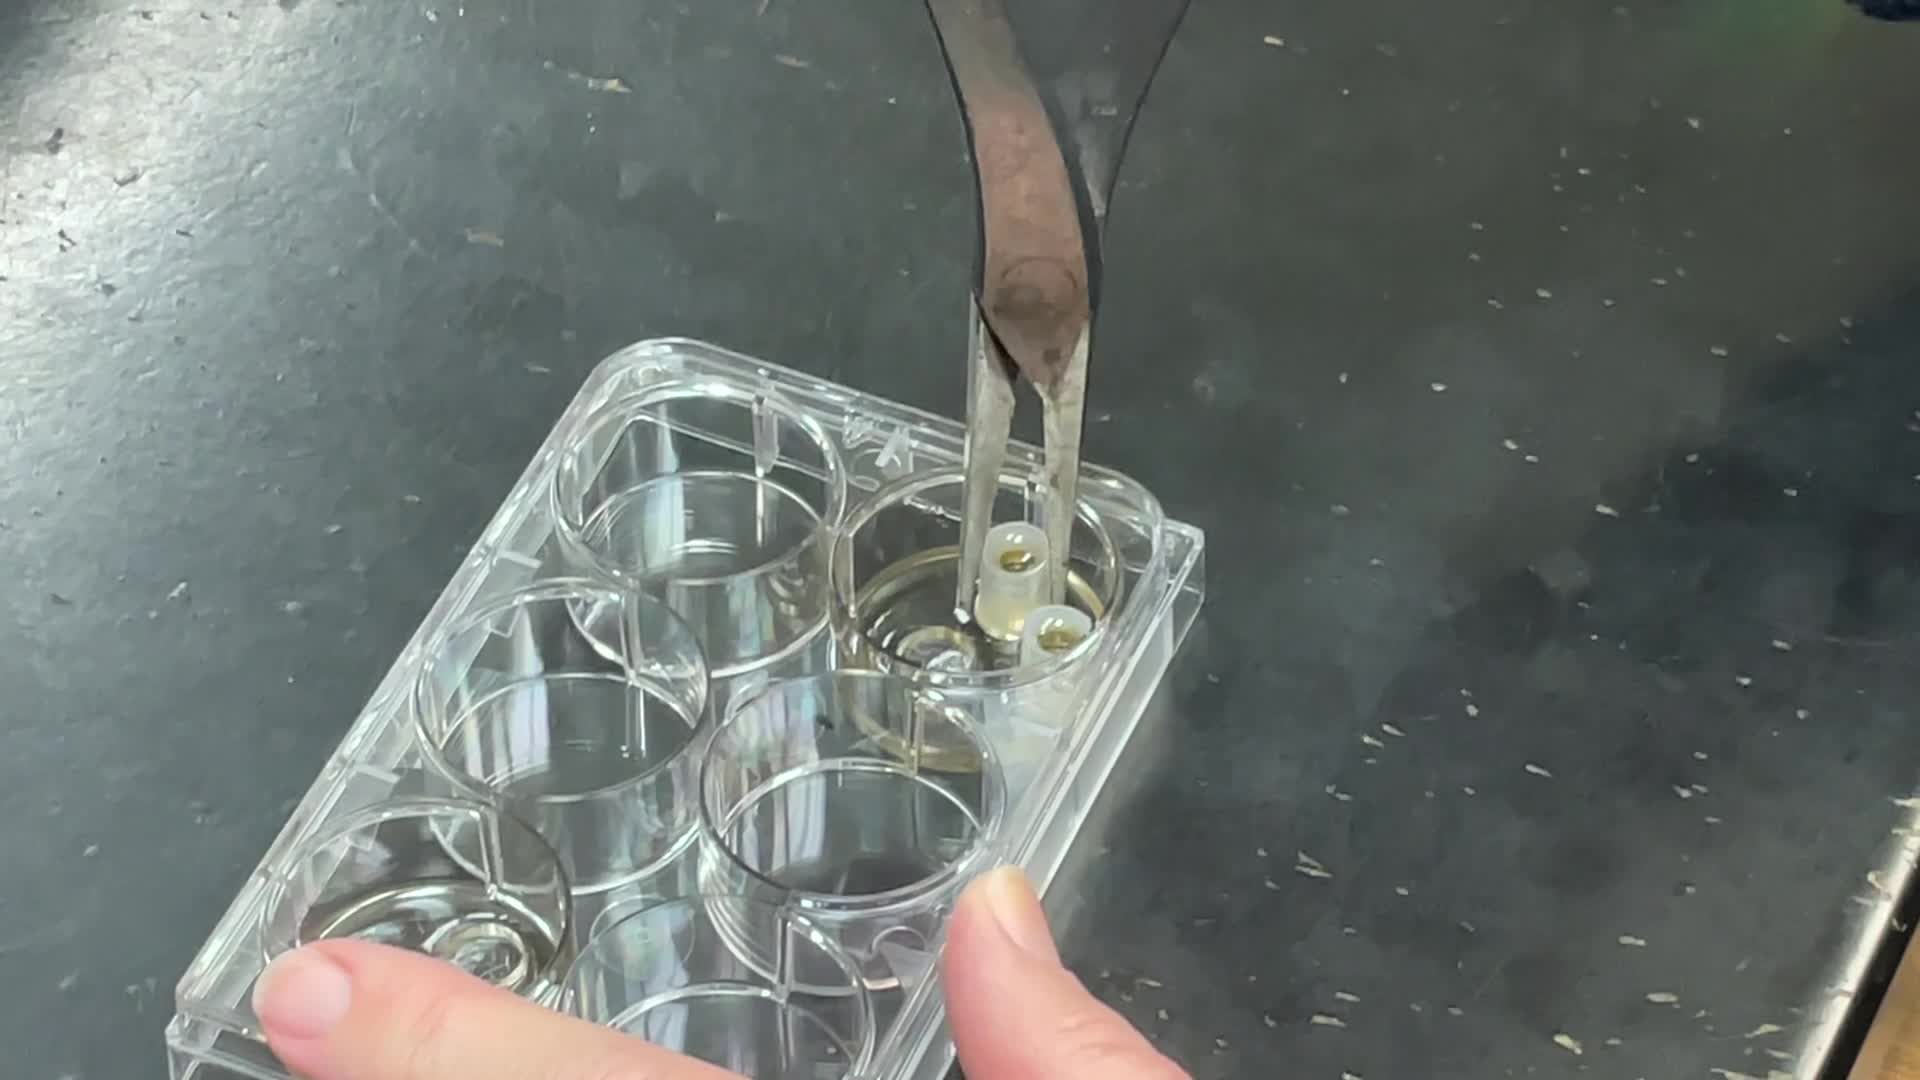
Get an appropriate number of BEEM capsules. You can fit 3-4 per well in a 6-well plate, 1-2 per well in a 12-well plate, and 1 per well in a 24-well plate. Snap the caps off and use a razor blade to cut off the bottom of the capsules so that you have a cylinder that is open on both ends. Place BEEM capsules with the flatter top (lid side) of the BEEM facing down to encircle the areas of interest in each well (known cells of interest, spots with good confluency, etc). Make sure BEEM capsules sink to the bottom of the well. Do not fill the BEEM capsules at this point.
Place plate with BEEM capsules in 60oC oven. Allow to cure overnight.
Allow catalyzed resin to come to room temperature. Remove plate from oven. You can add paper labels to BEEM capsules by rolling them around a small stick and placing them in each BEEM. Fill each BEEM capsule with more resin. Place plate back in 60oC oven 24-48 hours.
Beem capsule removal
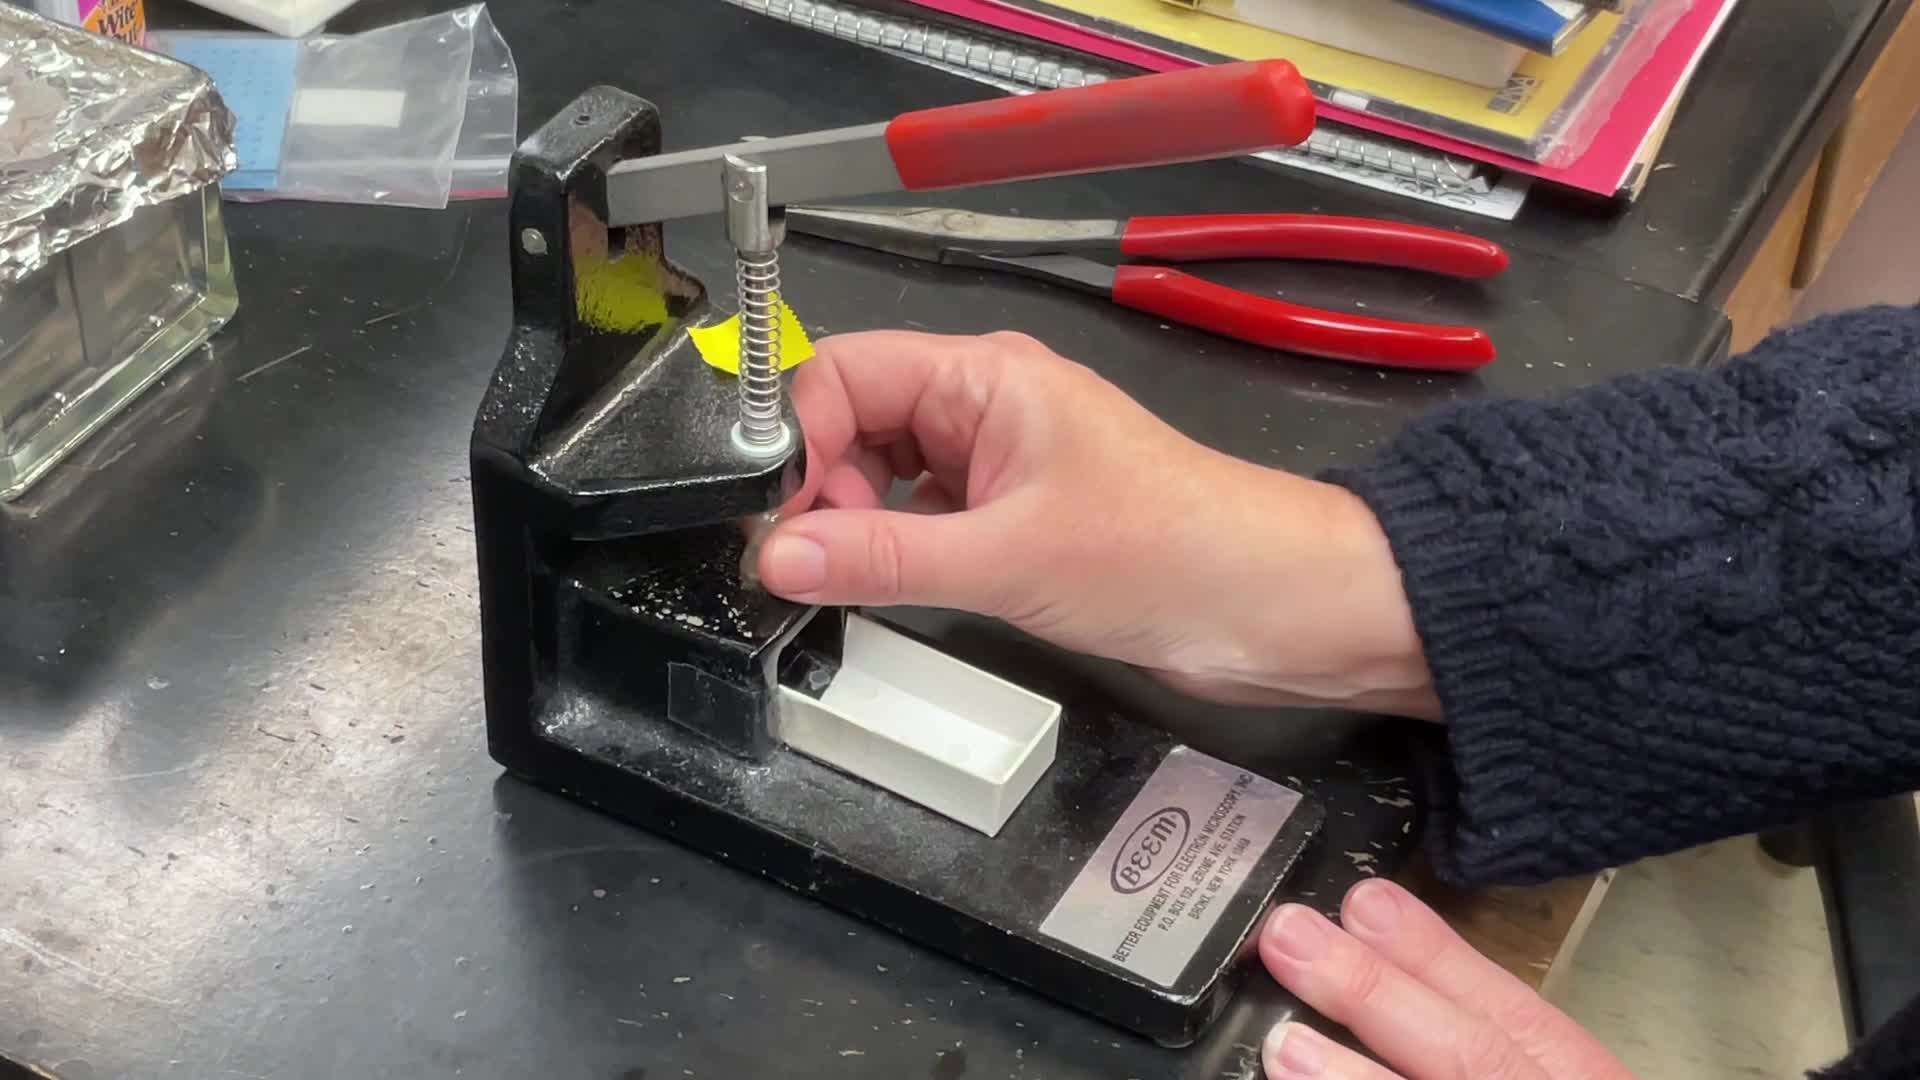
Once resin has cured, removed plate from oven and let sit at room temperature for a few hours. Remove BEEM capsules from the plate by grasping each BEEM with a pair of flat-nosed pliers and gently rocking side to side to loosen the capsule, then snap the capsule off with a slight upward force.
Once capsules have been disassociated from the plate, remove the block from the capsule using either a BEEM capsule press or carefully cut the plastic with a razor blade to separate from the resin. If using a BEEM press, orient the block with the cell side facing down to avoid compression damage to the block face.
Most BEEMs will not have a clean break from the plate. If you have excessive plate material on your block face, or if the area under any remaining plate material is crucial, you can attempt to carefully separate the plate plastic from the epoxy block with fine-tip forceps and a razorblade. We recommend doing this with great care on an ultramicrotome as the cell monolayer is very superficial to the block face and is easily damaged by nicks, forceps, etc.
To maximize the available surface area for ultramicrotomy, you can use a jeweler's saw to trim the blocks further (i.e. into quarters or halves) or to trim off any portion with attached plate material if you generated several blocks per sample.
Authors' notes
Due to occasional supply concerns, we tested multiple variations of epoxy resins [Polybed 812 (Polysciences), Eponate (Ted Pella), EMbed 812 (Electron Microscopy Sciences)] and catalysts [DMP-30 (Polysciences), BDMA (Ted Pella)] and found PolyBed 812 1A:2B hard formulation catalyzed by DMP-30 or Eponate catalyzed by DMP-30 to be the best choices based on viscosity and lack of etching to the plate. BDMA in all cases was more viscous than the DMP-30 catalyzed resin. Since Polybed 812 was the first formulation that we found to work on plates, without seeing any improvements from alternative reagents, we decided to continue to use Polybed 812. However, in the event Polybed 812 is not available, we think that substituting with Eponate catalyzed with DMP-30 would be a satisfactory alternative.
Examples of trimmed (ready for ultramicrotomy) and untrimmed (fresh from the plate) blocks
Protocol references
Schultz RL, Karlsson U. 1965. Fixation of the central nervous system for electron microscopy by aldehyde perfusion. Journal of Ultrastructure Research. 12(1-2):187–206. doi: https://doi.org/10.1016/s0022-5320(65)80015-6.