Sep 04, 2025
Production and purification of plasmid DNA with the Zymo Research ZymoPURE™ II Plasmid Maxiprep kit
- 1Stanford University - Genetics


Protocol Citation: Christian CR Renicke 2025. Production and purification of plasmid DNA with the Zymo Research ZymoPURE™ II Plasmid Maxiprep kit. protocols.io https://dx.doi.org/10.17504/protocols.io.j8nlkybe1g5r/v1
Manuscript citation:
Renicke et al., 2025
License: This is an open access protocol distributed under the terms of the Creative Commons Attribution License, which permits unrestricted use, distribution, and reproduction in any medium, provided the original author and source are credited
Protocol status: Working
We use this protocol and it's working
Created: June 28, 2025
Last Modified: September 04, 2025
Protocol Integer ID: 221249
Keywords: DNA, plasmid Maxiprep, Aiptasia, electroporation, purification of plasmid dna, plasmid dna, free plasmid dna, mg of dna, aiptasia zygote, purification, dna, purification of high yield, endotoxin, zygote
Disclaimer
DISCLAIMER – FOR INFORMATIONAL PURPOSES ONLY; USE AT YOUR OWN RISK
The protocol content here is for informational purposes only and does not constitute legal, medical, clinical, or safety advice, or otherwise; content added to protocols.io is not peer reviewed and may not have undergone a formal approval of any kind. Information presented in this protocol should not substitute for independent professional judgment, advice, diagnosis, or treatment. Any action you take or refrain from taking using or relying upon the information presented here is strictly at your own risk. You agree that neither the Company nor any of the authors, contributors, administrators, or anyone else associated with protocols.io, can be held responsible for your use of the information contained in or linked to this protocol or any of our Sites/Apps and Services.
Abstract
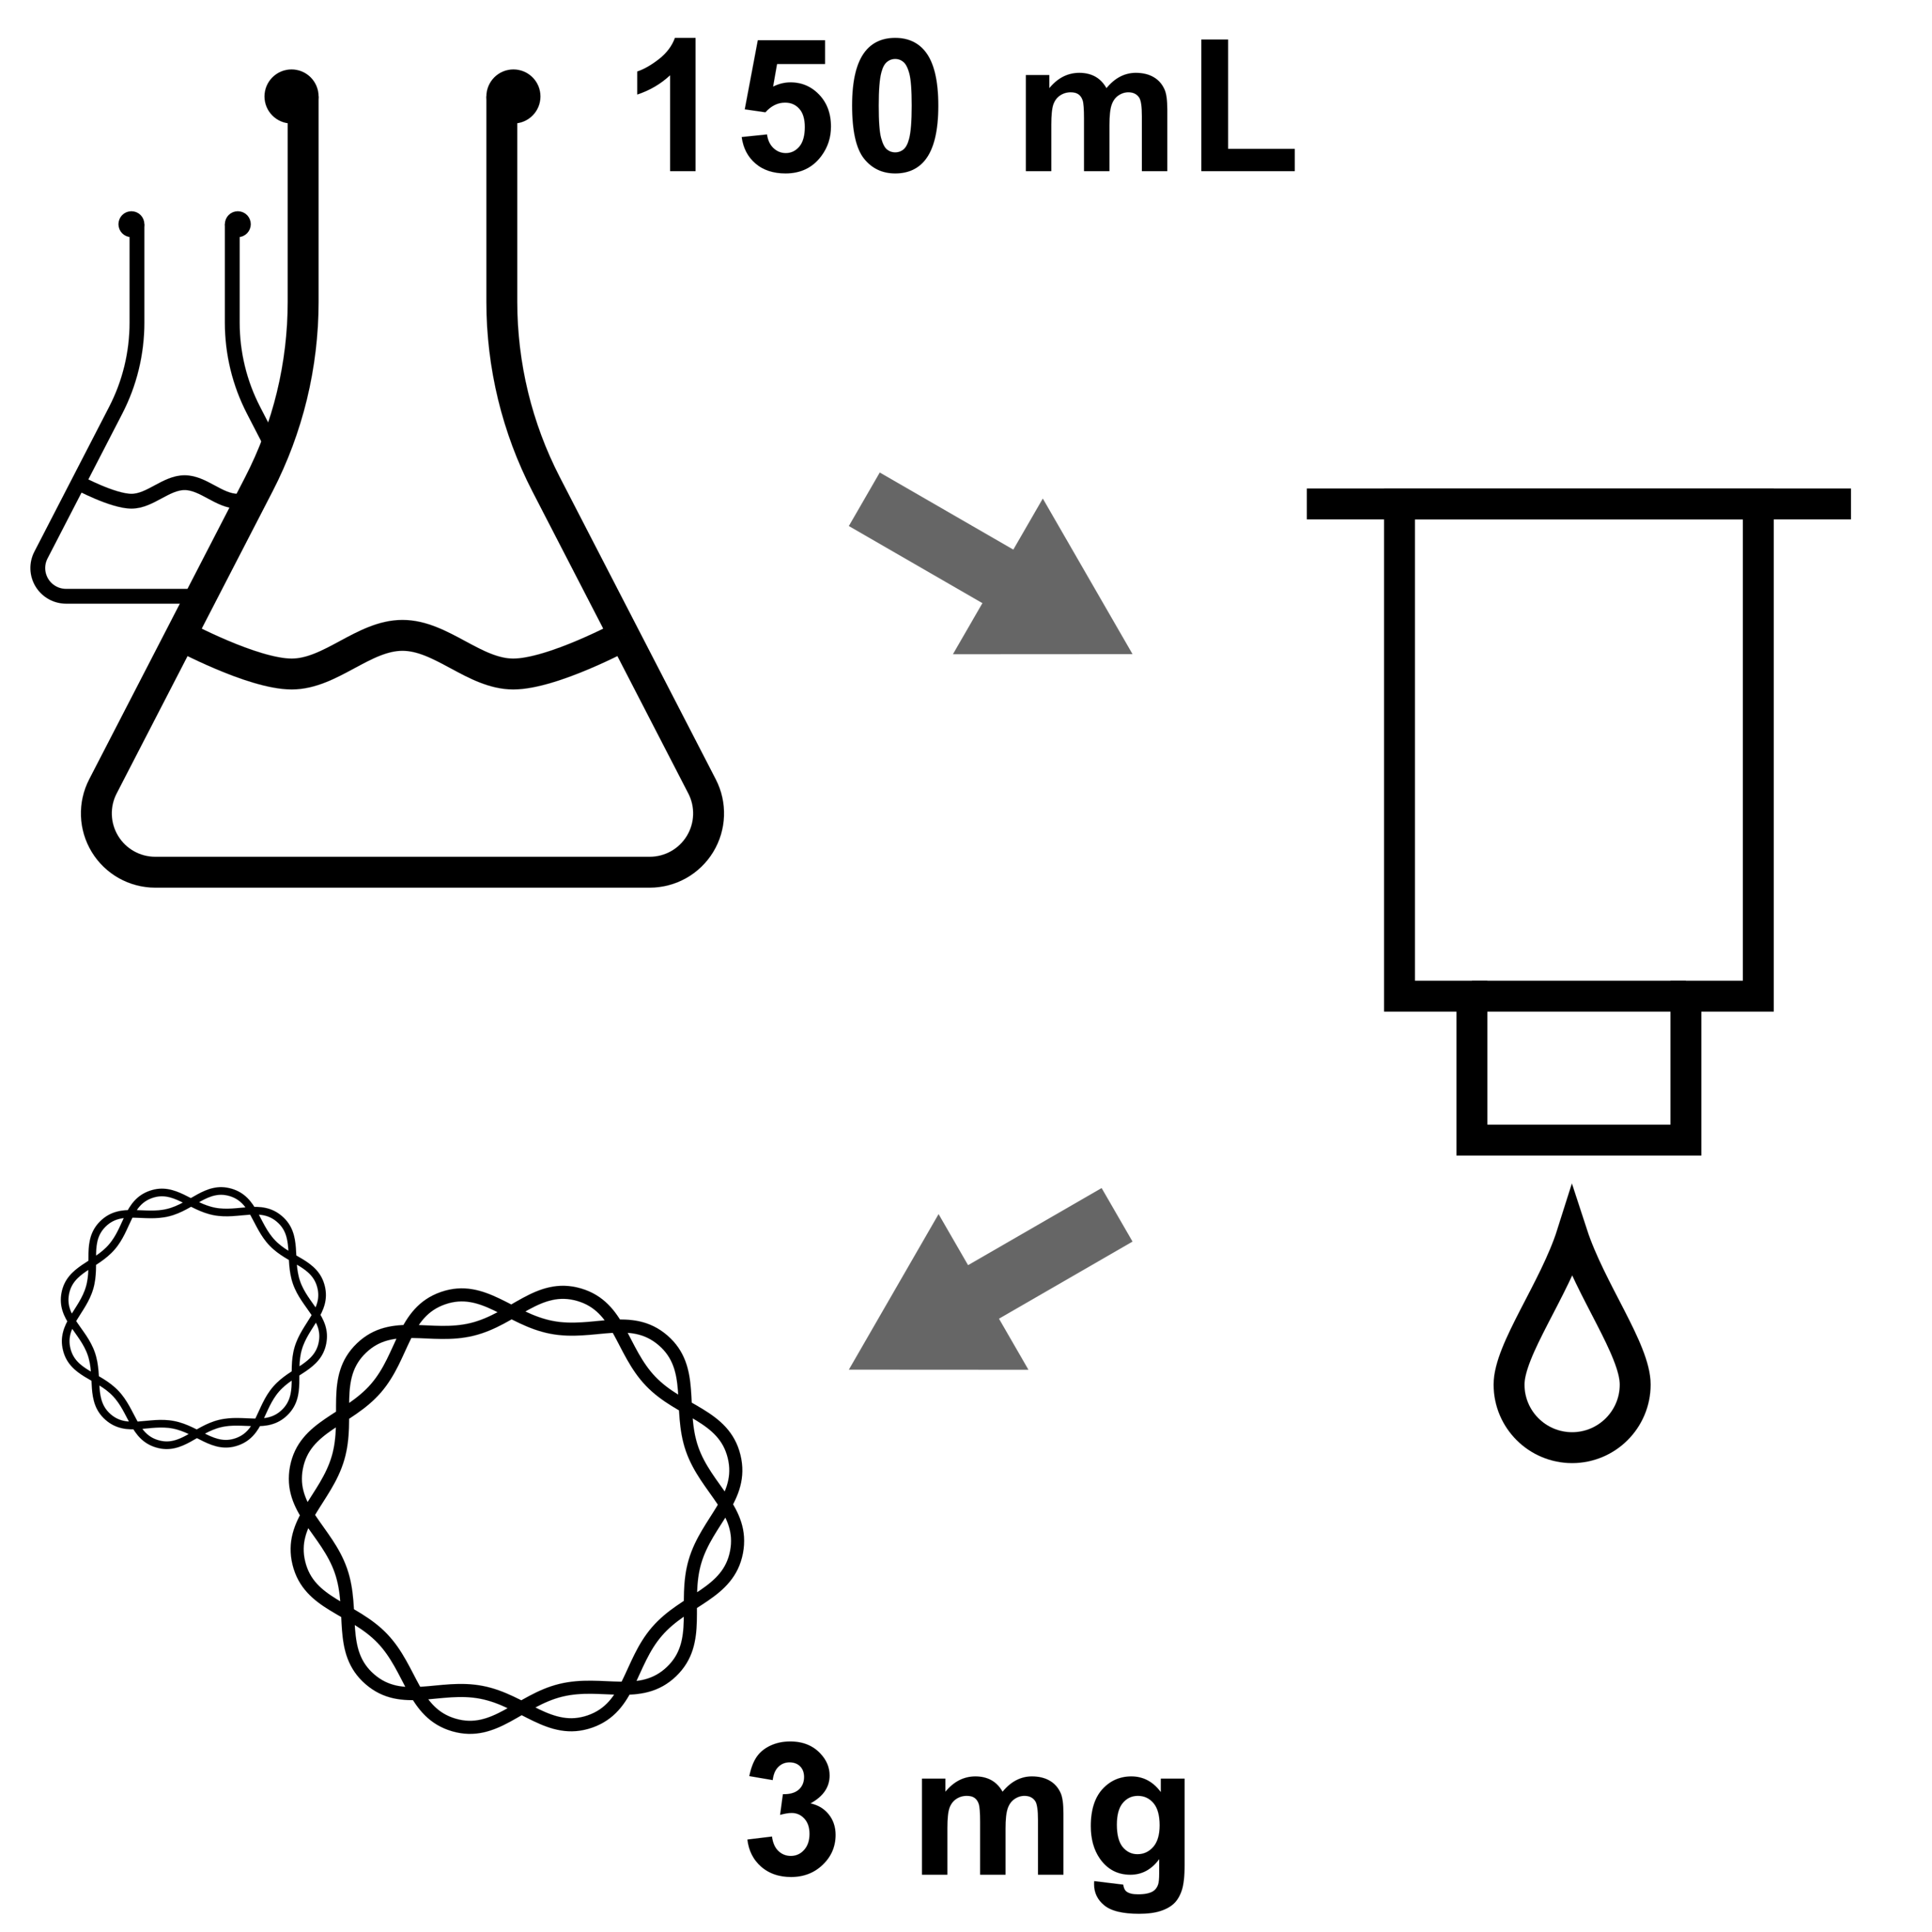
This protocol is for production and purification of high yields of highly pure and endotoxin-free plasmid DNA with the Zymo Research ZymoPURE™ II Plasmid Maxiprep Kit. The total yield can be up to 3 mg of DNA, we typically achieve between 500 and 1000 µg in ≥300 µL elution volume. The concentration and purity is sufficient for electroporation in Aiptasia zygotes.
Image Attribution
Christian Renicke
Guidelines
This protocol assumes an ampicillin selection marker (gene for β-lactamase - bla) on the plasmid, if using a plasmid with a different marker, use the appropriate antibiotic in the recommended concentration.
For high-yield plasmid production, we use carbenicillin instead of ampicillin due to its higher stability (it still uses the same resistance gene). This prevents satellite colonies from forming on plate and higher selection for the plasmids in the overnight liquid culture.
We use the fast-growing Escherichia coli strain Mach1, other cloning strains such as DH5α, DH10B, TOP10 and XL-1 blue should produce similar yields (or possibly higher ones due to the different growth characteristics).
Terrific broth (TB) should result in a higher plasmid yield compared to Lysogeny broth (LB).
All steps are to be performed at room temperature (RT) unless otherwise noted.
Materials
Equipment:
- Incubator at 37°C for E. coli plates
- Shaker for ≥500-mL Erlenmeyer flasks at 37°C and capable of 150-250 rpm
- Water bath at 50°C
- OPTIONAL: Heat block at 37°C
- Tabletop centrifuge for 50-mL Falcon tubes capable of ≥3,500 ×g at RT
- Microcentrifuge capable of ≥16,000 ×g at RT
- OPTIONAL: House vacuum or vacuum pump for ≤400 mm Hg and vacuum manifold with Luer Lock connectors (e.g., Zymo Research - S7000)
- Thermo Scientific™ NanoDrop™ (or comparable microvolume UV-Vis spectrophotometer), alternatively fluorescence-based DNA-quantification kit and detection device such as a Qubit™ fluorometer or fluorescence microplate reader (not part of this protocol)
- Standard DNA-electrophoresis equipment
Consumables and plastic/glassware:
- Sterile 1.5-mL microcentrifuge tubes
- Sterile, DNase-free 1.5-mL tubes with attached screwcaps and O-rings for long-term storage, e.g., Fisherbrand - 02-707-353
- 50-mL conical-bottom tubes, e.g., Corning - 352070
- 500 or 1000-mL baffled Erlenmeyer flasks with ventilated cap, e.g., Greiner Bio-One - 679513 or 679514
These flasks are made of polycarbonate and can be autoclaved and reused many times (including the lids). Glass flasks work as well, just close them with Parafilm or caps which allow for some air exchange.
Reagents:
- 10 mM Tris-Cl, pH 8.5, e.g., QIAGEN Elution Buffer EB - 19086
This can also be self-made in ultra-pure water (e.g., MilliQ or HPLC-grade ddH2O) and autoclaved to denature any potential DNases.
- Carbenicillin disodium salt, e.g., GoldBio - C-103
- Carbenicillin stock solution (1000×): Dissolve 100 mg/mL Carbenicillin disodium salt in ultra-pure water, sterile-filter with a 0.22-µm pore size. Make 1-mL aliquots in sterile 1.5-mL microcentrifuge tubes and store at −20°C.
- DNA-electrophoresis buffer, loading dye, DNA ladder, 0.8-1% agarose gel, DNA stain.
Zymo Research ZymoPURE™ II Plasmid Maxiprep Kit:
- Kit for 10 preps - D4202
- Kit for 20 preps - D4203
- Upon arrival, store buffer ZymoPURE™ P1 (red color, contains RNaseA) at 4°C.
- Store other kit components at RT.
Additional reagents required before first use of the ZymoPURE™ II Plasmid Maxiprep Kit:
- Molecular-biology grade 100% ethanol (for initial preparation of ZymoPURE Wash 2 Buffer)
GROWTH MEDIA:
LB agar with carbenicillin: for 500 mL:
- 1 % Trypton 5 g
- 0.5 % Yeast Extract 2.5 g
- 1 % NaCl 5 g
- 2% Agar 10 g
In a 1-L bottle, add 400 mL de-ionized water and mix with a stir bar until everything except the agar has dissolved, top off to 500 ,mL with de-ionized water. Autoclave for 20 min at 121°C. Place on stir plate to mix and cool to ~60°C. Add 500 µL of a 100 mg/mL carbenicillin stock solution, mix briefly and pour plates. Let plates cool down and dry overnight at room temperature. Store at 4°C in the sleeve the plates came in.
TB (Terrific Broth): for 1 L:
- 1.2 % Tryptone 12 g
- 2.4 % Yeast Extract 24 g
- 0.4 % mM Glycerol 4 mL
Bring to 900 mL with de-ionized water and autoclave 20 min at 121°C.
After autoclaving add 100 ml of separately autoclaved potassium phosphate solution.
Store at RT without added carbenicillin. Add carbenicillin directly to culture vessels before inoculation with bacteria (from the 1000× stock solution).
10x potassium phosphate solution: for 100 mL:
- 0.17 M KH2PO4 2.31 g
- 0.72 M K2HPO4 12.54 g
Add de-ionized water to 100 mL, autoclave 20 min at 121°C.
Safety warnings
Use standard best practices for molecular-biological work to prevent contamination.
Before start, make yourself familiar with the whole protocol.
Always use proper balances for centrifugation. Always attach the rotor cover when using the filter units.
ZymoPURE P2 buffer contains NaOH, ZymoPURE Wash 2 buffer contains isopropanol and ethanol, handle with care and wear PPE. Dispose of all liquid waste according to your Institution's chemical waste guidelines.
Before start
Preparation of reagents before first usage:
Prepare ZymoPURE™ Wash 2 Buffer:
- Add 88 mL 100% ethanol to the 23 mL ZymoPURE™ Wash 2 concentrate and mark addition on the bottle.
There are two (D4202) or four (D4203) bottles of Wash 2 provided, use them one-by-one.
It is a good idea to label all bottles (also for the other buffers) to indicate to which kit they belong and when it was received to not confuse them with reagents from other Zymo Research kits. Also write the received date on the fields of the boxes.
Before every purification:
- Place buffer ZymoPURE™ P3 at 4°C or on ice 1-2 h before starting with the purification.
- Warm buffers ZymoPURE™ P2 and ZymoPURE™ Binding Buffer in a water bath to 37°C for 10-20 min and mix gently to dissolve any potential precipitates. DO NOT MICROWAVE!
- Heat ≥600 µL of 10 mM Tris-Cl, pH 8.5 to 50°C in a heat block or a water bath for elution.
2 days before plasmid preparation
16h 5m
Streak out bacterial strain harboring the plasmid from a −80°C glycerol stock on LB with 100 µg/mL carbenicillin for single colonies.
5m
Incubate plate overnight at 37°C.
16h
1 day before plasmid preparation
22h 5m
In the morning, use a single colony to inoculate a starter culture of 3 mL TB medium with 100 µg/mL carbenicillin in a culture tube and incubate under agitation at 37°C for 6-8 h.
8h
In the evening, use 100 µL of the starter culture to inoculate 150 mL TB medium with 100 µg/mL carbenicillin for the main culture.
Use at least 500-mL baffled flasks for this culture.
5m
Incubate 12-18 h at 37°C on a shaker at 150-250 rpm.
The culture density before plasmid preparation is a critical parameter, so try to let the culture grow for 12-14 h and then start measuring the OD. This is also highly dependent on the specific E. coli strain used.
14h
Plasmid preparation
3h 17m
Check the OD600 of the culture.
Add 100 µL of the culture to a clean half-micro cuvette, add 900 µL TB and mix well by pipetting without introducing bubbles.
5m
Measure OD600 in a spectrophotometer blanked against plain TB.
The OD should be between 2.0 and 3.5 but ideally 2.5-3.0 for best yield. Overgrown cultures might result in lower than expected yield but we also have obtained acceptable results for ODs as high as 4.0.
5m
Distribute the culture into 50-mL conical-bottom tubes and pellet the cells at 3,500 ×g for 15 min.
The supernatant should be clear and in each tube should be a large pellet.
20m
Discard the supernatant immediately and proceed with the protocol.
There is no benefit in additional washing of the pellets.
2m
Add 14 mL of ZymoPURE P1 buffer (Red) to the bacterial cell pellet in the first tube, resuspend completely by pipetting, transfer the whole suspension to the next tube, resuspend and so on.
Make sure to dissolve all cell clumps. This reduces the 50-mL tubes to just one per plasmid to purify.
10m
Add 14 mL of ZymoPURE P2 buffer (Green) and immediately mix by inverting the tube 8-12 times. DO NOT VORTEX! Let sit at room temperature for 3 min.
Don’t exceed 3-5 min, otherwise the DNA quality might suffer. Cells are completely lysed when the solution appears clear, purple, and viscous. Because of the viscosity, air bubbles can get trapped in the lysate during mixing, so let it stand still for the 3 min, hold the tube against a light source and look at the bottom whether the solution appears clear.
5m
Add 14 mL of cold ZymoPURE P3 buffer (Yellow) and mix gently but thoroughly by inversion. DO NOT VORTEX!
The sample will turn yellow when the neutralization is complete and a yellowish-green precipitate will form, there must not be any purple left. If the precipitate has formed a homogenous layer at the surface of the neutralized lysate then invert the tube 3-4 times prior to loading the lysate into the ZymoPURE™ Syringe Filter.
5m
OPTIONAL: To ease filtration in the next step, centrifuge the lysate for 10 min at ≥3500 ×g in a tabletop centrifuge at 20°C. Afterwards remove the top layer of precipitate with a pipette tip or inoculation loop and proceed with the next step.
12m
Ensure the plug is tightly attached to the Luer Lock at the bottom of the ZymoPURE Syringe Filter-X. Place the syringe filter upright in a tube rack and load the lysate into the ZymoPURE Syringe Filter and wait 10 min for the precipitate to float to the top.
12m
Remove the Luer Lock plug from the bottom of the syringe and place it into a clean 50-mL conical-bottom tube. Place the plunger in the syringe and push the solution through the ZymoPURE Syringe Filter-X until
approximately 35 mL of cleared lysate is recovered (use the marks on the 50-mL tube for estimating the volume). Save the cleared lysate!
DO NOT try to recover more than 35 mL by brute force as excessive pressure will break the filter!
If less than 35 mL are recovered adjust the volume of Binding buffer in the next step to 0.4× the recovered volume of cleared lysate (e.g., 13.6 mL Binding buffer to 34 mL lysate).
3m
Add 14 mL ZymoPURE Binding buffer to the cleared lysate from the previous step and mix thoroughly by inverting the capped tube 10 times.
A good amount of DNA will cause the solution to get slightly cloudy after addition of the binding buffer.
3m
COLUMN LOADING AND PURIFICATION
Vacuum protocol20 steps
This version of the protocol requires a vacuum manifold with Luer Lock connector(s) and a good vacuum source (down to 400 mm Hg), a less strong vacuum can work as well and an extra centrifugation step is added to ensure complete buffer removal before elution. If this should not be possible, skip this step and its sub-steps and use the centrifugation protocol.
Steps 23 and onwards are identical between the vacuum and the centrifugation protocols.
Ensure the connections of the Zymo-Spin V-P column assembly are finger-tight and place onto a vacuum manifold.
1m
Add the entire mixture from step 15 into the Zymo-Spin V-P column assembly, and then turn on the vacuum until all of the liquid has passed completely through the column.
3m
Remove the 50 mL Reservoir from the top of the Zymo-Spin V-P column assembly, ensure the connection between the 15 mL conical reservoir and Zymo-Spin V-P column is finger-tight and place the assembly into a 50-mL conical-bottom tube (you can screw the lid on) and then centrifuge the column at 500 ×g for 2 min.
This ensures that all DNA is bound to the column matrix before doing the wash steps when the vacuum is too weak to fully pass all liquid through.
5m
With the vacuum off, add 5 mL of ZymoPURE Wash 1 to the 15 mL conical reservoir. Turn on the vacuum until all of the liquid has passed completely through the column.
It can happen that air gets trapped in the connection between the reservoir and the column which reduces the flow of the buffer dramatically. If this happens, use a 1000-µL micropipette to remove the air completely. This also applies to the next two steps.
3m
With the vacuum off, add 5 mL of ZymoPURE Wash 2 to the 15 mL conical reservoir. Turn on the vacuum until all of the liquid has passed completely through the column.
3m
For a second time, with the vacuum off, add 5 mL of ZymoPURE Wash 2 to the 15-mL conical reservoir. Turn on the vacuum until all of the liquid has passed completely through the column.
3m
Remove and discard the 15 mL Conical Reservoir and place the Zymo-Spin V-P column in a 2-mL Collection tube.
1m
Centrifuge at ≥10,000 ×g for 1 min in a microcentrifuge.
This is for removing any traces of wash buffer still in the column.
2m
Transfer the column into a clean 1.5-mL microcentrifuge tube and add 300 µl 50°C-warm 10 mM Tris-Cl, pH 8.5 directly to the column matrix.
2m
Incubate at 25-37°C for 10 min.
10m
Centrifuge at ≥10,000 ×g for 1 min.
2m
Save the tube with the first eluate and place the column into a new 1.5-mL microcentrifuge tube and again, add 300 µL 50°C-warm 10 mM Tris-Cl, pH 8.5 directly to the column matrix.
The first eluate should have a DNA concentration in the µg/µL range, the second usually a 10-20 times lower concentration which is still comparable to a standard plasmid prep and can be used for concentration adjustment of the first eluate or for cloning and PCRs.
2m
Incubate for 3 min at 25-37°C.
3m
Centrifuge at ≥10,000 ×g for 1 min.
2m
Place the EndoZero Spin-Column in a new, clean 1.5 mL tube. Add the first eluate into the column and incubate at room temperature for 5 min. Centrifuge at 5,000 ×g for 1 min.
3m
Save the tube with the first eluate and repeat the previous step one more time with a new 1.5-mL microcentrifuge tube but the same EndoZero Spin-Column and the second eluate.
3m
Run 0.5 µL of each eluate on a 0.8-1% agarose gel (depending on plasmid size) with ~1 µg of an appropriate DNA size ladder.
This should produce a thick band for the first and a weaker one for the second eluate. There might be multiple bands due to supercoiled confirmations. For an exact size analysis (really not necessary under normal circumstances), linearize the plasmid with a single-cutter restriction endonuclease.
40m
Quantify an appropriate dilution via NanoDrop or a fluorimetric method (e.g., Qubit).
The A260/A280 should be ≥1.8, A260/A230 should be ≥2.0
The NanoDrop doesn't have problems with measuring high DNA concentrations directly (even far over 10 µg/µL), the much more sensitive Qubit kits require very high dilutions to measure.
If the concentration is too low, see the protocol on concentrating plasmid DNA with Amicon® Ultra Centrifugal Filter.
10m
Transfer both eluates into separate 1.5-mL screw cap microcentrifuge tubes.
2m
Store the plasmid DNA at −20°C.
The concentrated DNA at pH 8.5 should be stable through freeze-thaw cycles but if worried about degradation prepare small-volume aliquots.
1m
Protocol references
This protocol follows the user guide from Zymo Research and incorporates further optimizations recommended by in large parts by the technical support for high yields of highly concentrated plasmid DNA and some more tweaks.
The manual can be found here: https://files.zymoresearch.com/protocols/_d4202_d4203_zymopure_ii_plasmid_maxiprep.pdf