Aug 01, 2024
NEXTTEC 96 WELL PLATE DNA Extraction EFGL
- 1Eagle Fish Genetics Lab


Protocol Citation: EagleFish GeneticsLab 2024. NEXTTEC 96 WELL PLATE DNA Extraction EFGL. protocols.io https://dx.doi.org/10.17504/protocols.io.bp2l62381gqe/v1
License: This is an open access protocol distributed under the terms of the Creative Commons Attribution License, which permits unrestricted use, distribution, and reproduction in any medium, provided the original author and source are credited
Protocol status: Working
We use this protocol and it's working
Created: July 12, 2024
Last Modified: August 01, 2024
Protocol Integer ID: 103324
Keywords: GT-seq protocol EFGL, SANGER Sequencing EFGL, RADSeq protocol EFGL, DNA Extraction, plate dna extraction efgl the purpose, dna extraction at efgl, plate dna extraction efgl, dna extraction, dna sample for later pipeline processing, sanger sequencing efgl, extraction protocol, accessible dna for amplification, accessible dna, dna sample, radseq protocol efgl, seq protocol efgl, nexttec cleanplate, extraction, efgl, later pipeline processing, dna, fin clips in ethanol vial, ethanol vial, well plate, sequencing, pipeline, nexttec, sequencing efgl
Abstract
The purpose of this extraction protocol is to prepare a DNA sample for later pipeline processing, such as our GT-seq protocol EFGL, SANGER Sequencing EFGL, or RADSeq protocol EFGL. DNA extraction at EFGL occurs via tissue sampling (usually from fin clips in ethanol vials, coin envelopes, or on Whatman sheets), a Proteinase K digestion, then the solution is filtered through a Nexttec Cleanplate. Upon completion of this protocol you will have a lysate solution that contains accessible DNA for amplification and sequencing.
Materials
MACHINES
a. Plate Heat Press
b. Vortex
c. Centrifuge
d. Incubator
e. Refrigerator
TISSUE SAMPLING EXTRACTION
a. Extraction sheet/map for tray
b. Buffer G - in refrigerator
c. Deep-well plate (Cat. #:10924-F-NX)
d. Plastic reservoir
e. 8-channel 30-300 µL pipette and tip box
f. Ethanol, beaker for ethanol, and Kim Wipes
g. Punch tool and mat
h. Scissors and forceps
i. Gloves
DIGESTION
a. Proteinase K (Pro-K) - in refrigerator
b. 8 channel 0.5 µL to10 µL pipette and full box of tips
c. 1000 µL pipette and tips
d. 25 mL plastic reservoir
e. Nexttec aluminum sealing tape (foil seal) or Thermo heat sealing foil (heat seal)
f. brayer (roller)
g. Gloves
FILTER TRAY
a. Nexttec Cleanplate (filter tray) (Cat. #: 10924-F-NX)
b. Prep Buffer (Cat. #: 10924-F-NX) - in refrigerator
c. 50 mL falcon tube
d. Skirted PCR Plate (array tray)
e. Repeating pipette
f. 5 mL combi-tip for repeater pipette
g. Nexttec Sealing Tape (clear plastic seal)
h. Gloves
FINAL PREP
a. Your extraction tray (from incubator)
b. Your prepared Nexttec Cleanplate filter tray assembly from step 3
c. A multi-channel 10 µL to 100 µL pipette and full box of tips
d. Nexttec sealing tape (clear plastic seal)
e. Thermo heat sealing foil (heat seal)
f. Gloves
TISSUE SAMPLING
Gather the items you need to do your EXTRACTION
a. Extraction sheet/map for tray (Print this sheet from the GTSeq Extraction Template located in the
project’s folder. The template for Master Extraction Sheets can be found in S:\Eagle Fish Genetics
Lab\LAB PROTOCOL BOOK\03- Opening a New Project\GTseq. This template will need to be
copied to a Project Folder and populated with samples by data coordinator, lead biologist, or lead
technician.
b. Buffer G - in refrigerator
c. Deep-well plate (Cat. #:10924-F-NX)
d. Plastic reservoir
e. 8-channel 30 µL to 300 µL pipette and tip box
f. Ethanol, beaker for ethanol, and Kim Wipes
g. Punch tool and mat
h. Scissors and forceps
i. Gloves
Inspect deep-well plate for cracks or breaks (notify Lab Manager if damage is found) and label the side of your deep-well plate with basic information – this plate will be thrown away in the end so enough info that we know which plate it is and who is working on it.
Suggested: Project Name, Tray #, Date, and Initials
- Prepare your deep-well plate for extraction. Pour ~8 mL of Buffer G into the reservoir per plate. Using your 8-channel pipette, a set of tips and the reservoir, put 70 µL of Buffer G into EACH WELL of deep-well plate. (You may use one 8-channel set of tips for the whole plate as the plate is sterile and contamination is not yet a concern.)
Deposit tissue into deep well plate
a. If samples are on vacuum-sealed Whatman sheets, open such that we can re-seal the
plastic instead of making a new vacuum pouch, if possible. Place Whatman sheet on top of your
mat and use your punch tool with 3.0mm tip to punch a sample from the appropriate cell of the
Whatman sheet and press plunger down on the end of the tool to deposit the Whatman + fin clip
into the appropriate well of your plate. If the fin clip is taped onto the sheet, you can punch
through the tape. No need to remove it. Rinse all tools with ethanol and blot dry BETWEEN EACH
SAMPLE.
NOTE!: If the fin clip comes off of the sheet, Scotch tape it back on, in the correct cell. Skip to c.
b. If samples are in vials, array the sample vials into a vial rack according to your Extraction Map.
Orient your vial racks and deep well plate by the A1 corner. Pull the vial/envelope and remove
tissue with forceps, snip off tissue with scissors roughly the size of this letter ‘O’. Make sure to
thoroughly blot fin clips with a Kim Wipe to remove ethanol. Place the tissue into the deep-well
tray. Place remainder of tissue back into vial, seal and put it back in the vial rack in its correct
space. Rinse all tools with ethanol and blot dry BETWEEN EACH SAMPLE.
NOTE!: Mark an ‘X’ at top of vials if they are completely out.
c. Make notes of any sample issues on the extraction sheet, such as dried up vial, sample used up
(uu), small sample (ss) or brittle tissue, etc.
Repeat step 4 until the whole tray is extracted - typically 95 samples. DOUBLE CHECK to make sure each well has a tissue sample (the No Template Control (NTC) well should not contain a sample).
DIGESTION
Gather the items you need to do your DIGESTION
a. Proteinase K (Pro-K) - in refrigerator
b. 8 channel 0.5 µL to10 µL pipette and full box of tips
c. 1000 µL pipette and tips
d. 25 mL plastic reservoir
e. Nexttec aluminum sealing tape (foil seal) or Thermo heat sealing foil (heat seal)
f. brayer (roller)
g. Gloves
Using the 1000 µL pipette, transfer980 µL (if using a full tray, else calculate 10 µL per sample, including control well) of Pro-K into 25 mL reservoir.
Open a new box of p10 pipette tips. Using your 8-channel pipette, dispense 10 µL of Pro-K into each well of the deep-well plate containing your tissue and the NTC well. DISCARD tips after each row to avoid CONTAMINATION.
Seal up your deep well plate with a heat seal, silver side down. IT IS VERY IMPORTANT to get a good seal on the plate. Evaporation can occur in the outermost wells. You can also use either small strips of foil seal or lab tape to create an extra seal on the edges of the extraction plate.
a. Place heat sealing foil (heat seal) white side up on the tray. Try and get best coverage possible.
b. Place tray on heat press and press down firmly for 00:00:05 to 00:00:06
c. Release, rotate tray, and repeat press
d. Remove array tray from heat press and enforce seal with brayer (roller) or fingers
11s
Place deep-well extraction plate in centrifuge, balance, and spin down at 3000 RPM for 00:01:00 .
1m
Remove and place tray in incubator for a minimum of 03:00:00 to04:00:00 , preferably overnight. Make sure incubator is on and the temperature is set to 56 °C .
7h
PREPARING THE FILTER TRAY
NOTE: You can do this step at any point before now and store the tray in the refrigerator until needed - overnight to 1 week.
Gather the items you need to do your FILTER TRAY
a. Nexttec Cleanplate (filter tray) (Cat. #: 10924-F-NX)
b. Prep Buffer (Cat. #: 10924-F-NX) - in refrigerator
c. 50 mL falcon tube
d. Skirted PCR Plate (array tray)
e. Repeating pipette
f. 5 mL combi-tip for repeater pipette
g. Nexttec Sealing Tape (clear plastic seal)
h. Gloves
Unwrap the Cleanplate (filter tray) from its plastic wrap and inspect for cracks or breaks. If they have a yellow hue they might not heat seal correctly.
Pour roughly 35 mL of Prep buffer into a 50 mL falcon tube
Dispense 350 µL into each well of the filter tray assembly using a 5 mL combi-tip and a repeater pipette. (After drawing Prep Buffer into the combi-tip, the read out will be blinking. Dispense one time into falcon tube before dispensing into filter tray. This calibrates the repeater.) Repeat until all wells in the filter plate have Prep Buffer. (One fill of the combi-tip will dispense into ~14 wells.)
If you are fairly certain that you missed a well, refill it with 350 µL of the buffer.
Seal the plate with a Nexttec Sealing Tape (plastic seal), press by hand for a good seal.
Incubate at room temperature for 00:05:00 .
5m
Place filter tray assembly in centrifuge and spin at 2640 RPMs for 00:01:00 .
1m
After spin down is complete, verify that EACH well contains Prep Buffer. If a well looks empty repeat steps 4-10 for any empty wells.
Place the filter plate on a LABELED, skirted PCR plate (label=Project Name, Tray #, Date, and Initials. See Step 5 for guidance) This plate will eventually be stored in the -80 °F freezer.
Discard the deep-well plate containing the spun-down Prep Buffer
If you are not using the prepped filter tray immediately, store it in refrigerator up to 1 week (preferably no longer than 1 day).
FINAL STEPS (DNA PREP)
Gather the items you need to do your FINAL PREP
a. Your extraction tray (from incubator)
b. Your prepared Nexttec Cleanplate filter tray assembly from step 3
c. A multi-channel 10 µL to 100 µL pipette and full box of tips
d. Nexttec sealing tape (clear plastic seal)
e. Thermo heat sealing foil (heat seal)
f. Gloves
Retrieve your extraction tray from the incubator and spin at 3000 RPMs for 00:01:00 .
1m
Remove aluminum seal or heat seal from extraction tray.
Remove plastic seal from filter tray, but save it for later.
Set your 8-channel pipette to 80 µL and transfer all of lysate solution from extraction tray wells into the corresponding filter tray wells. DISCARD tips after each use.
Seal filter tray with clear plastic seal from earlier
Let the filter tray incubate at room temperature for 00:03:00 .
3m
Place in centrifuge at 2640 RPMs for 00:01:00 , balance if needed.
1m
Check to make sure liquid has gone from top, through the filter into the labeled skirted PCR plate. You should see lysate solution in each well. THERE SHOULD BE AN EQUAL AMOUNT OF LIQUID IN ALL WELLS WITH A SAMPLE AND THE NTC. THIS IS THE DNA TRAY SAVED FOR OUR ARCHIVES. IF IT DOESN’T LOOK RIGHT (EMPTY WELLS OR UNEVEN LEVELS BETWEEN WELLS, NEED TO TROUBLESHOOT BEFORE CONTINUING)
Heat seal plate
Store labeled array tray in fridge.
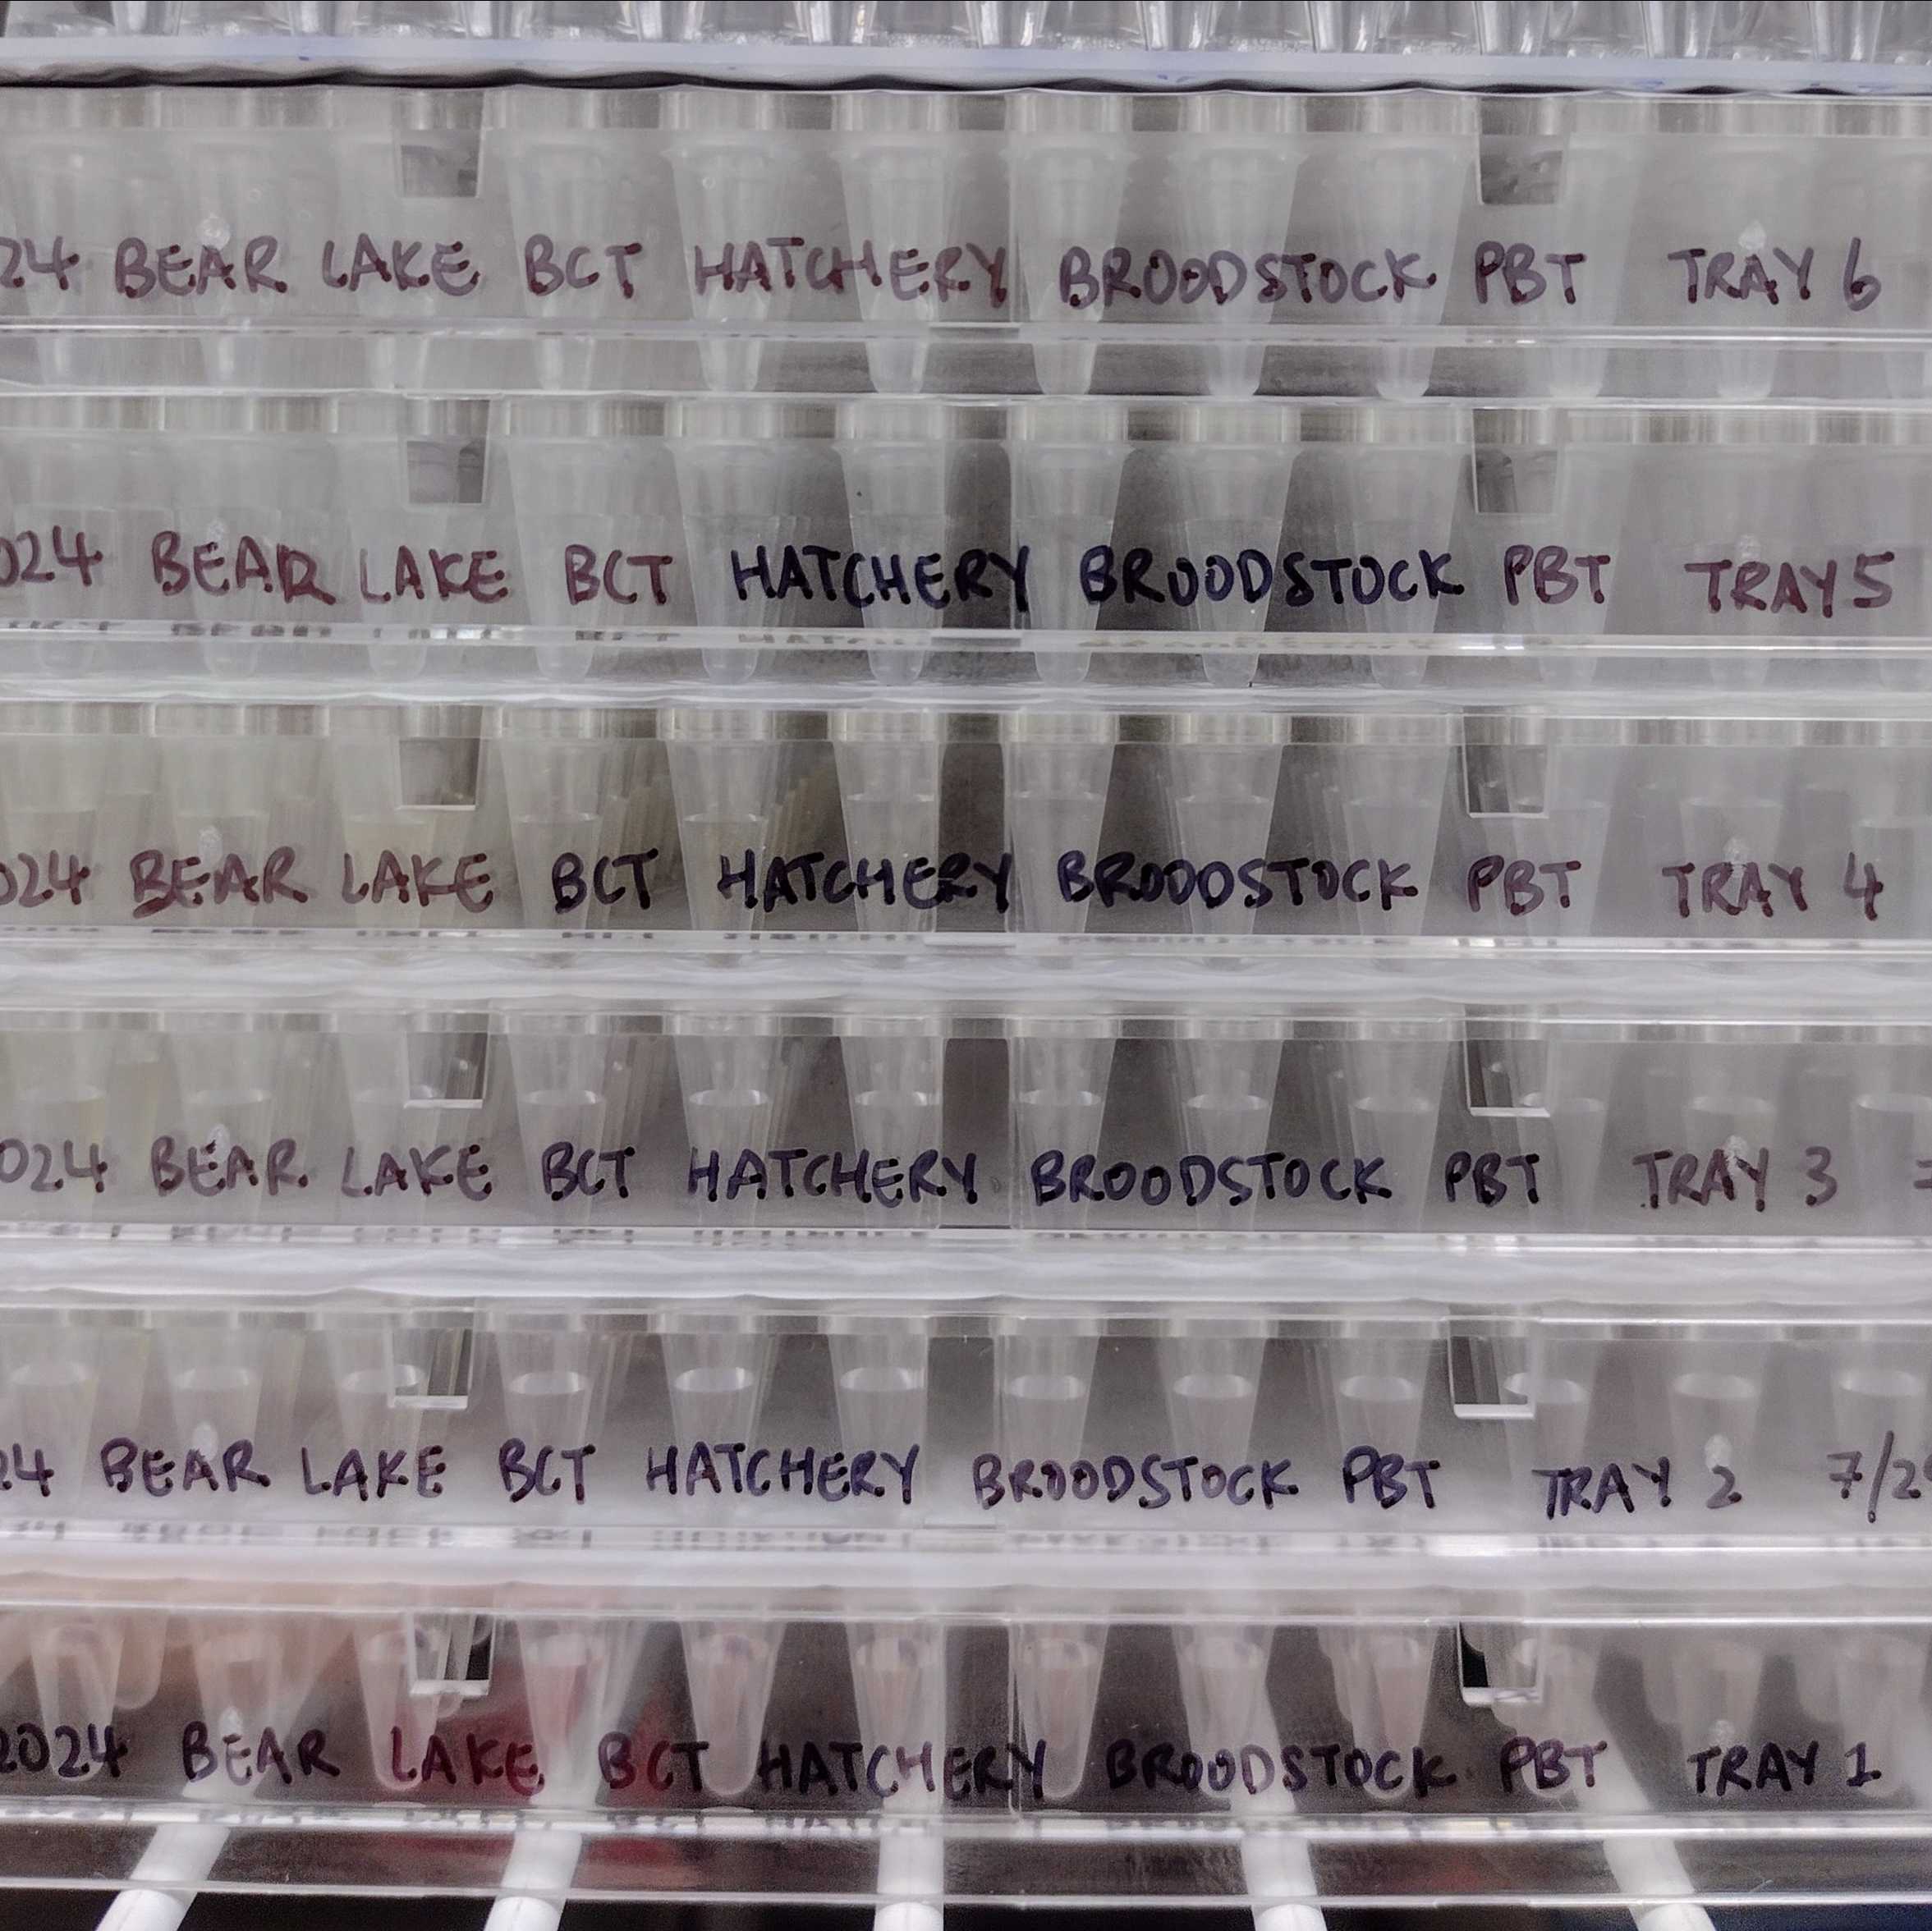
LABELING
Below is an example of how to properly label the array trays for work in the lab and for storage in the -80 °F freezers at the completion of a project.
The tray front (side below row H) needs to have the following information written clearly:
a. Full project name (NO ABBREVIATIONS)
b. Extraction tray number
c. Extraction date
d. Initials of the person who extracted the tray
Before putting the array tray into a-80 °F freezer at the end of a project, the heat seal on top of the tray and the back skirt of the array tray should be labeled with the Progeny Container Name/-80 Tray Assignment Number.