May 04, 2026
Fungal/Lichen Museum Specimen Extraction, Amplification, and Sequencing
- Stephen Russell1,2,3,
- Ryan Peace1
- 1Mycota Lab;
- 2Biodiverse;
- 3MycoMap
- Mycota Lab


Protocol Citation: Stephen Russell, Ryan Peace 2026. Fungal/Lichen Museum Specimen Extraction, Amplification, and Sequencing. protocols.io https://dx.doi.org/10.17504/protocols.io.8epv5y8d5l1b/v1
License: This is an open access protocol distributed under the terms of the Creative Commons Attribution License, which permits unrestricted use, distribution, and reproduction in any medium, provided the original author and source are credited
Protocol status: Working
We use this protocol and it's working
Created: April 30, 2026
Last Modified: May 04, 2026
Protocol Integer ID: 315977
Keywords: dna extraction, dna amplification, sequencing, herbaria, herbarium, fungaria, fungarium, promega, dna sequencing, museum specimens, lichen museum specimen extraction, specimen collection, lichen, complete workflow from specimen collection, fungal, old museum specimen, dna extraction, successful fungarium, barcoding project
Abstract
This protocol was originally optimized for old museum specimens and works on lichens as well. It offers a complete workflow from specimen collection, to DNA extraction, amplification, and sequencing, all the way to data analysis. These protocols have been extensively validated, producing the largest and most successful fungarium barcoding projects to date.
Preliminary Notes & An Initial Decision
Some preliminary notes/thoughts on DNA barcoding museum specimens:
While the age of specimens may matter slightly, it is not the primary concern when getting successful DNA from old museum specimens. From our perspective, how they were initially dried and how they were stored matters much more than age. In particular, specimens that were dried quickly and thoroughly after harvest will have the best chance of success. Next to that, as long as they were stored in a dry environment, they should work well.
Next consideration is DNA extraction. We have tried many of the standard kits for DNA extraction. They all work roughly the same. None of the kits from Promega, Zymo, Qiagen, Omega, etc. work fundamentally better than the other in terms of total DNA. Some of the kits may produce cleaner DNA than the others, but overall that is not a driving concern for us when working with small amounts of tissue. What does seem to be the case is that successful DNA extraction from any kit is hit-or-miss on really old specimens. It is possible to run the process for a small piece of tissue and have it not work, then to try it again from a different part of the same specimen and have it work. So the sampling from the actual tissue can play a role. Wherever possible, take multiple tissue samples from multiple sites of the mushroom, that way there is backup tissue that can have a chance of success if there is an initial failure.
Next, the sequencing technology will play a fundamental role in success rates. Many older specimens will have contaminants either originally from the time of collection or from the storage process itself. Many older specimens were not dried soon after harvest nor dried quickly (ex - sun drying). Both of these aspects increase the potential for yeasts or other fungi to contaminate the collections. Secondarily, fungi such as Aspergillus halophilicus are very common contaminants on collections that occur after decades in the dry museum environment. As a large percentage of these specimens have some form of contamination - either at the time of collection or during museum storage - Sanger sequencing will never be a good option for systematically sequencing old specimens, due to low success rates. Next to that, Illumina or nanopore would be the next best option. We prefer nanopore for many reasons, among them the longer read length, single PCR library prep, and cost. Illumina could surely work, but with many limitations that are not present with nanopore.
This protocol is going to follow two paths - one path if you want clean, "collection-quality" DNA to save long term, and the other if this is not a requirement. This requirement affects the entirety of this protocol and all downstream processes and actions, so it is the first key decision point.
We typically do not save "collection-quality" DNA for most museum specimens. Even for type specimens we would generally save "quick-and-dirty" DNA extracts using our ENA solution. The "clean" kit extractions take significantly longer and cost significantly more per specimen.
One might also examine what your future use case might be to save it? Once we start systematically doing whole genomes, it is unlikely we would go back to a type collection to try to run it on degraded DNA. We would run the genomes on modern specimens that match the type collection. This being the case, how often would the DNA collection be accessed and utilized vs. the cost of storage?
In terms of success rates for the ENA vs. kit extractions, there are not significant differences with success rates between the two methods that we can report.
These two options for DNA extraction will follow down through this protocol. They will be titled ENA or Promega.
Specimen Collection - Tissue Sampling
Planning for a museum protocol really needs to start with a detailed understanding of the institution. How is the collection organized, when are you allowed access, how are specimens stored within the collection? An understanding of these points helps you to know how long you need to plan to sample specimens for your project. Sampling 100 specimens from one genus, where all the specimens are together will take significantly less time than 100 collections that are spread throughout the collection. Are the specimens barcoded? Is there naphthalene that needs to be discarded from boxes? What are the sampling restrictions? Develop a detailed understanding of the physical parameters of the project at the institution. Each one is significantly different.
Next plan out your sampling prep strategy based on this knowledge. As an example, if you are going to be sampling specimens that are stored throughout the collection, it may be best to have a prepared list from Specify/MyCoPortal/etc. on a laptop on a cart vs. planning to scan specimens into a spreadsheet opportunistically as they encountered. Should your workstation be mobile and at the point the boxes are pulled, or are there enough specimens in each box you will be sampling to allow walking each box to a nearby table to be a time-efficient option?
Many museums also like notes to be left with the specimens when/if they were sampled. It is nice to have them preprinted and ready to go for the start of the sampling process.
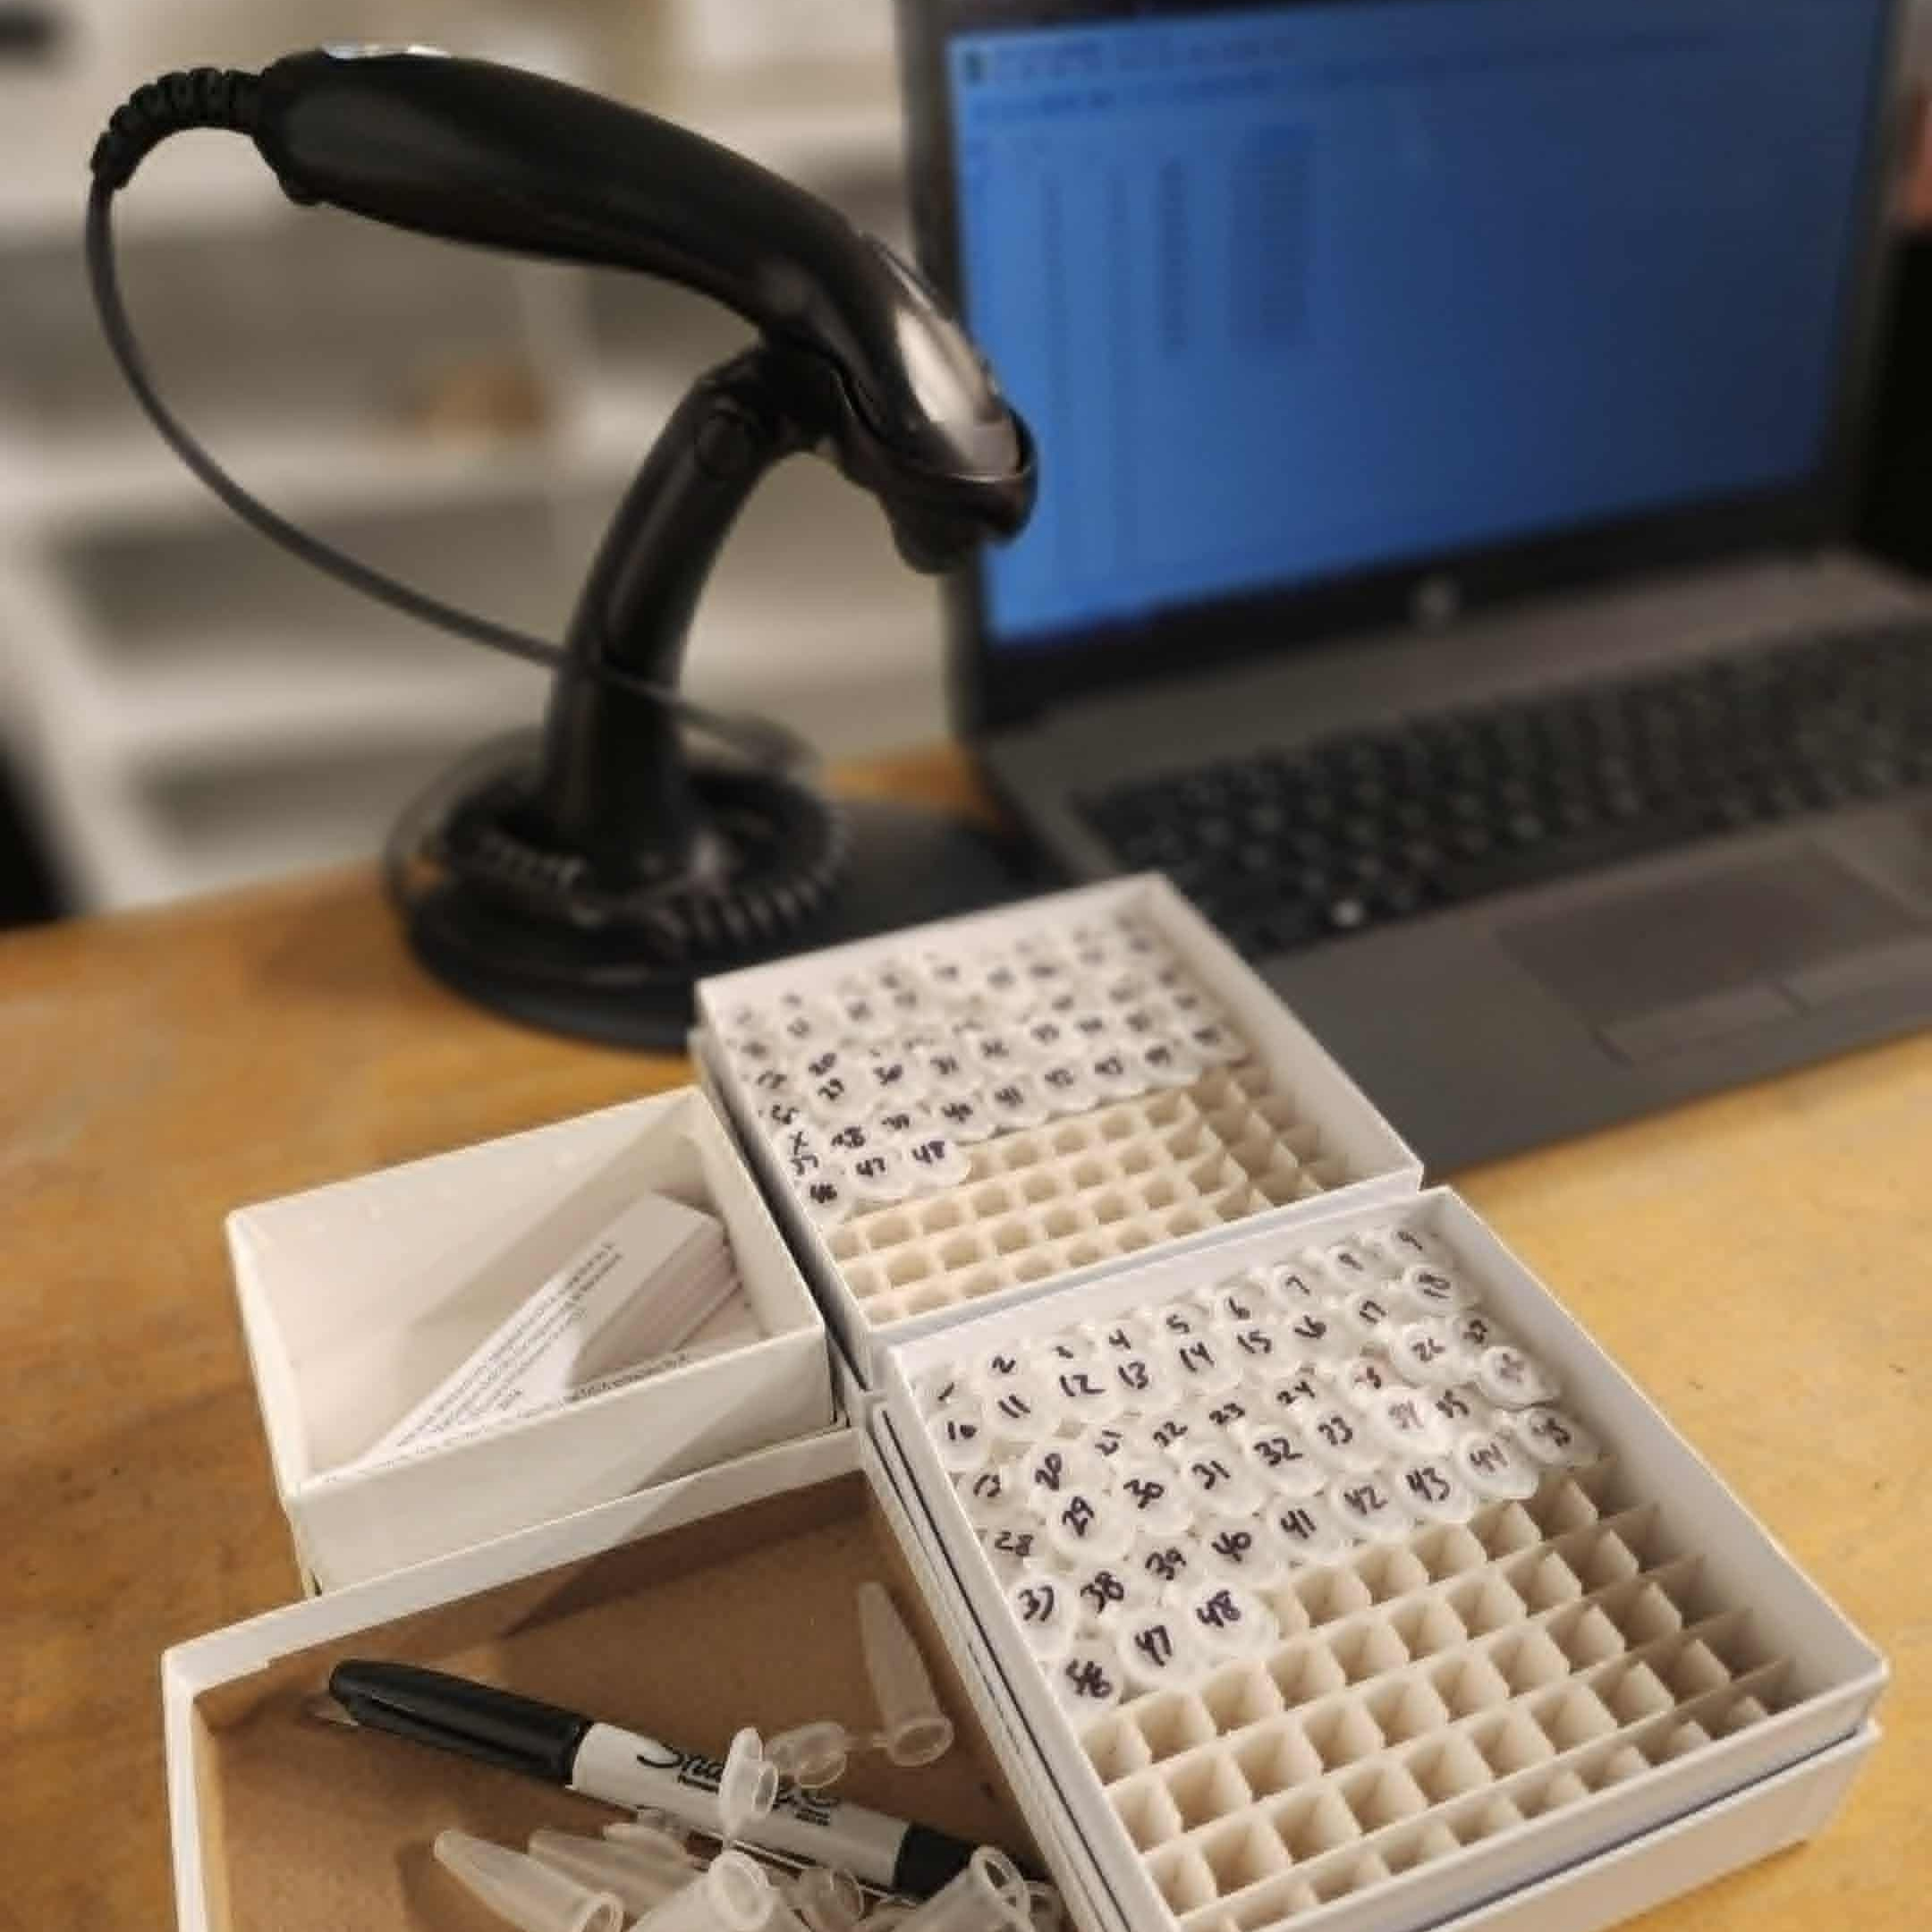
Our sampling philosophy is to sample backup tissue for each specimen right up front. One of the most difficult elements of a museum project is to get the samples out of the collection. The second most difficult element is going back through the collection to get more systematically get more tissue if the first attempt fails. So for each sample, since we are already at the museum, with the cabinet open, with the primary box pulled, and the specimen package open, we take the proper amount of tissue for the extraction method into a primary tube and a specimen-dependent amount of backup tissue in a secondary 1.5 mL microcentrifuge tube.
Sampling for ENA:
Primary samples go into 96 well PCR plates. We prefer 8-strip tubes with strip caps rather than individual caps or actual 96-well plates. Secondary samples go into 1.5 mL microcentrifuge tubes. A spreadsheet is prepared numbered 1-1 to 1-96. Sample 97 would be 2-1, signifying plate 2 position 1. Barcodes on the specimen boxes/packets are scanned into the corresponding well on the spreadsheet. Using tweezers, pull off the smallest possible sample from the specimen and put it in the correct tube. Fill the secondary tube with backup tissue based on the amount of material available with the collection.
Sampling for Promega:
Both primary and secondary samples go into 1.5 mL microcentrifuge tubes. A spreadsheet is prepared based on the size/number of the placements in the cardboard freezer boxes (recommended) or tube racks that are being used for this project. If your box holds 81 tubes, sheet 1 would be box 1 and have placeholders for 81 rows, each representing a specimen to be filled in.
Utilize a piece about the size of a grain of rice or smaller. It should easily drop to the bottom of the tube. Fill the secondary tube with tissue based on the amount of material available with the collection.
DNA Extraction
Museum specimens follow the methods outlined in each individual DNA extraction protocol. Review the main protocols. Some additional comments on each are below:
Extraction with ENA:
Review the Extract-N-Amp Equivalent DNA Extraction protocol. Overall it is really fast and easy once you get to the lab. Add 20uL of ENA Solution and 50uL of extraction buffer into each well of the plate, for a total of 70uL. We use a reservoir and a multichannel pipette for this. Add 1 mm stainless steel ball bearing to each well. It doesn't matter much if it is sterile or not as long as the beads haven't been used for an extraction before. Beat for 5 minutes on a BioSpec (our preference). Heat the plate at 80C for 10 minutes. Spin down the plate. Your template is now ready for PCR. We use 0.5uL in each half PCR reaction (12.5uL total volume)
Extraction with Promega:
Review the Modified Promega Wizard Extraction for Barcoding Macrofungi protocol. It is more complex, so I am not going to rehash it all here. All additional notes we have are on the main extraction protocol page.
DNA Amplification
Much like DNA extraction for old specimens, PCR itself is fickle/temperamental. It can fail the first time you attempt it, and then work the second time with exactly the same template, PCR cocktail, and thermocycler parameters. For this, we believe replication of PCR up front is an important part of any protocol for museum specimens.
Begin by preparing PCR reactions. Primers are ordered using the ONT-tagged primers and Master Mix protocol. We prepare all of our dual-index primer plates on an Opentrons OT2 liquid handling robot. For each herbarium specimen we give multiple PCR attempts. Typically one attempt with long reads (ITS1F-ITS4) and another attempt with short reads (ITS2 - gITS7-ITS4).
Note on primers: The forward primers all have a single unique index per 96-well plate and the reverse primers all have a unique index for each of the 96 specimens specimen on the plate (a plate of reverse primers with 96 different indexes). This strategy allows us to extend the number of samples per library far beyond the ONT Nanopore barcoding kit of 96 samples, but does require you to order your own primer combinations. We have these premade for order in the main protocol above.
Amplification from ENA extracts:
Depending on how important the collections are and how high of success rates we want to see, the amount of replication in this step can be modified. For ENA extract plates from old specimens, we will usually do full length ITS and/or ITS2 (gITS7-ITS4) in triplicate for each specimen. If a specimen is very important, and didn't work with an initial attempt, we may lay out an entire row of ENA extractions from the backup tissue for the sample, and then try the 8 extracts in triplicate for PCR (24 total reaction attempts). The three key elements to play with are 1.) How many extracts to plate out from the original tissue. 2.) length of loci to attempt - for general collections over 10 years old, we likely only try ITS2. and 3.) how many replicates to attempt for that locus? We typically run museum specimens in triplicate, with the same index, and pool them.
Amplification from Promega extracts:
With this extraction protocol, diluting the template often washes out PCR inhibitors. Inversely, diluting the template can sometimes dilute out low quantities of DNA from not working during PCR at all. So for older herbarium specimens we take what we would call a "brute force" approach at PCR. For every specimen, we perform four PCR reactions before we look at the results. Two attempts with full length ITS and two attempts with different primers for ITS2. Within each of these, one attempt is at standard template dilution and the other attempt is with a 1:50 dilution of the template. So the permutations are full ITS no dilution, full ITS diluted, ITS2 no dilution, and ITS2 diluted. We perform no DNA quantifications on individual specimens nor run gels for any individual specimens before sequencing. PCR success is validated solely by whether the specimen was successfully sequenced - we do not run any gels to validate successful amplification. It takes up too much time and/or money for no benefit, because even if there is not a band, we would try sequencing for the sample anyway.
Doing these four PCR reactions for each specimen up front has many advantages. The first is that you get most of the data for the first attempt, right up front, without the need to resort/reorder specimens and spreadsheets for a second PCR attempt. Secondarily, and perhaps most importantly, this process typically yields more than one sequence for the same specimen. This helps to self-validate the results you are getting, as the same sequence should result from different, independent PCR reactions, libraries, and primer combinations. Having this replicated data right up front significantly helps to aid confidence in the results during analysis.
For a 12.5uL "half" PCR reaction, we add 0.5uL of template to each cell. The sample numbers are tracked to each individual well on the spreadsheet above.
Here is the current PCR program that we use for the pools in this protocol, for both long and short amplicons:
Library Prep and Sequencing
Follow the remainder of the ONT DNA Barcoding Fungal Amplicons w/ MinION & Flongle protocol for post-PCR pooling, purification, dA-tailing, adapter ligation, sequencing, and basecalling (primary data analysis).
Amplification from ENA extracts:
For sequencing, we do 2 million reads for 960 specimens at a time on a nanopore MinION cell. If we were doing long and short, we would do 960 specimens (10 plates) x 3 pooled replicates in a single library. For the full length ITS diluted we do the same 960 samples in triplicate on a second library. So in total for each 960 specimens, there would be 60 plates of PCR reactions (10 plates x 3 replicates x 2 lengths), culminating in two independent libraries for sequencing. It would be possible to combine these permutations into a single library if there are less specimens to work with.
Extraction with Promega:
For sequencing, we do 2 million reads for 960 specimens at a time on a nanopore MinION cell x four permutations. For the full length ITS no dilution, we do the 960 specimens on a single library. For the full length ITS diluted we do the same 960 samples on a second library cell. So in total for each 960 specimens, we build four libraries and sequence them with four independent libraries. It would be possible to combine all of these permutations into a single library if there are less specimens to work with.
Secondary Data Analysis
Data analysis is best performed with Specimux and Speconsense to be able to accommodate the permutational demultiplexing (if you are using primer pools), variant parsing, and consensus building.