Sep 02, 2024
Basics of soldering
- Eric S McLamore1
- 1Clemson University
- SNAPS research group


Protocol Citation: Eric S McLamore 2024. Basics of soldering. protocols.io https://dx.doi.org/10.17504/protocols.io.n92ld8yynv5b/v1
License: This is an open access protocol distributed under the terms of the Creative Commons Attribution License, which permits unrestricted use, distribution, and reproduction in any medium, provided the original author and source are credited
Protocol status: Working
We use this protocol and it's working
Created: April 09, 2024
Last Modified: September 02, 2024
Protocol Integer ID: 97983
Keywords: basic principles of soldering, soldering, anbes soldering station, other soldering iron, interchangeable with other soldering iron, protocol, method, basic principle, basic, timing, most of the method
Funders Acknowledgements:
National Science Foundation
Grant ID: CBET-2019435
National Institute of Food and Agriculture.
Grant ID: Grant 2018-67016-27578
Abstract
This protocol describes the basic principles of soldering. An ANBES soldering station is used for this protocol, but most of the methods are interchangeable with other soldering irons. The process requires approximately 30 min, but timing can vary depending on the number/type of components which require soldering. A list of useful references is provided for further reading.
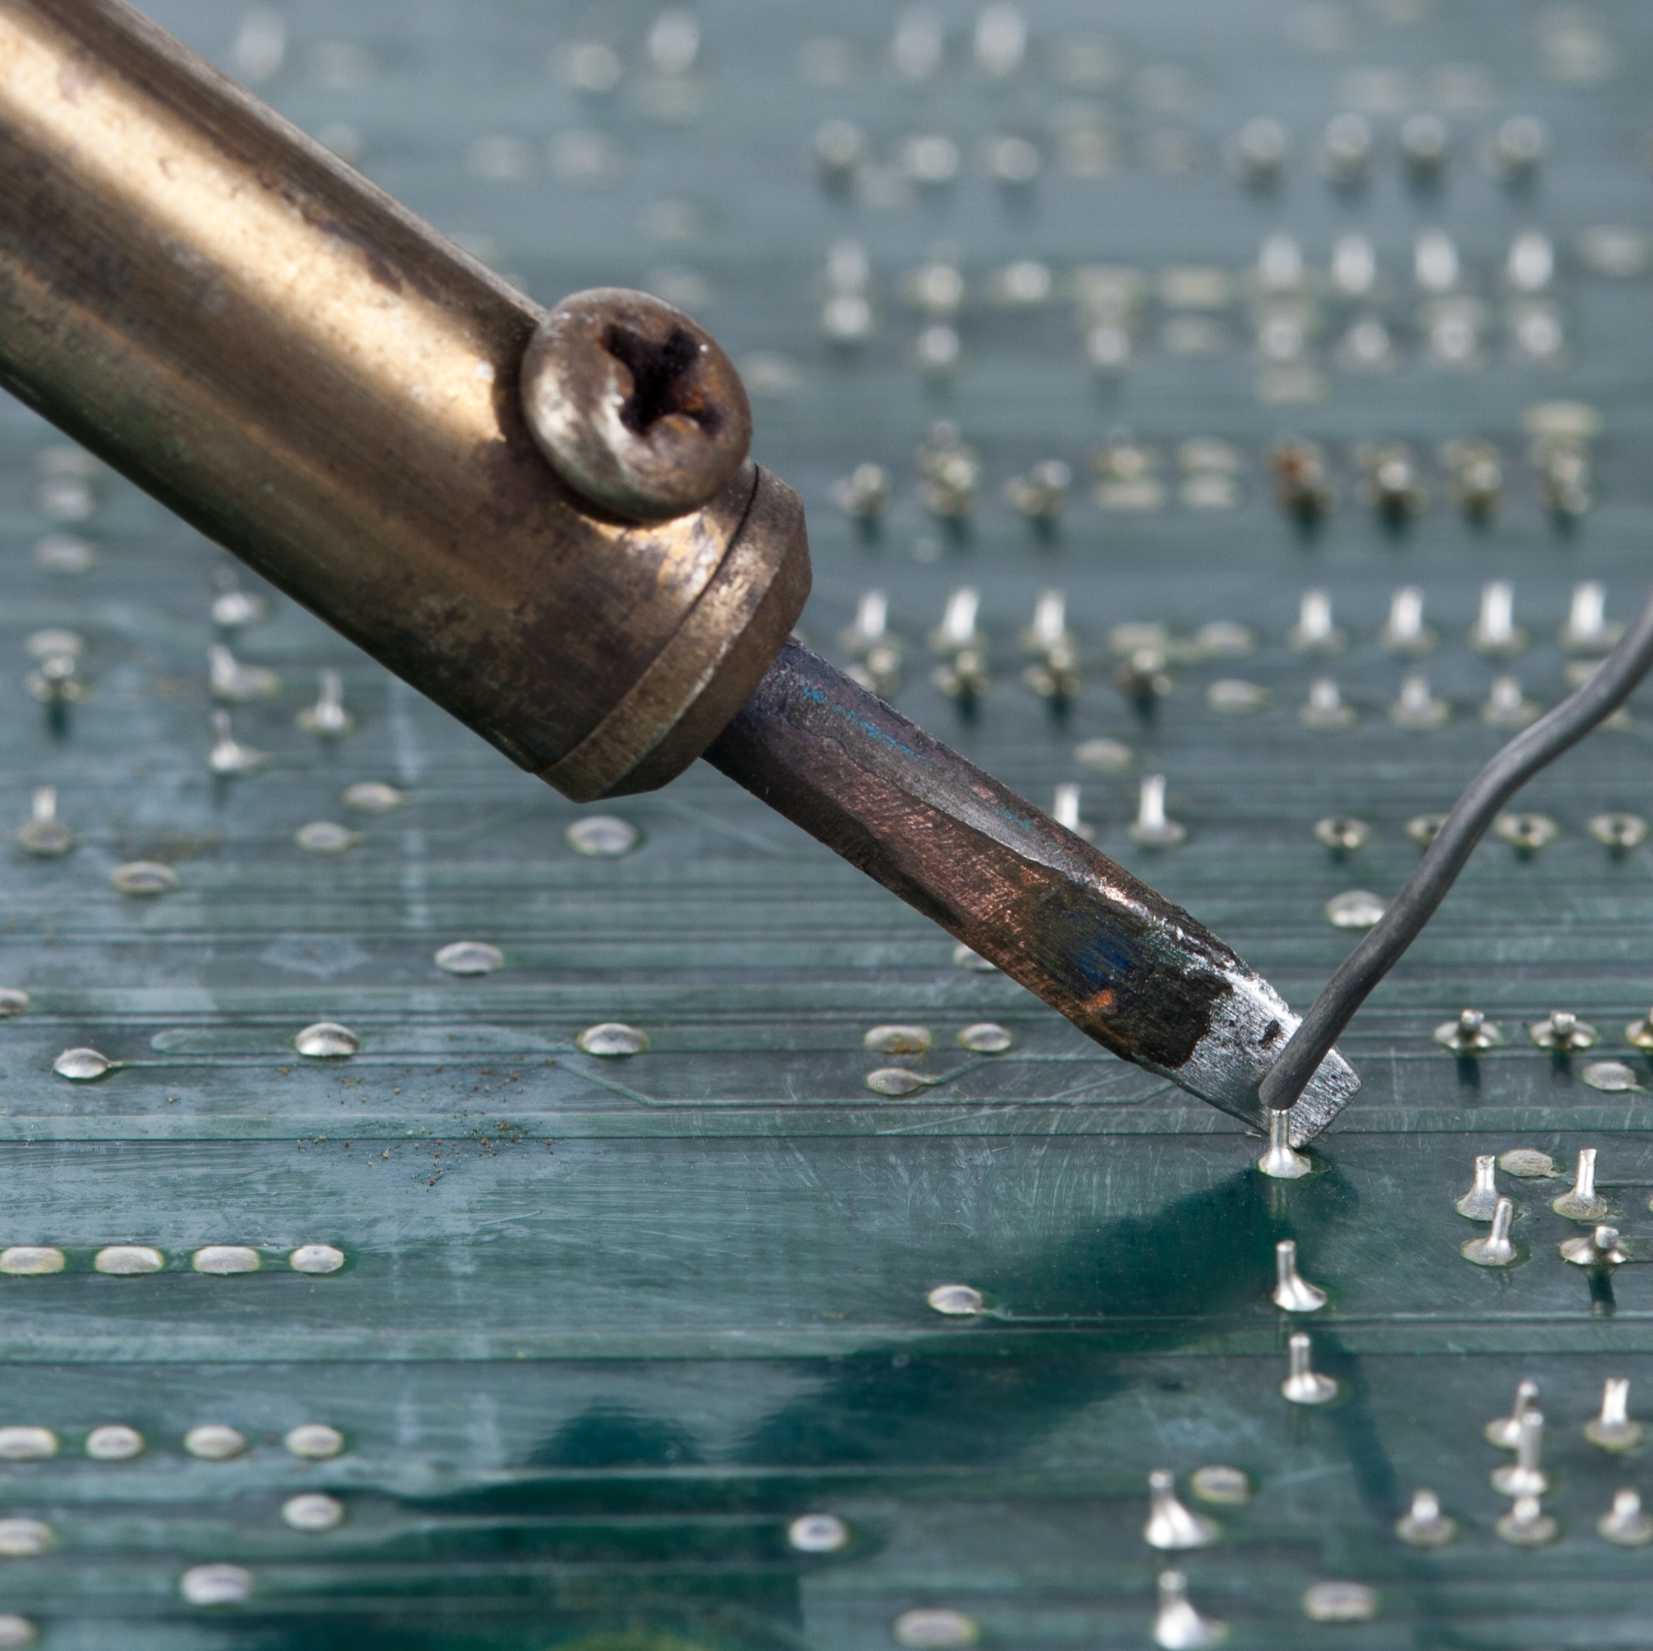
Image Attribution
ShutterStock Photo ID: 2458111565
Materials
Hardware
- Adjustable temperature soldering iron (120 Vac; 60W; Temp range 200 to 450°C)
- Soldering iron conical tip (type 900M series)
- Anti-static tweezers
- Soldering iron stand with sponge
- Stainless steel sponge
Note
Do NOT use acid core solder as this will damage electrical materials. Acid core solder is commonly sold at home improvement stores, and is used for plumbing and other types of metal working.
Chemicals, Reagents and Other Materials
- 70% alcohol
Note
Thicker solder (diameter > 0.06″) is applicable for soldering larger joints
Smaller solder (diameter < 0.04”) is effective for smaller joints or circuit boards
Troubleshooting
Safety warnings
Eye protection
- Laboratory eye protection is required to avoid accidental splashes of hot solder.
Skin
- Avoid contact of hot metals/solder with skin.
- Proper use of PPE (lab coat, gloves, closed toed shoes) should avoid any problems
Fumes/aerosols
- All soldering should be conducted in a chemical hood to avoid iron based solder fumes
- When a chemical hood is not available, a fume extractor (with activated carbon filter) is recommended
Heat and Flammable materials
- Ensure that 70% alcohol (and any other flammable material) is stored away from the soldering iron station
Disposal
- Waste must be disposed as a hazardous solid waste.
- The collection container should be metal and labeled.
- The following are considered solder waste:
- Scraps of unused solder
- Drops of solder that fell onto work area.
- Solder dross (layer of metal and impurities that collects on the surface of iron)
- Sponges used to wipe soldering iron tips
- Paper/Cloth towels used to clean work areas where soldering was performed
- Items used to remove excess solder or flux residues
Note
Note:
- Although this protocol uses lead-free solder, some users may prefer lead-based solder. Lead soldering waste is hazardous, and should be disposed in an approved container.
Before start
- Be careful when using soldering iron as it can heat up to 896 °F
- Additional resources and more information are available at the following links:
Safety information
Note:
● Always solder in a well ventilated area (a chemical hood or fume extractor is required)
● Wear eyewear protection at all times
● Wear gloves and lab coat at all times
● Wear closed-toed shoes at all times
Prepare equipment and materials
3m
- Wet sponge with DI water and place in soldering iron stand
- If using a brass sponge it is not necessary to wet with DI water
- Ensure that soldering iron stand is properly positioned (Fig 1)
Figure 1. Ensure solder stand is correctly arranged. A) Incorrect position, B) Correct position
Safety information
- Before touching end of sodering iron, check that soldering iron is OFF and the surface is NOT hot.
- If unsure, use a non-contact (laser) thermometer to check the temperature of the soldering iron tip prior to handling
- Inspect the soldering iron tip. The tip should be free of physical bends/scrapes, glue, or other damage
- Check soldering iron tip to ensure it is secure (hand tighten threaded rod if necessary) (Fig 2)
Figure 2. A) Inspect the soldering iron tip, B) Screw the tip into the iron and make sure it is hand tight
- Ensure ample tabletop space (or chemical hood space) is available for soldering
- Arrange materials to be soldered near the soldering iron station (e.g., in the chemical hood)
20m
Tin the tip
- Turn on the soldering iron
- If using an adjustable temperature solder station, set the temperature to 400C
- Wipe the tip of the soldering iron on the wet solder sponge
- Rotate it back and forth and wipe it at least three times on the surface
- Wait 10-15 seconds to let the tip heat up again
- Hold the soldering iron in one hand and solder in the other.
- Touch the solder to the tip of the iron and make sure the solder flows evenly around the tip.
- The tip is now “tinned” and ready to use
Note
If necessary, use the desoldering pump to remove waste material
4m
Insert components, or arrange as needed
- If working on a circuit board, mount the component to be soldered by placing metal pins into circuit board holes. Then flip the board and bend the metal pins at a 45 degree angle
- If a different arrangement/geometry is required, position the items to be soldered next to each other so that they are touching and stable
Note
Use of “Helping Hands” is often suggested for this step
5m
Heat joint where solder is to be applied
- Using a tinned soldering iron that is preheated to 400C, touch the tip of the iron to the joint
- Hold the iron in place for at least 5-10 seconds to heat the joint and any components
Note
For older solder irons (or damaged tips), the heating process can require up to 30 seconds (or sometimes more)
4m
Apply solder to joint
- While continuing to hold the soldering iron on joint, touch the solder to the joint.
Note
IMPORTANT – Do NOT touch the solder directly to the tip of the iron. It is important that the joint/components are hot enough to melt the solder, otherwise a good electrical connection will not be formed
- After the solder melts, carefully pull the soldering iron from the tip and place in the stand
- Wait at least 10-20 seconds after step 5,
Note
IMPORTANT – Do cool the solder, allow it to naturally reach ambient temperature to ensure a good electrical connection
5m
Strip excess solder from leads
- A proper solder joint is smooth, shiny and has a cone shape.
- The amount of solder should be sufficient to cover the joint, but not overlap with nearby components
- Remove any excess material from the joint with anti-static tweezers
Note
Optionally, a solder sucker may be used to vacuum hot solder from the surface (either excess solder, or at times to start the process again with a clean surface)
5m
Clean up laboratory
- Turn off all equipment
- After the soldering iron has cooled, clean the tip using a stainless steel sponge
- After removing debris, clean the tip with a cloth dipped in 70% alcohol
- Clean workstation/benchtop
- Dispose of all materials per hazard/warning section
5m