Aug 15, 2025
A behavioral assay for measuring acute itch in mice
- Seemay Chou1,
- Behnom Farboud1,
- Claire Kwon1,
- MaryClare Rollins1
- 1Arcadia Science
- Seemay Chou: Conceptualization, Supervision
- Behnom Farboud: Methodology
- Claire Kwon: Methodology
- MaryClare Rollins: Conceptualization, Methodology, Supervision
- Arcadia Science



Protocol Citation: Seemay Chou, Behnom Farboud, Claire Kwon, MaryClare Rollins 2025. A behavioral assay for measuring acute itch in mice. protocols.io https://dx.doi.org/10.17504/protocols.io.4r3l21873g1y/v1
License: This is an open access protocol distributed under the terms of the Creative Commons Attribution License, which permits unrestricted use, distribution, and reproduction in any medium, provided the original author and source are credited
Protocol status: Working
We use this protocol and it's working
Created: July 14, 2025
Last Modified: August 15, 2025
Protocol Integer ID: 222467
Keywords: acute itch in mice, measuring acute itch, itch stimuli, mouse behavioral response, behavioral assay, mice, measuring mouse, behavioral response, pruritogen
Abstract
Here we present a protocol for measuring mouse behavioral responses to acute itch stimuli. The experimenter injects mice intradermally with a pruritogen, then allows them to move freely within an enclosure. Behavior is recorded with HD video.
Image Attribution
Arcadia Science
Materials
- Video cameras
Sony [alpha]7sIII camera
Sigma 24-70mm f/2.8 DG DN lens
Tripod (example: Magnus TR-13 travel tripod with ball head)
- LED light (example: Godox M1 RGB Mini Creative On-Camera Video LED Light)
- Animal enclosure
- Insulin syringes (example: BD 8 mm 31G 0.5 mL)
Before start
Before conducting any experiments involving animals, obtain approval from IACUC or equivalent ethics committee(s).
Acclimatization procedure
Day 1: Introduce mice to the enclosure
Before beginning an experiment, mice must be acclimated to the enclosure and experimental procedures. Acclimatization ensures that animals are comfortable and familiar with their environment during an experiment, which facilitates behavioral responses to experimental stimuli, rather than to novel sounds, smells, or other distractions. This is particularly important when measuring itch-related behaviors because itch signals, transmitted by unmyelinated C-fibers, can be superseded by faster signals from myelinated pain or sensory neurons.
We acclimatize our mice in four sessions, each 24–48 hours apart.
Assemble your mouse enclosure wherever you plan to conduct experiments.
Note
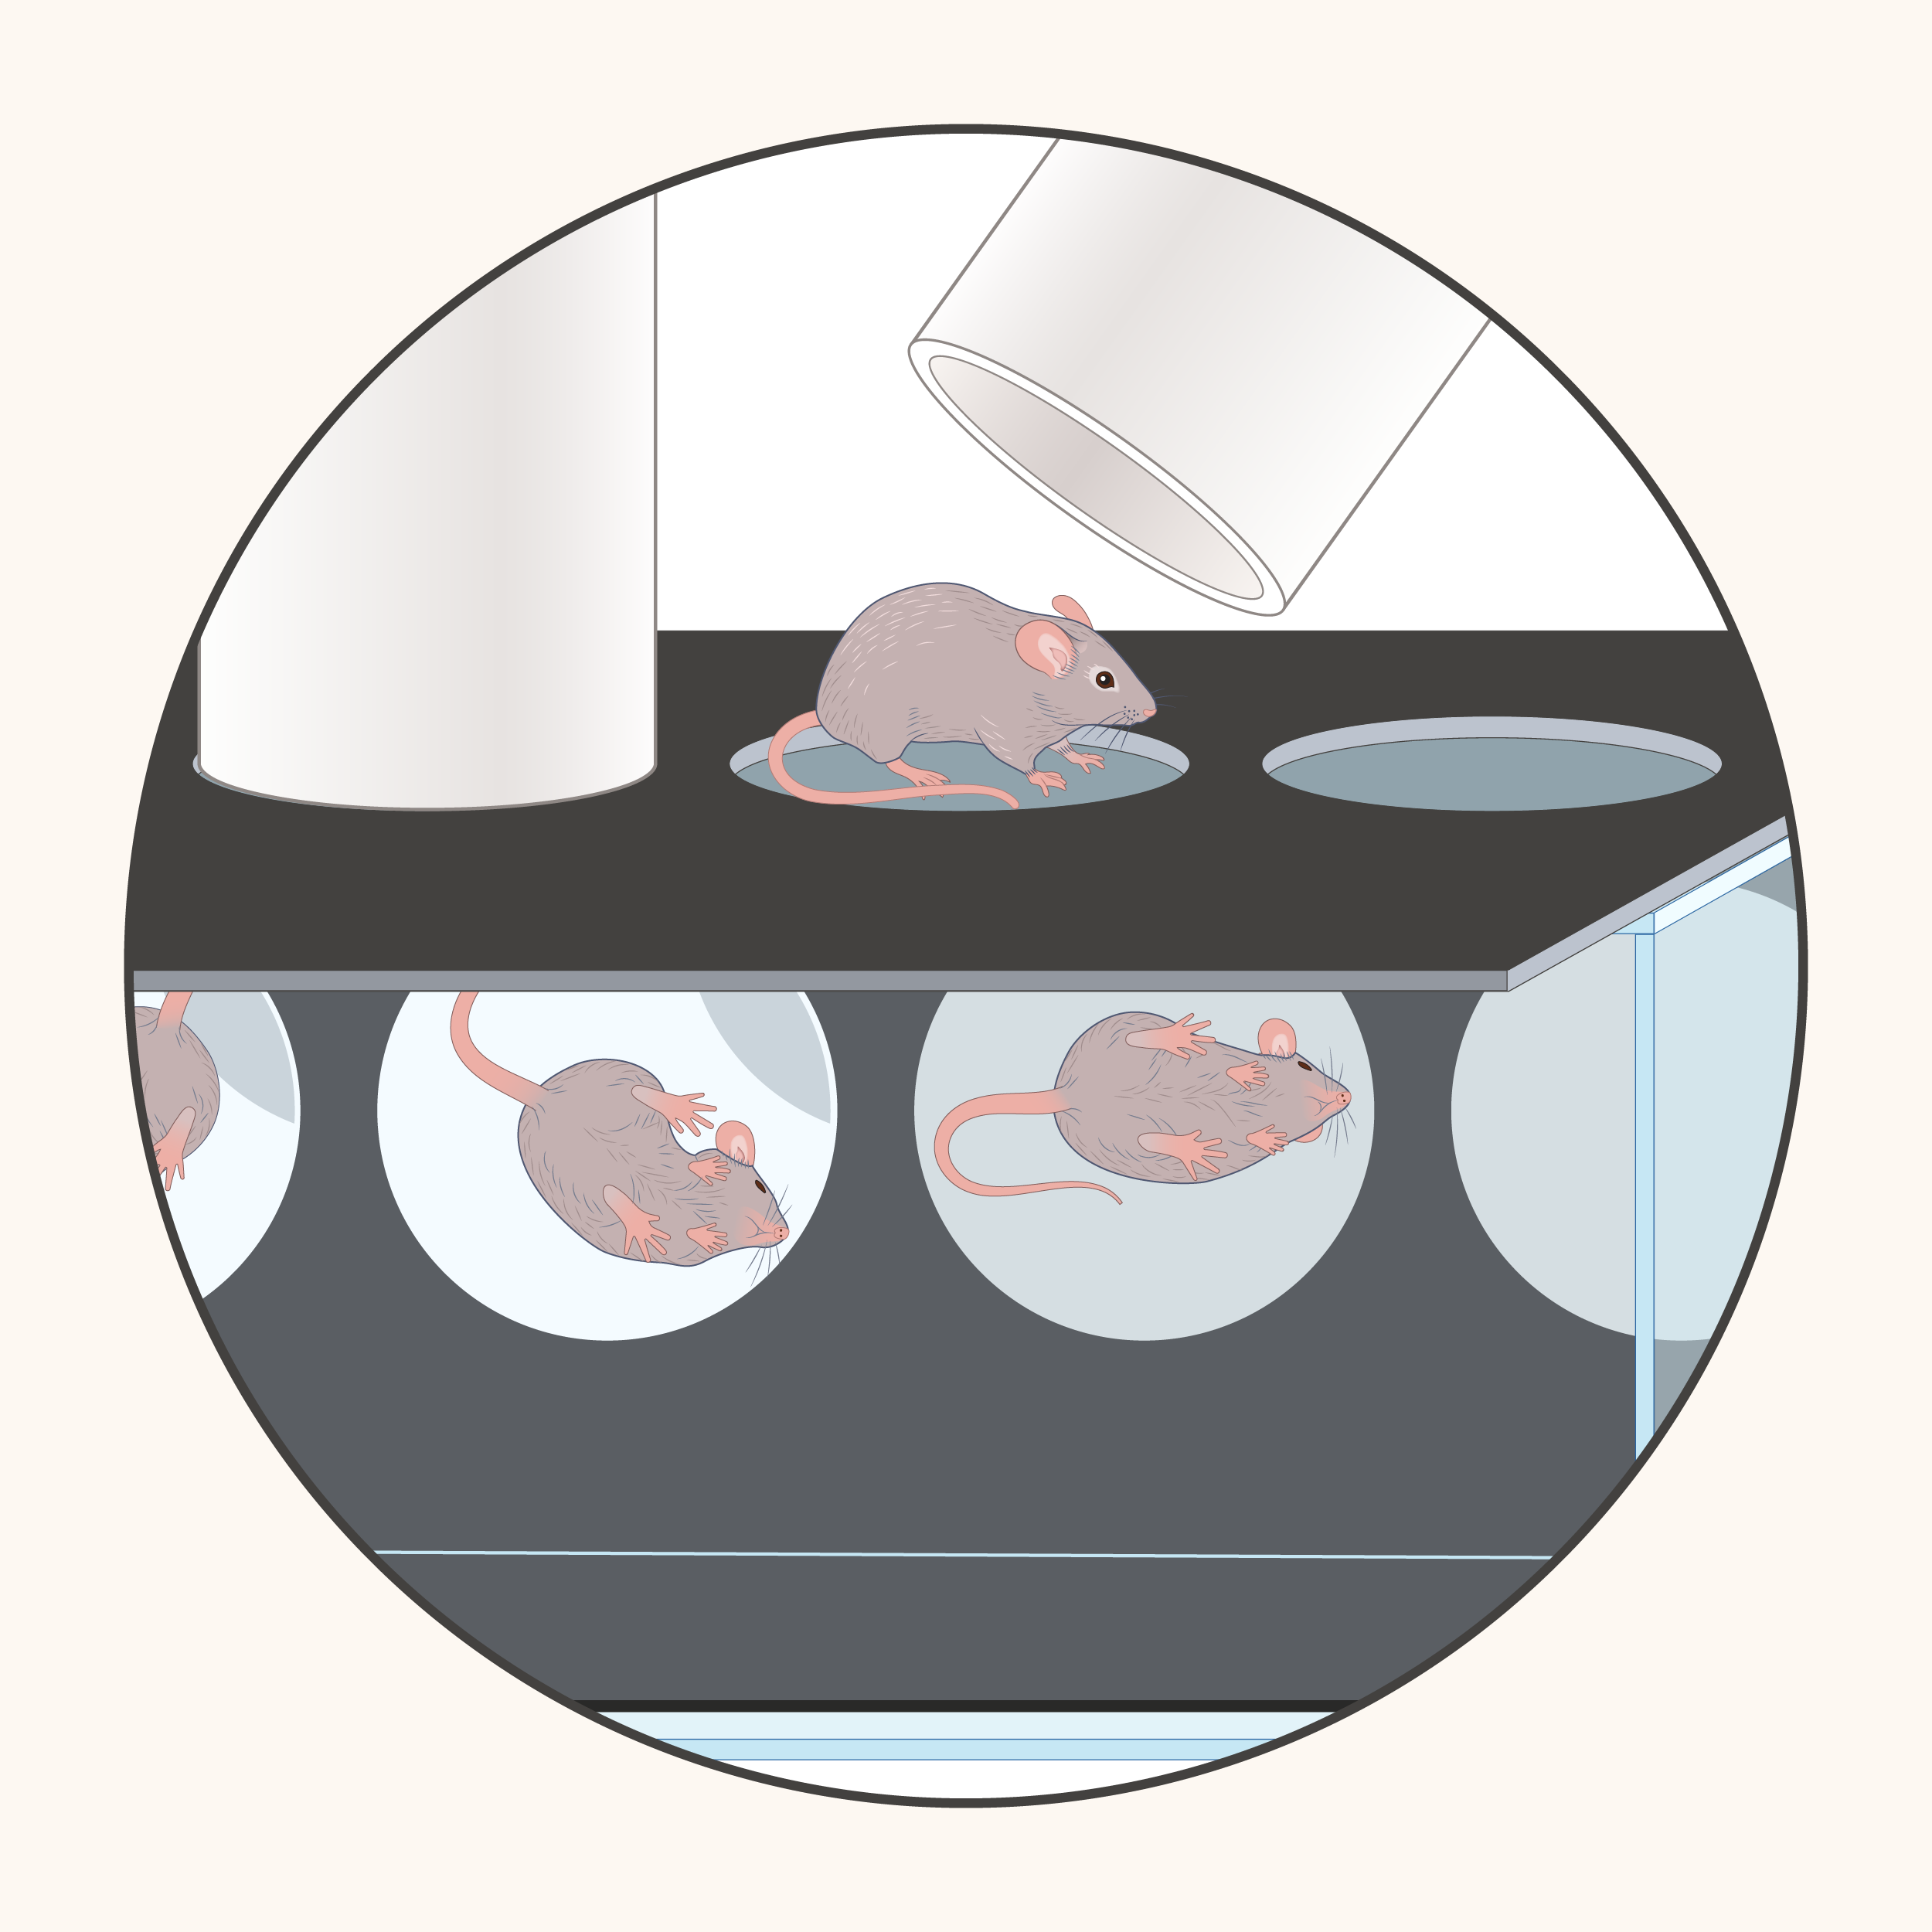
We designed an experimental enclosure that allows simultaneous video recording of four mice.
Figure 1. An experimental mouse enclosure for measuring itch-related behavior.
We designed and built an enclosure to enable video recording of mouse scratching and other itch-related behaviors.
(A) Components of the enclosure, made from acrylic. Note: We recommend using scratch-resistant acrylic for the top of the box (one of the panels designated 'B').
(B) Front and side views of the assembled enclosure. Acrylic panels form a box that's open on one side. An opaque panel with four circular cutouts is placed on top of the box. Cylinders fit exactly into the cutouts, and mice are placed in individual cylinders. A mirror is placed inside the box at a 45° angle, reflecting the view from beneath the mice. The mirror allows video recording of the mice without inverting the camera.
This protocol is written with our enclosure design in mind, but you can easily adapt it to suit other enclosures.
Establish the conditions you intend to use during your experiment (e.g., low light, quiet).
Note
We recommend using LEDs to provide low light in your experiment area. In our experience, mice are more active in low light and will scratch more when treated with pruritogens, compared to the same treatments in bright light.
If you're recording high-frame-rate video (which we recommend if you want to automate behavioral analysis with ML-based tools like DeepLabCut; see our automated analysis resource), we suggest using an LED light like the one we've listed in the equipment box below to provide consistent illumination without the flickering that occurs with fluorescent lights (which fluctuate at 120 Hz). For our experiments, we use one Godox M1 RGB to light a 156 sq ft room (settings: 91% brightness intensity, 5700 K color temperature). We point the LED toward the wall opposite the enclosure so the light bounces off the wall rather than reflecting off the enclosure mirror.
Equipment
M1 RGB Mini Creative Light
NAME
Godox
BRAND
LINK
Transfer mice to experiment area and gently lower each mouse into its assigned cylinder within the enclosure.
Allow mice to move freely within their cylinders for 10–15 minutes before transferring them back to their cages.
Clean and dry the enclosure between groups of mice. We recommend 70% ethanol or laboratory-specific sani-wipes.
Day 2: Repeat enclosure training
Set up the mouse enclosure as before.
Establish the conditions you intend to use during your experiment (e.g., low light, quiet).
Transfer mice to experiment area and gently lower each mouse into its assigned cylinder.
Allow mice to move freely within their cylinders for 10–15 minutes before transferring them back to their cages.
Clean and dry the enclosure between groups of mice. We recommend 70% ethanol or laboratory-specific sani-wipes.
At some point after completing enclosure training, anesthetize the animals and shave the fur from the nape of the neck. We recommend using an electric beard trimmer or pet hair trimmer.
Note
Shaving the mice on day 2 means the injection site will be clearly visible at the start of the experiment, but will allow enough time to resolve any local inflammation from micro-abrasions incurred during shaving.
Day 3: Enclosure training, introduce injections
Set up the mouse enclosure as before.
Establish the conditions you intend to use during your experiment (e.g., low light, quiet).
Transfer mice to experiment area and gently lower each mouse into its assigned cylinder.
Allow mice to move freely for 2–5 minutes. During this time, draw up the injection. We recommend warming the loaded syringe briefly in your closed hand.
Lift the first cylinder, remove the mouse from the top of the enclosure and replace the cylinder. Scruff the mouse using your thumb and forefinger to lift and lightly pinch the skin at the nape of the neck. With an insulin syringe (31G needle), inject 30–50 μL of PBS or saline intradermally. The injected volume should bulge visibly beneath the skin. Lower the mouse back into the cylinder.
Note
Intradermal injections are shallow; hold the needle at 5–15° relative to the skin surface. Be careful not to inject too deeply, as subcutaneous delivery of some pruritogens can cause pain.
Repeat until all mice have been injected.
Allow mice to move freely within their cylinders for 10–15 minutes before transferring them back to their cages.
Clean and dry the enclosure between groups of mice. We recommend 70% ethanol or laboratory-specific sani-wipes.
Day 4: Enclosure training, introduce pruritogen injection
Set up the mouse enclosure as before.
Establish the conditions you intend to use during your experiment (e.g., low light, quiet).
Transfer mice to experiment room and gently lower each mouse into its assigned cylinder.
Allow mice to move freely for 2–5 minutes. During this time, draw up the injection. We recommend warming the loaded syringe briefly in your closed hand.
Lift the cylinder, remove the mouse and replace the cylinder. Scruff the mouse using your thumb and forefinger to lift and lightly pinch the skin at the nape of the neck. With an insulin syringe (31G needle), inject 30–50 μL of 200 μM serotonin in PBS (or a low concentration of your pruritogen of choice). The injected volume should bulge visibly beneath the skin. Lower the mouse back into the cylinder.
Repeat until all mice have been injected.
Allow mice to move freely within their cylinders for 10–15 minutes before transferring them back to their cages.
Note
The purpose of this step is to expose the animals to a mild itch stimulus while they're in the enclosure. The low concentration pruritogen injection should elicit a noticeable scratch response, but not so much that the skin becomes excoriated or inflamed.
Clean and dry the enclosure between groups of mice. We recommend 70% ethanol or laboratory-specific sani-wipes.
Experiment procedure
Set up the experiment enclosure and video cameras.
Note
We use two video cameras to record four mice. The cameras are pointed at the angled mirror, and the position and zoom are set such that each camera's field of view captures only two mice. Using two cameras means we can increase the number of pixels per cylinder, which improves the resolution of the recorded movement. If you're using QR codes to automate video labeling/processing (see our pub here), make sure the QR codes are also in frame.
Equipment
alpha7sIII camera
NAME
Camera
TYPE
Sony
BRAND
LINK
Equipment
24-70mm f/2.8 DG DN lens
NAME
Lens
TYPE
Sigma
BRAND
LINK
Equipment
TR-13 travel tripod with ball head
NAME
Tripod
TYPE
Magnus
BRAND
LINK
Equipment
TAB-4M Four-Mount Tripod Accessory Bar
NAME
Tripod cross beam
TYPE
Oben
BRAND
LINK
Establish experimental conditions.
Note
See our earlier note ( ) for recommendations.
Transfer mice to experiment room and gently lower each mouse into its assigned cylinder.
Allow mice to move freely for 2–5 minutes. During this time, draw up the injection. We recommend warming the loaded syringe briefly in your closed hand.
Lift the first cylinder, remove the mouse and replace the cylinder. Scruff the mouse using your thumb and forefinger to lift and lightly pinch the skin at the nape of the neck. With an insulin syringe (31G needle), inject 30–50 μL of your pruritogen of choice, intradermally. The injected volume should bulge visibly beneath the skin. Lower the mouse back into the cylinder.
Press the record button on both cameras. Record for desired time (we recommend 15–30 minutes, depending on pruritogen). While recording, minimize noise and other distractions
Clean the enclosure between groups of mice. We recommend 70% ethanol or laboratory-specific sani-wipes.
Data processing and analysis
Scratching and other behaviors can be quantified manually by watching videos, but automating this process can significantly accelerate analysis.
For a description of our automated analysis pipeline, including video pre-processing, ML-guided body position tracking, and identification and quantification of scratching, see our resource here.
Acknowledgements
Additional contributors:
- Audrey Bell — Visualization
- Tori Doran — Methodology
- Kira E. Poskanzer — Conceptualization, Supervision
- Peter S. Thuy-Boun — Methodology